ACOUSTIC — BUILD TIMELINE
How the acoustic came together.
Start to finish, in the order it actually happened. It took 100+ hours to build, under the guidance of Chicago luthier Bruce Roper.
Stage One
Choosing the wood
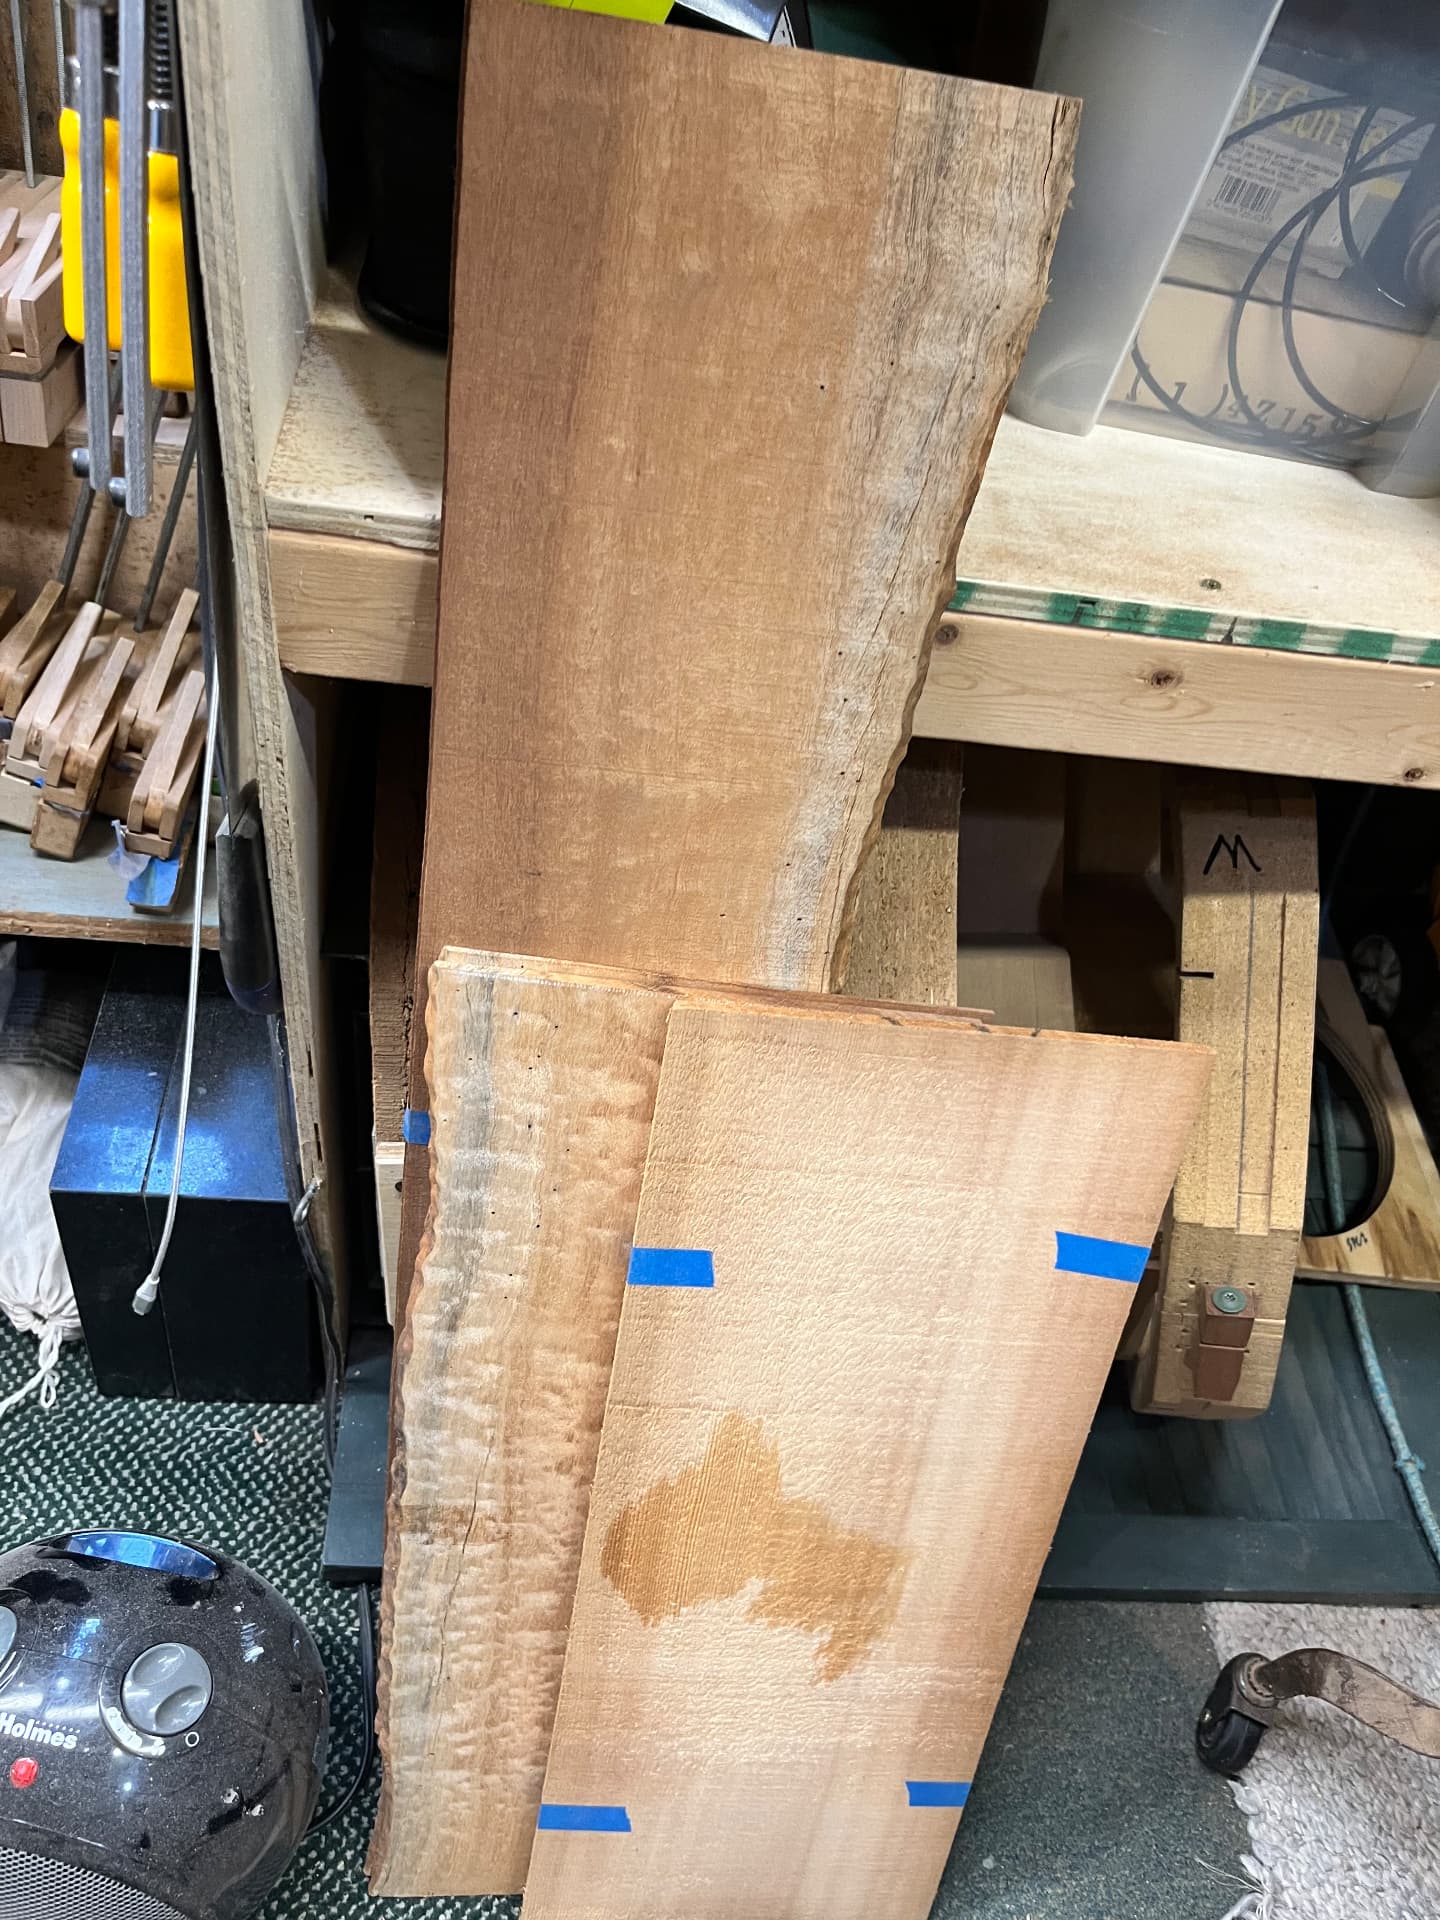
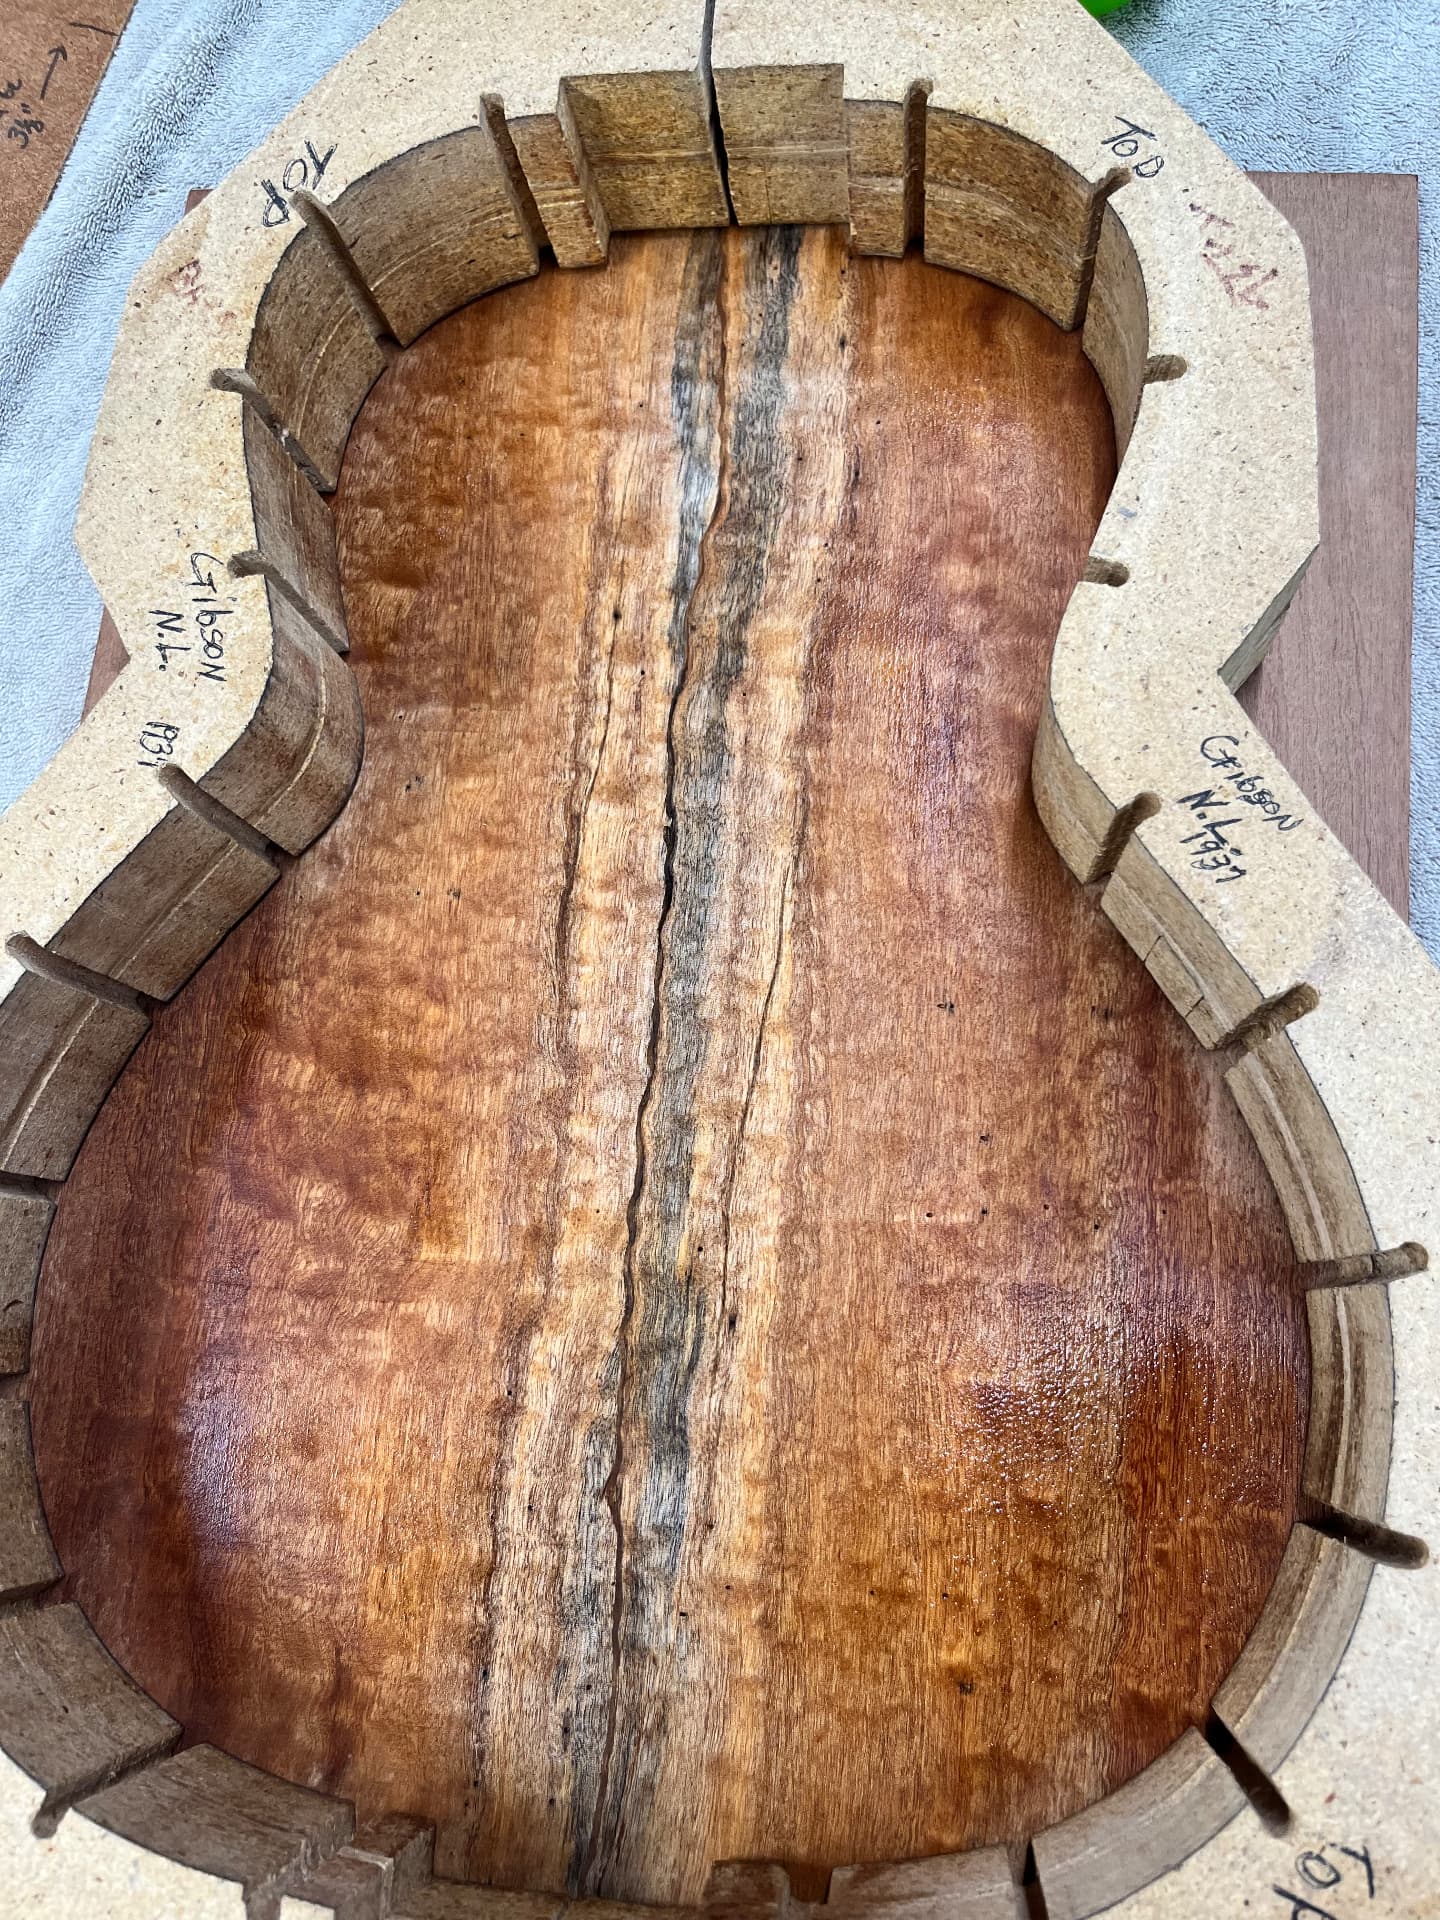
I used sitka spruce for the top and sapele for the back and sides. I chose them for their vibrant colors and quilting patterns, and for their classic usage in some of my favorite historical acoustic guitars.
Stage Two
Planing and marking the wood
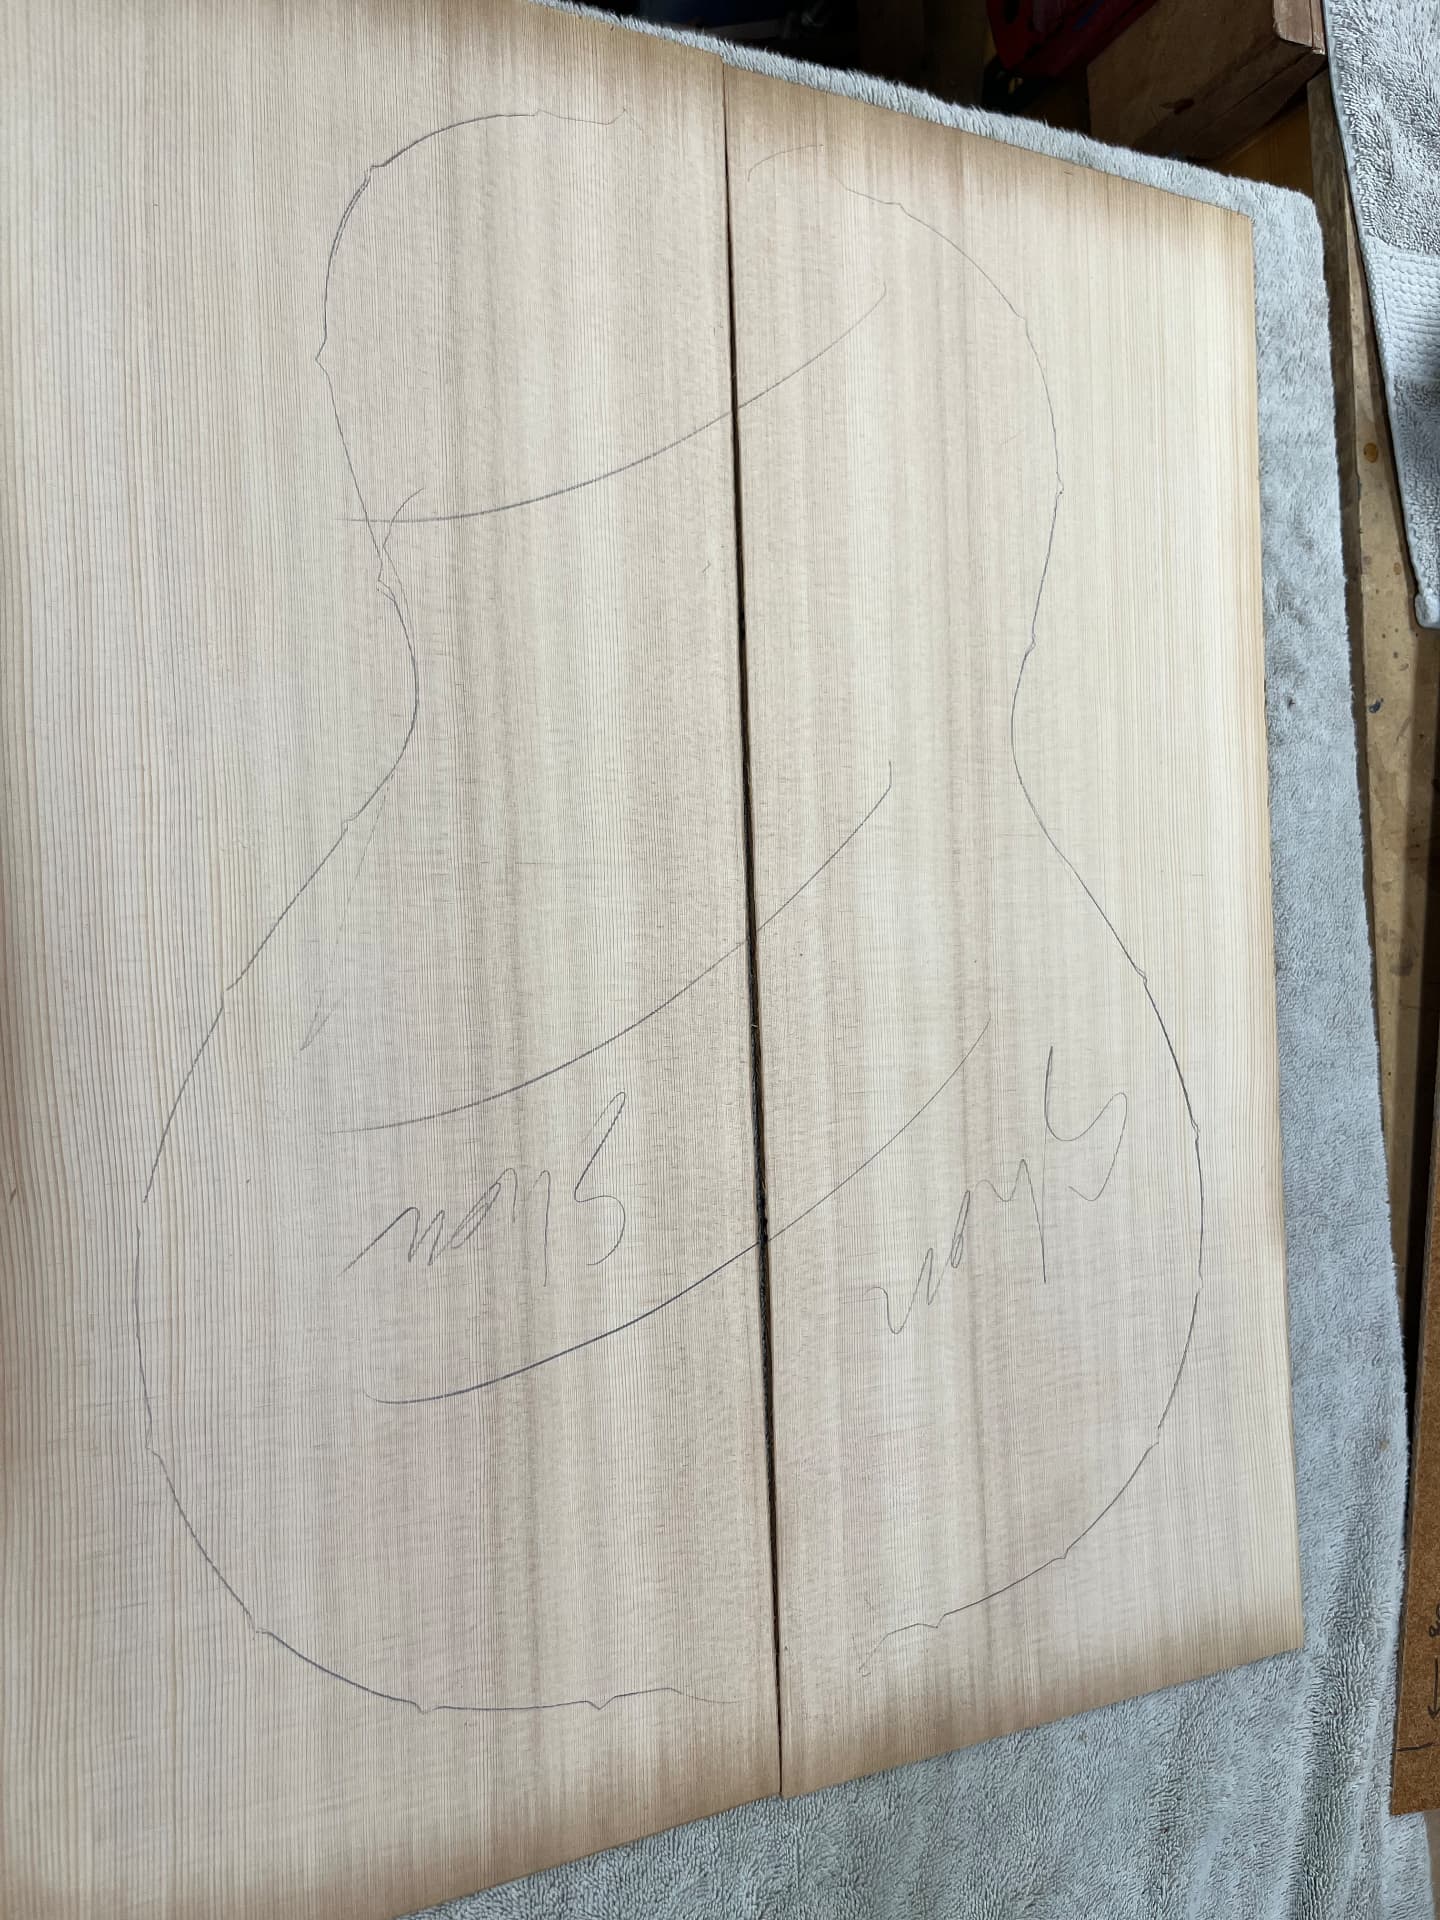
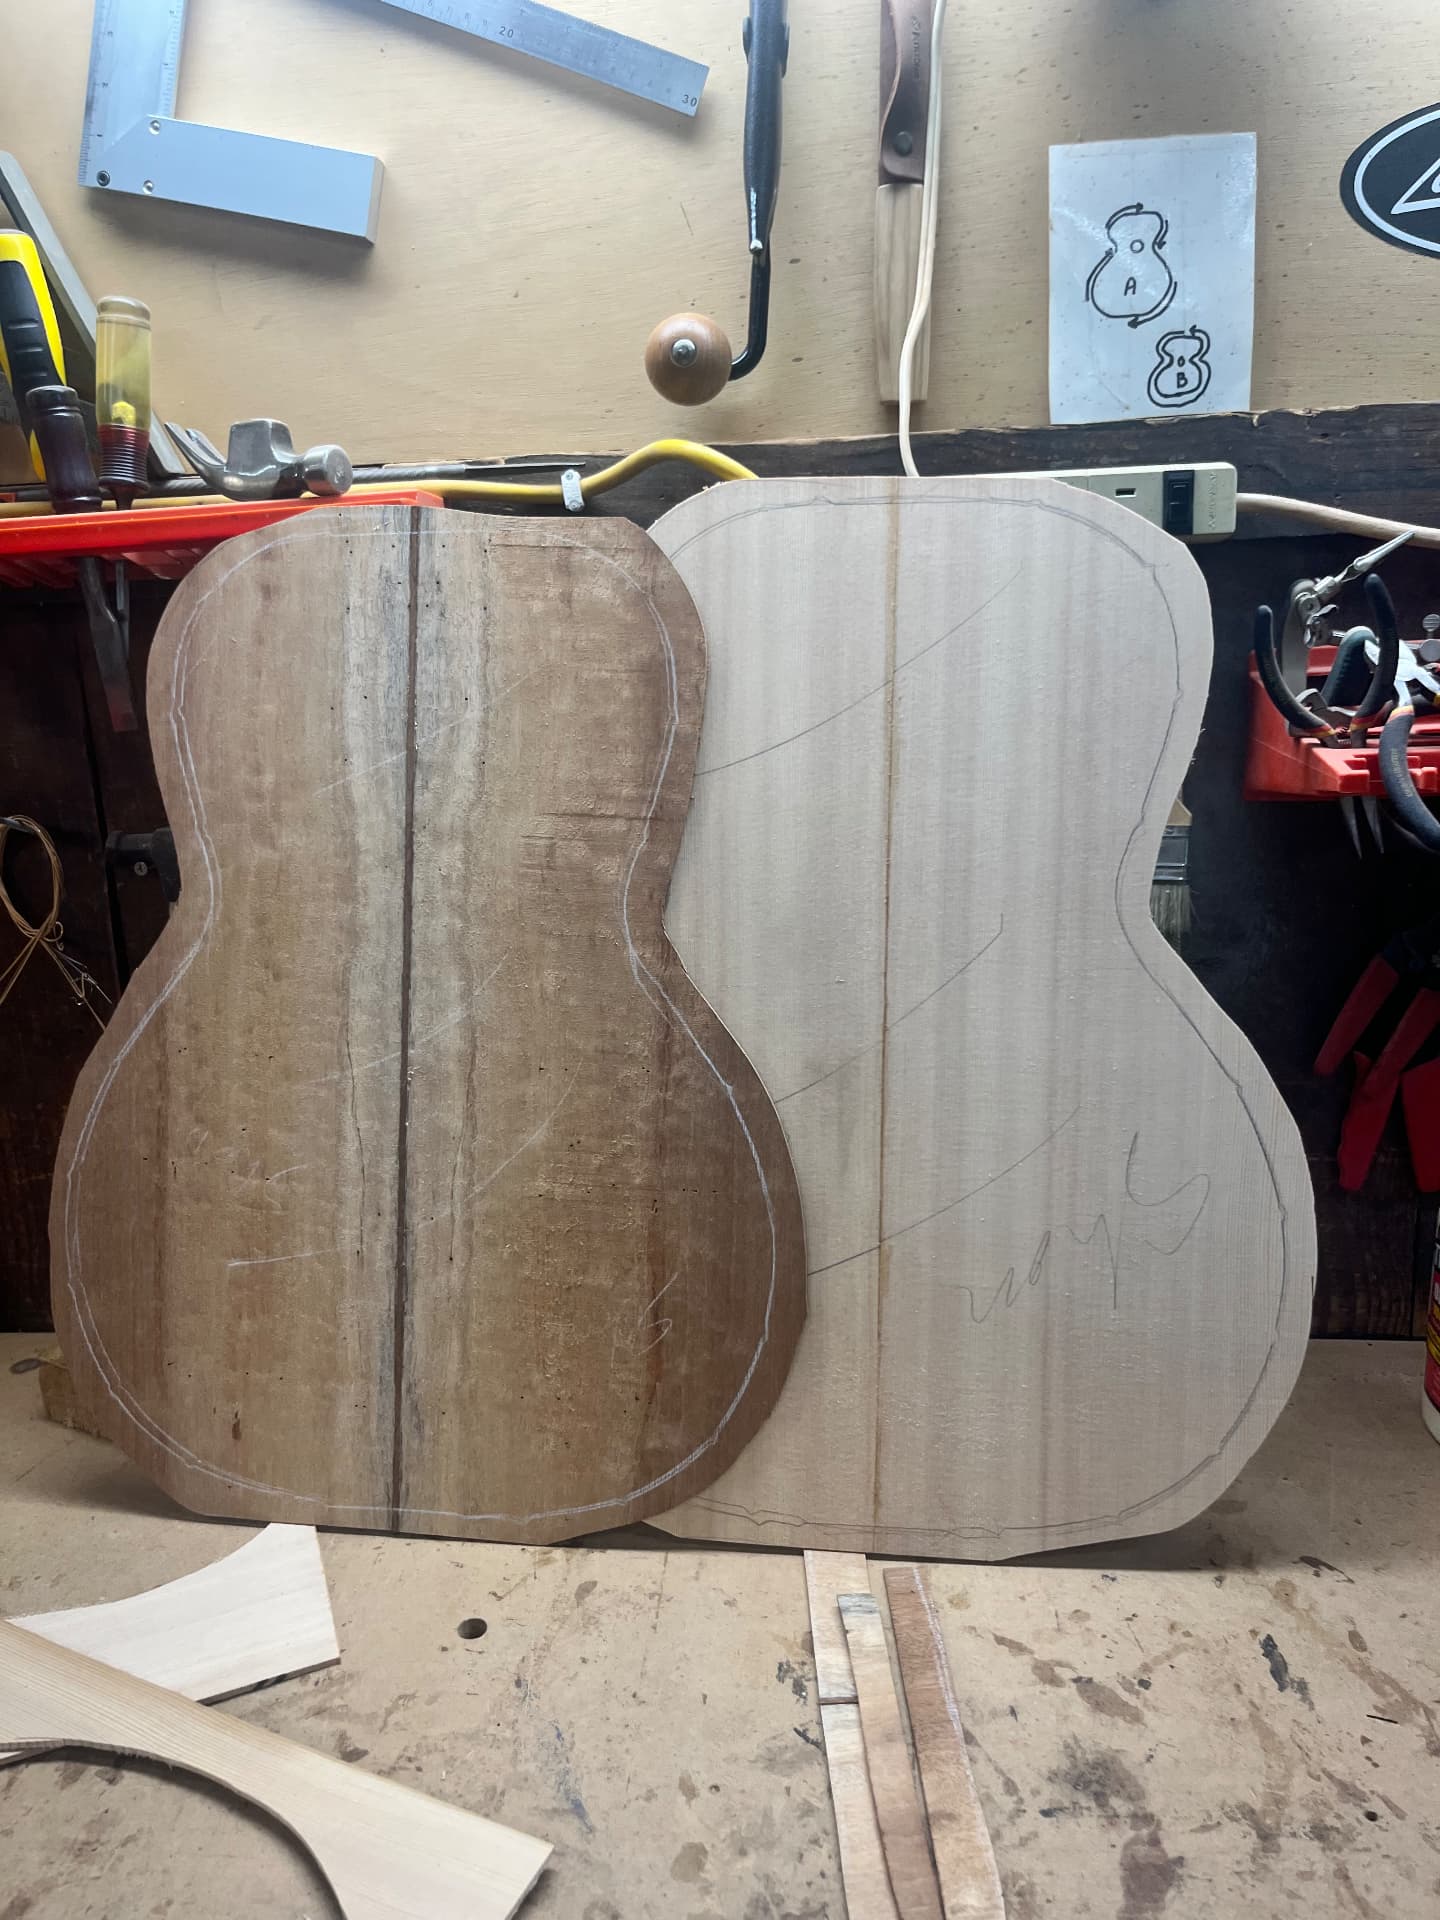
I planed the wood down to an even thickness, then marked out the body shape on it. The shape is based on a 1930s Gibson-style parlor guitar.
Stage Three
Cutting out the top and back
After bonding the wood together, I carefully used a bandsaw to loosely cut out the shape of the back and sides.
Stage Four
Designing and installing the rosette
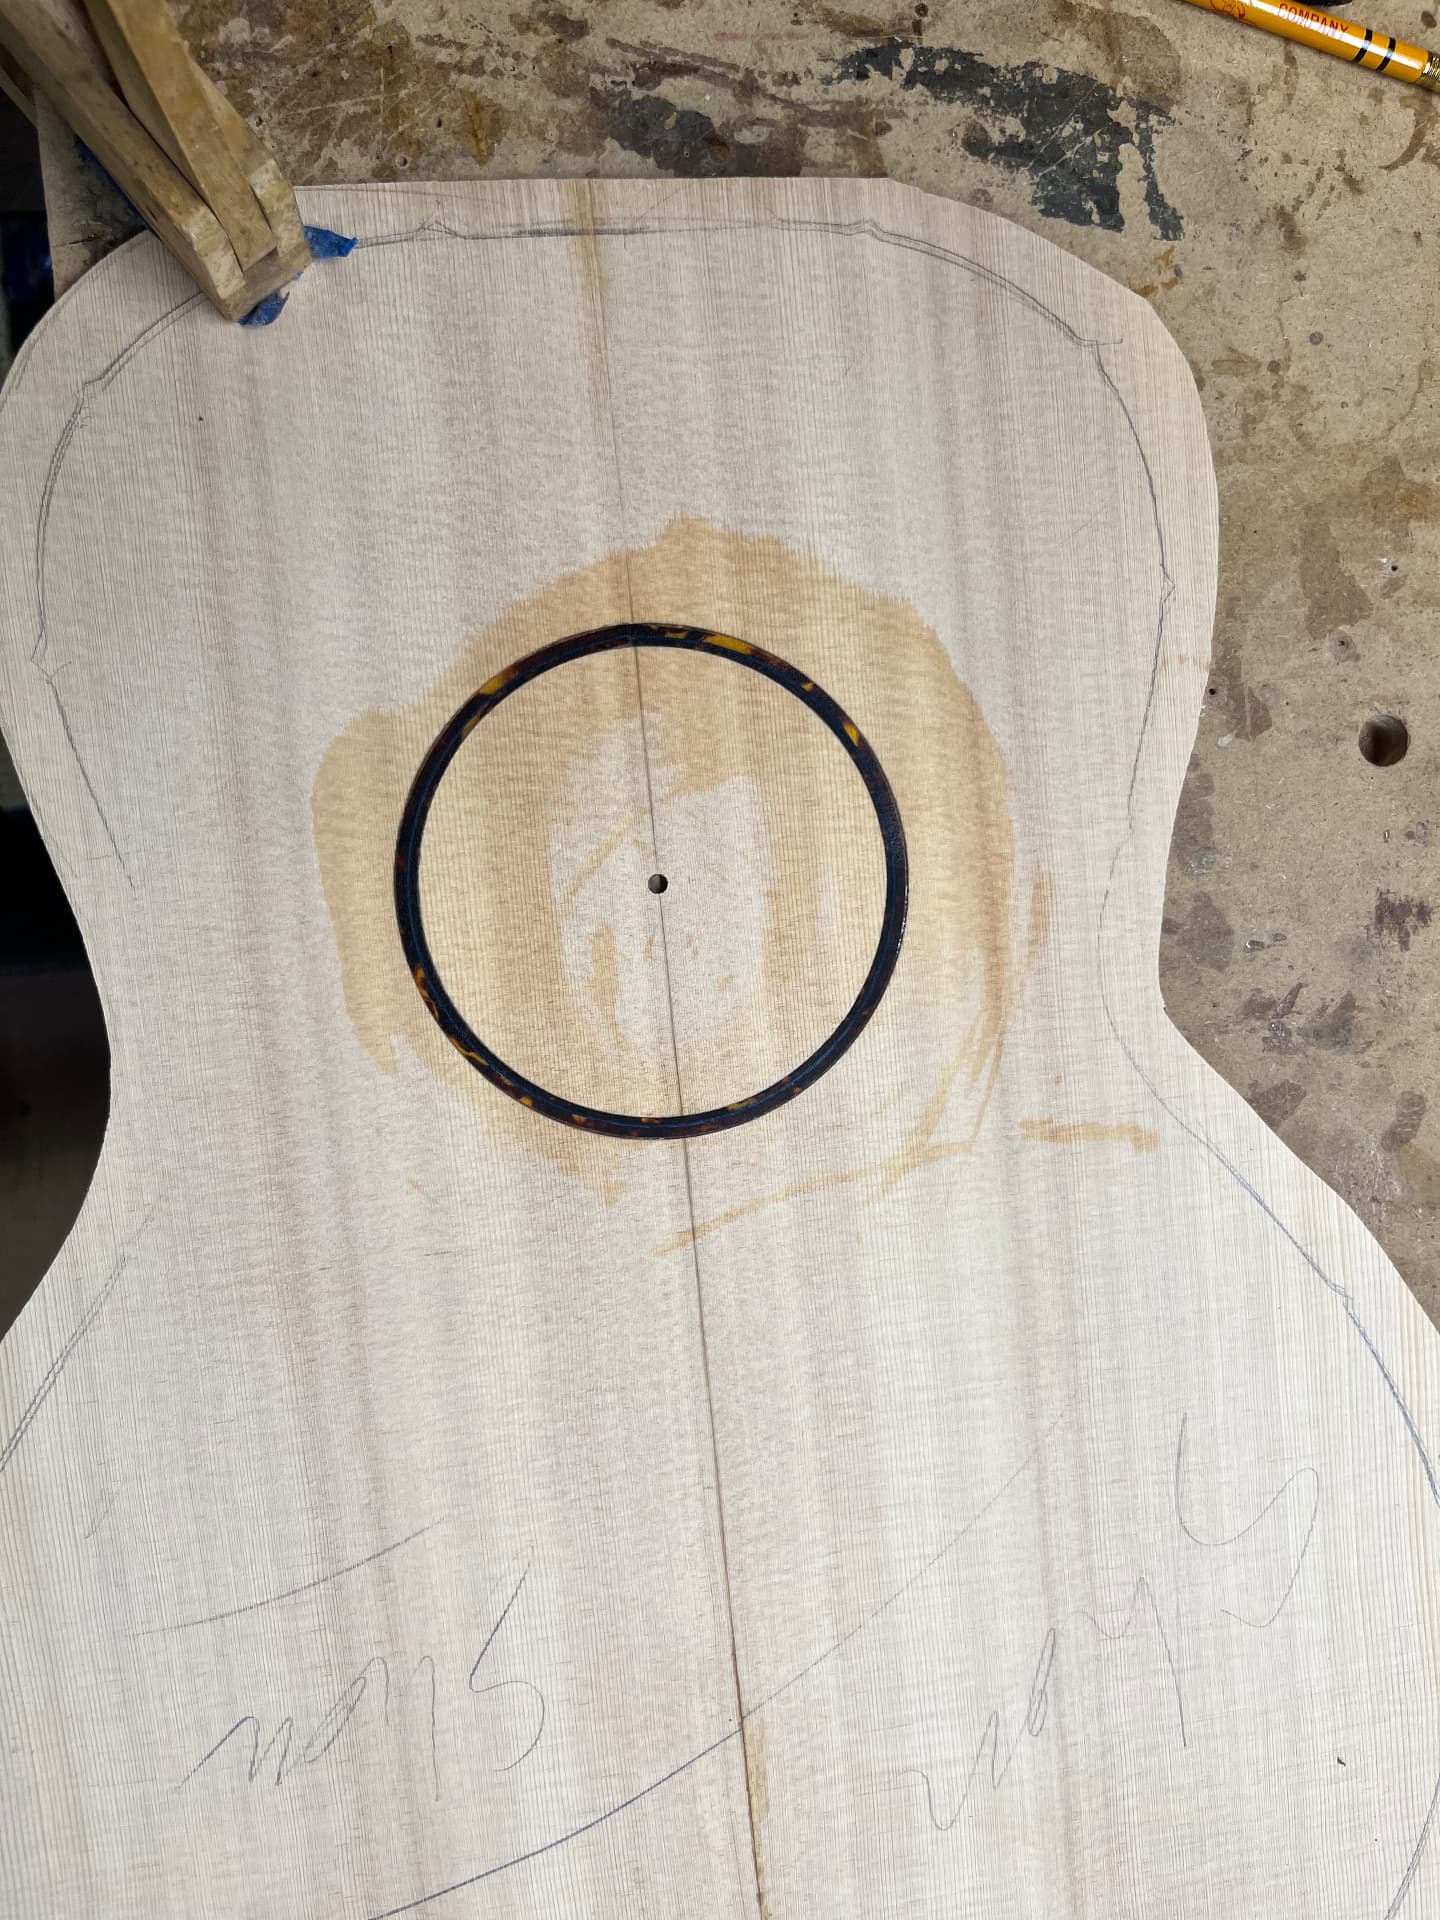
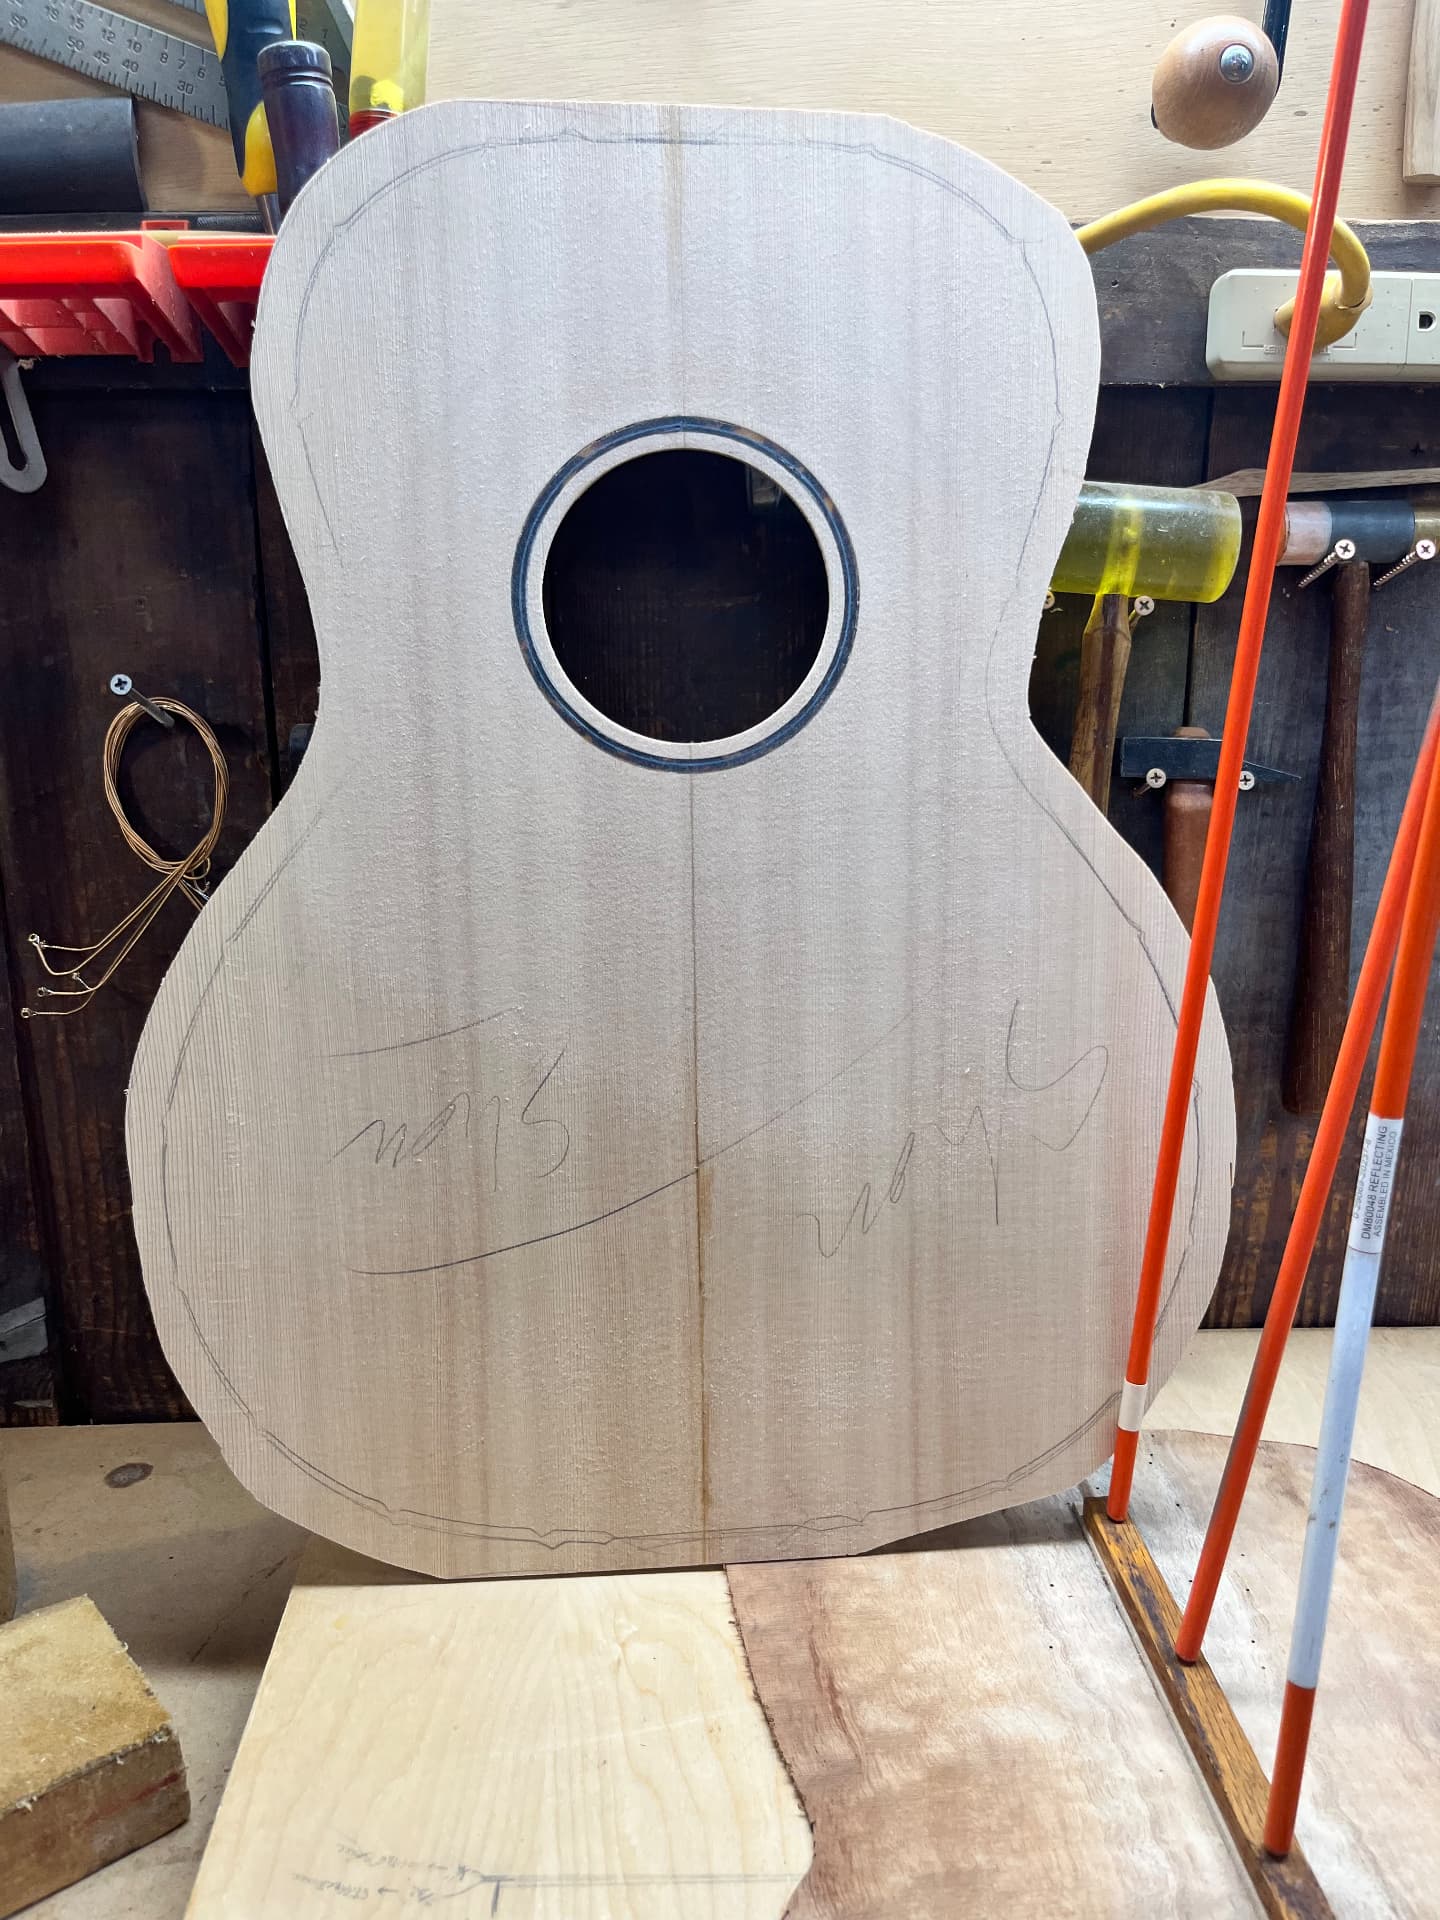
Then, I carved out a canyon in the wood and installed a rosette that I had designed. The rosette is made of a fake turtle-shell material salvaged from a bracelet, along with some wood that was dyed blue.
Stage Five
Carving and installing braces
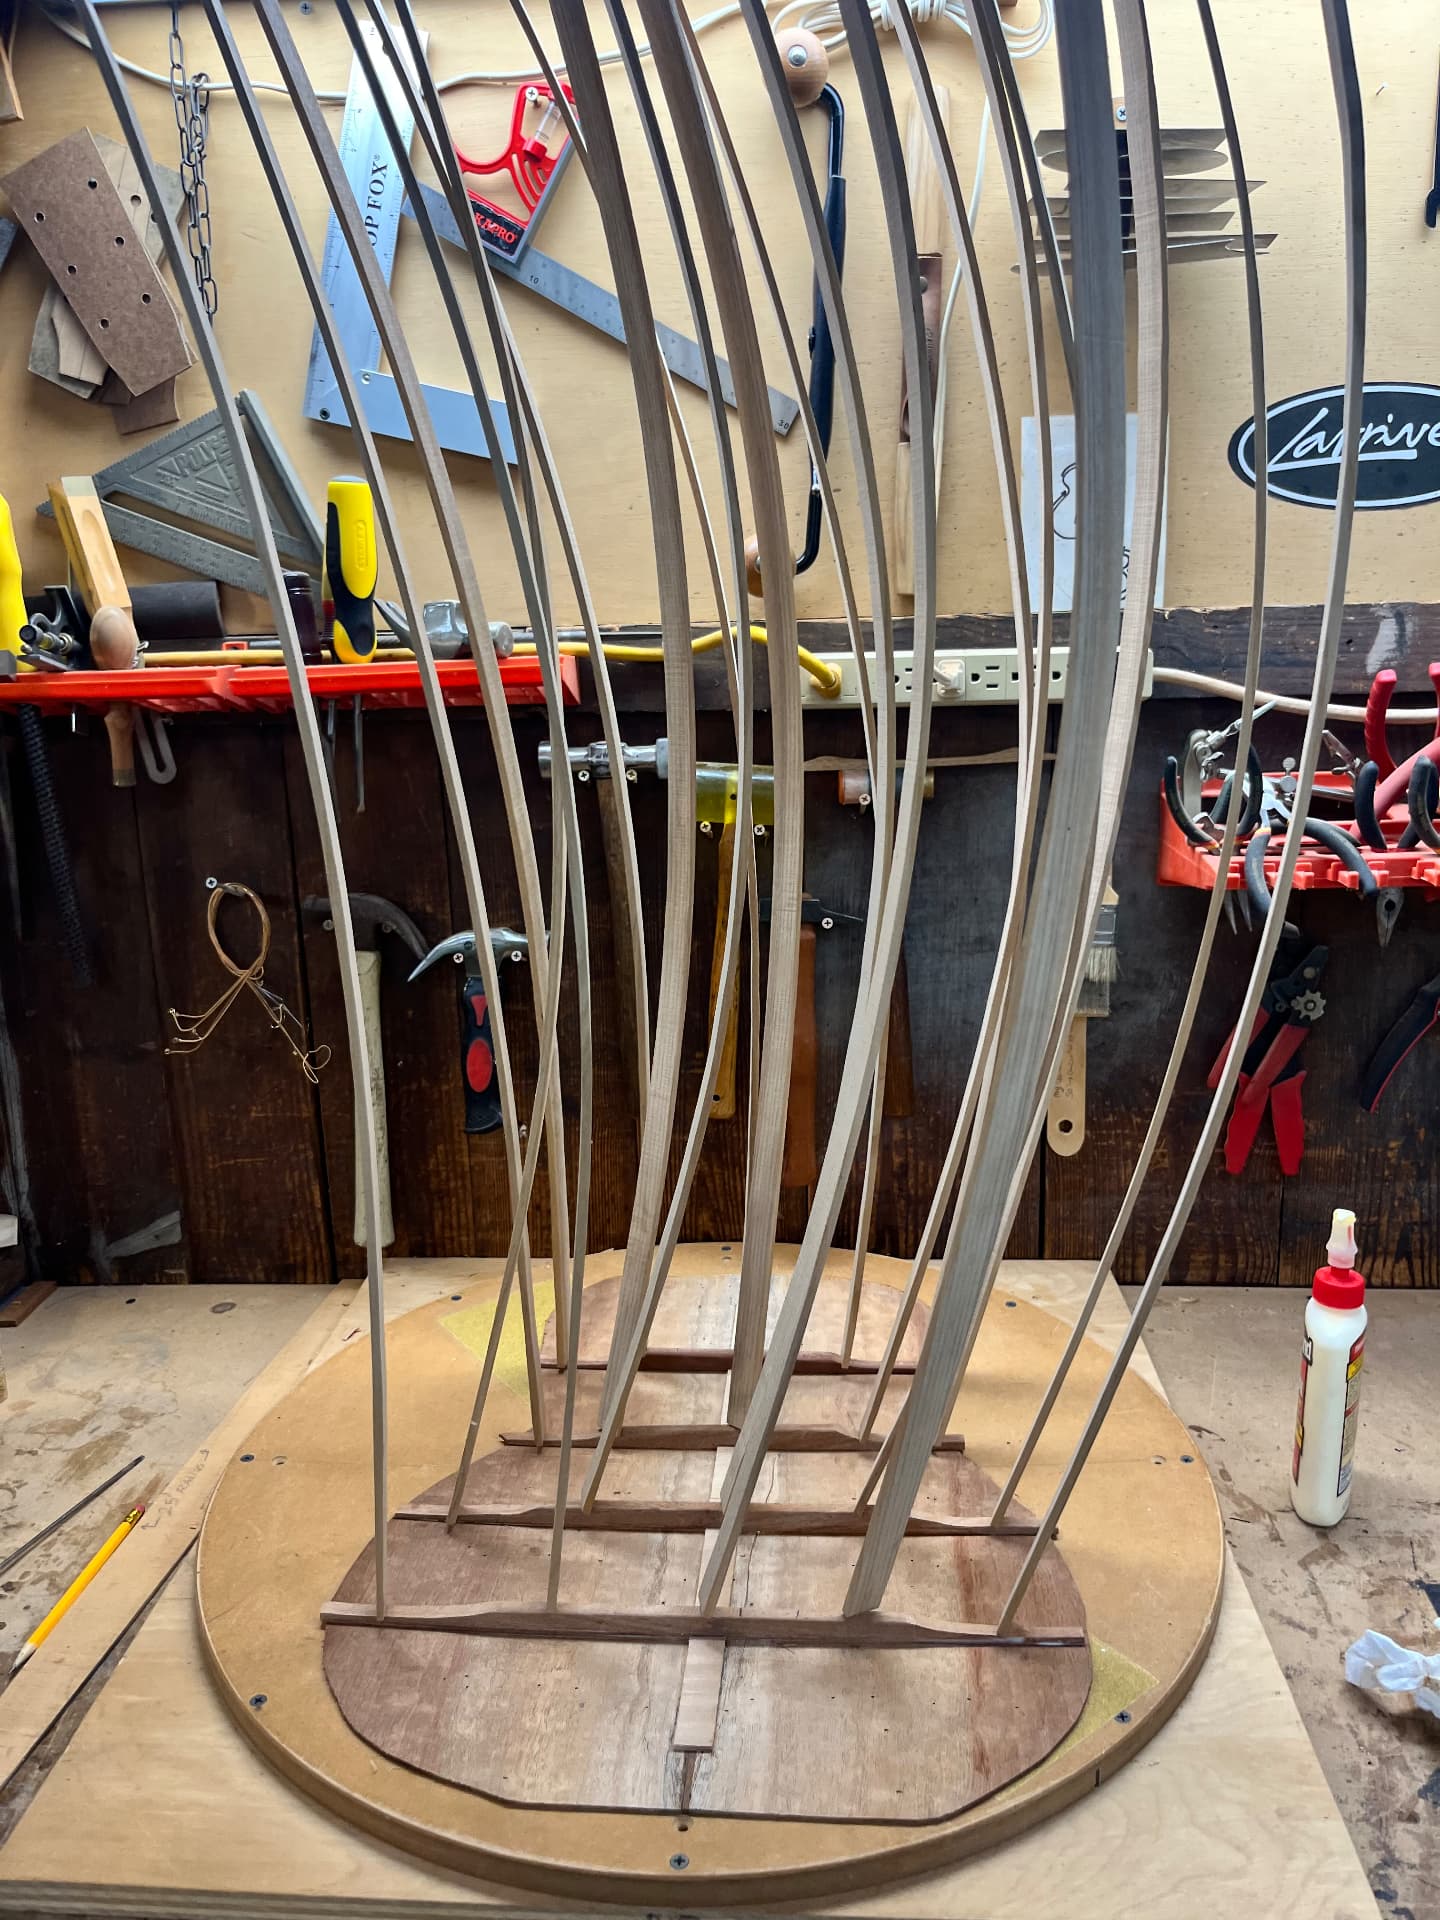
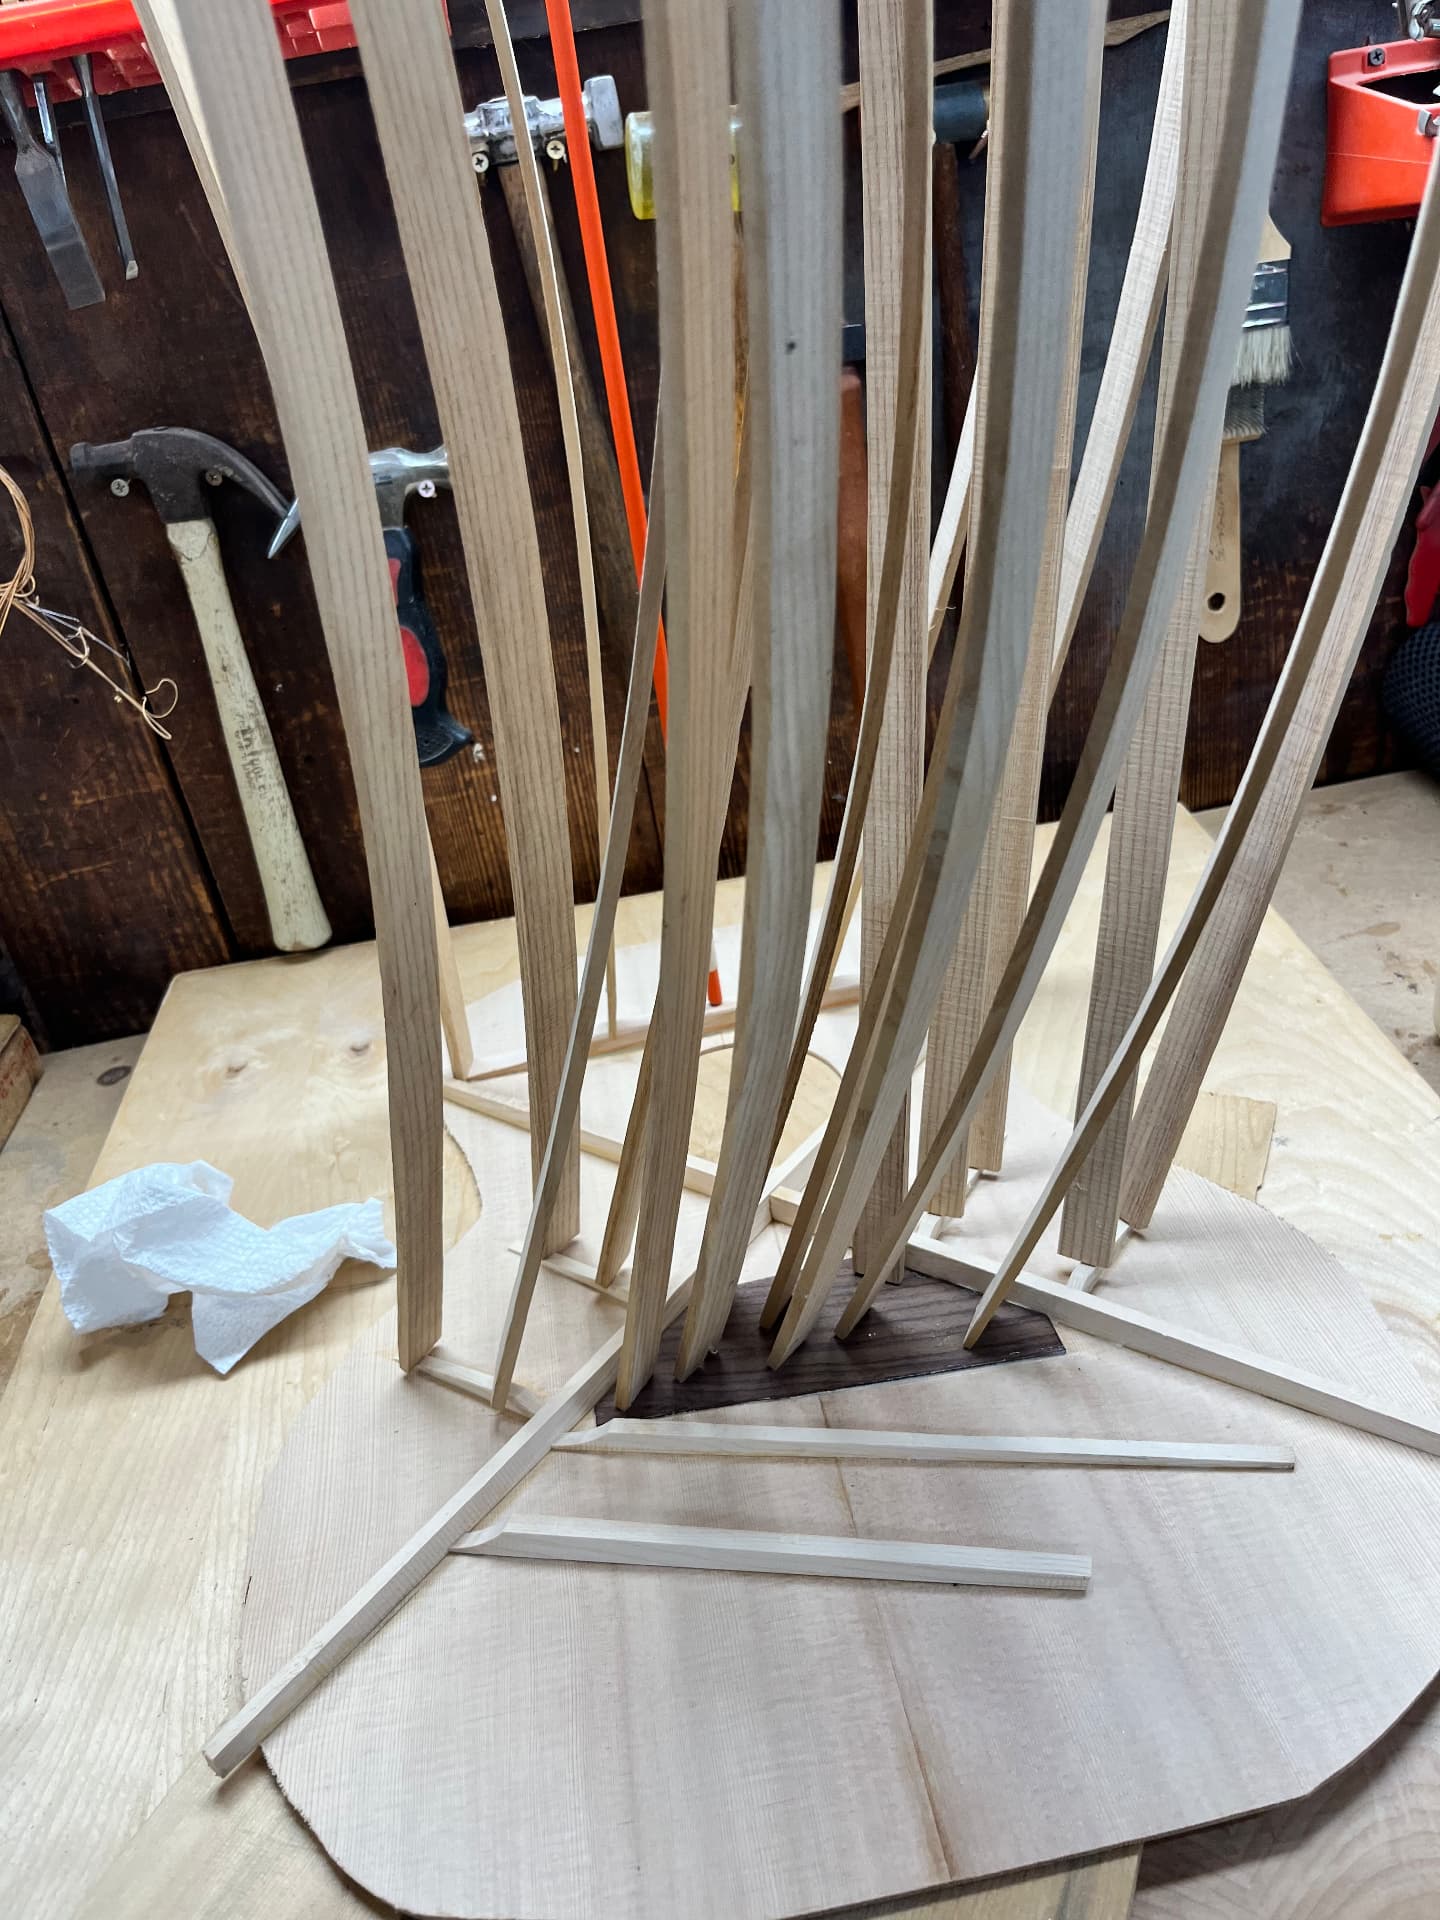
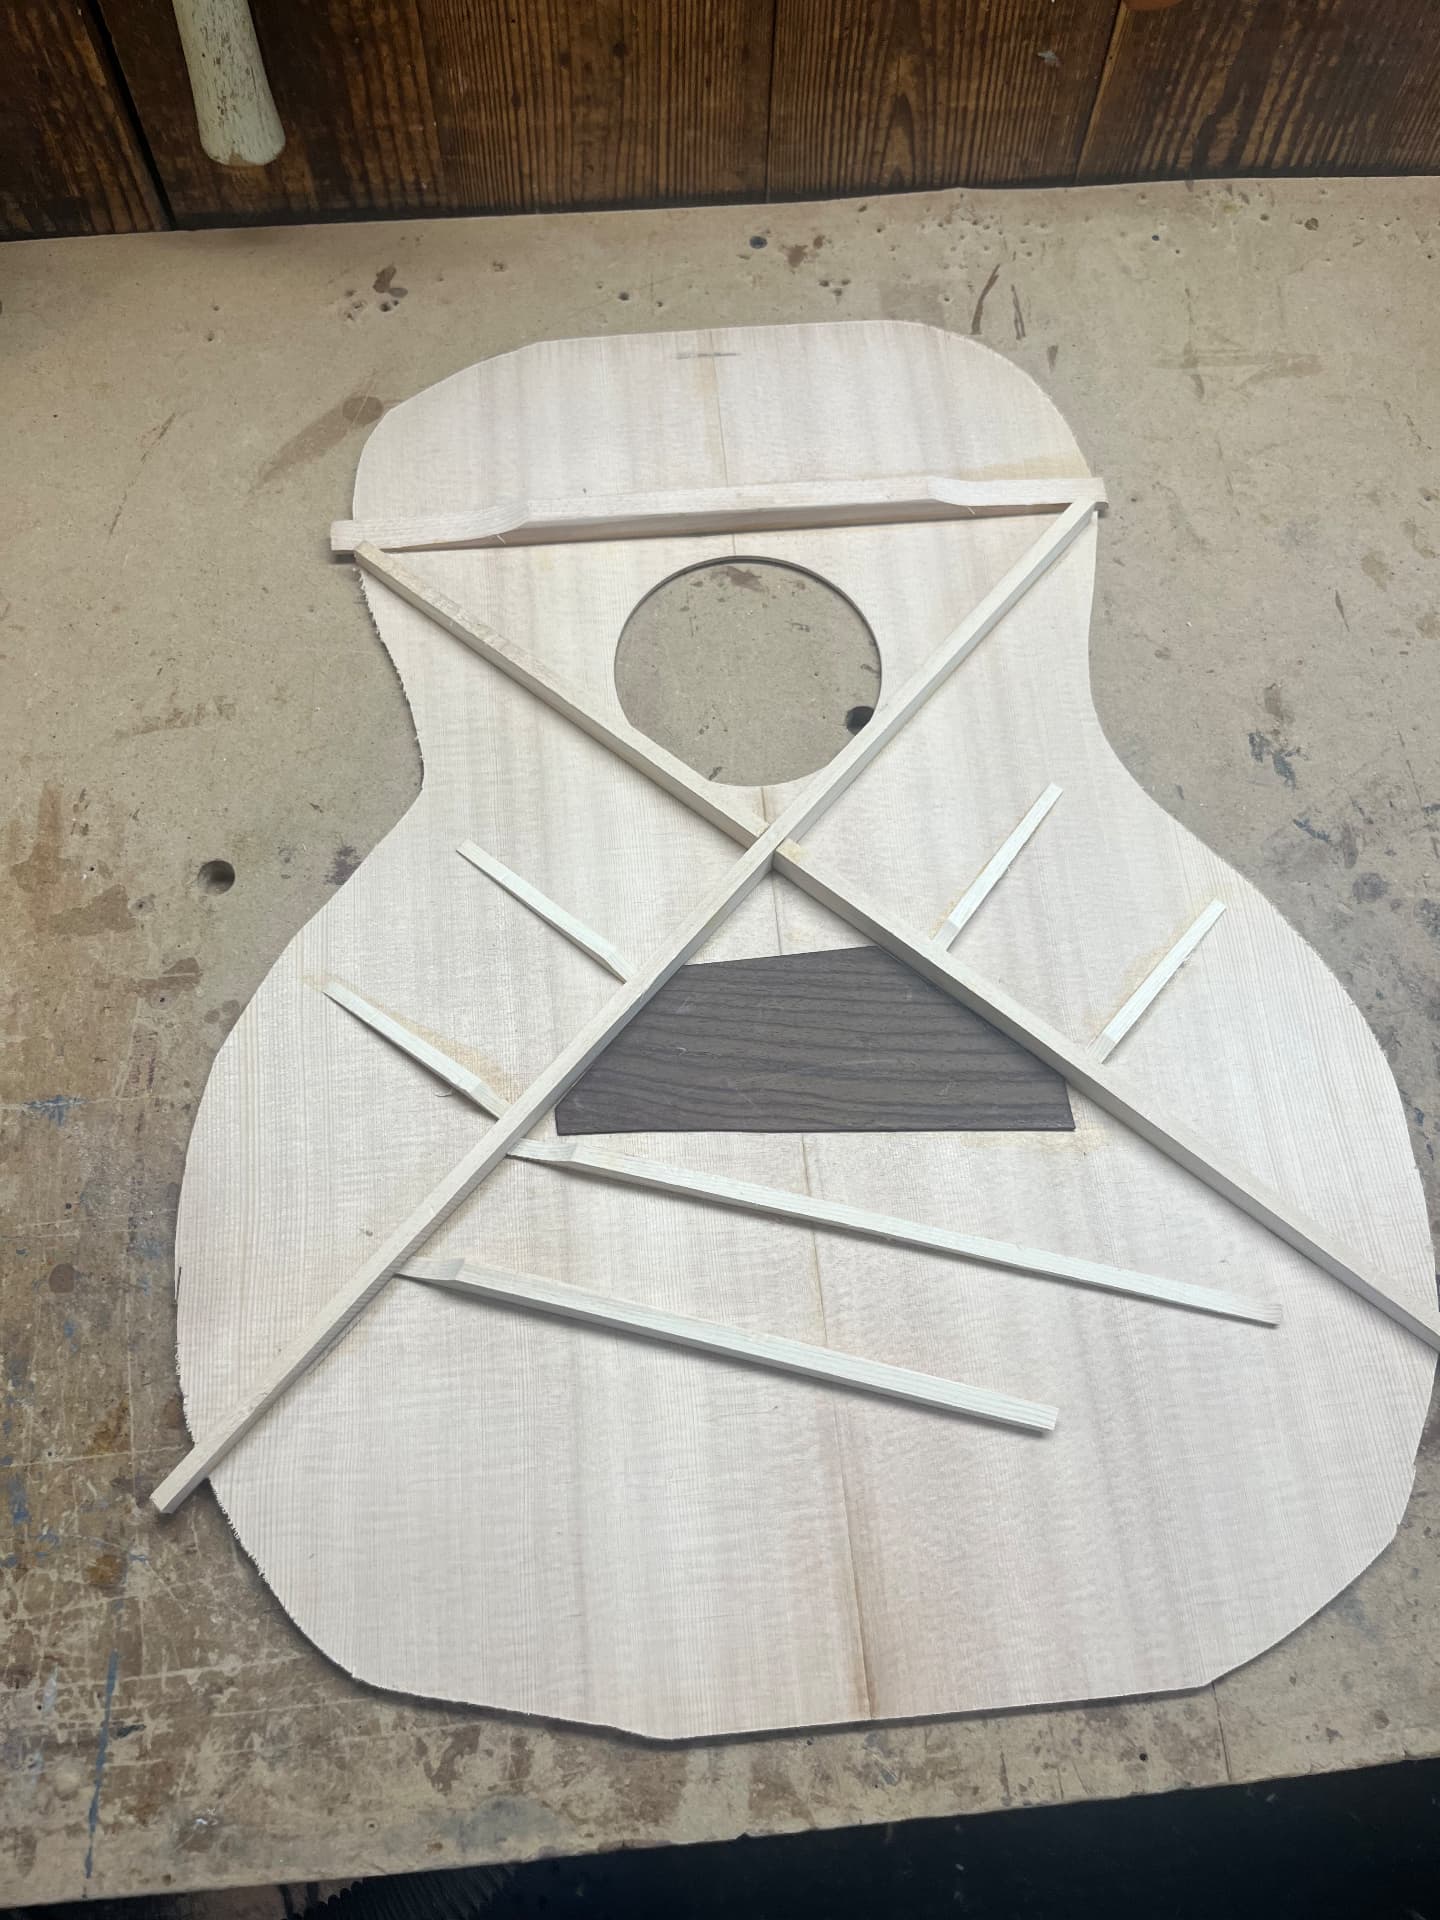
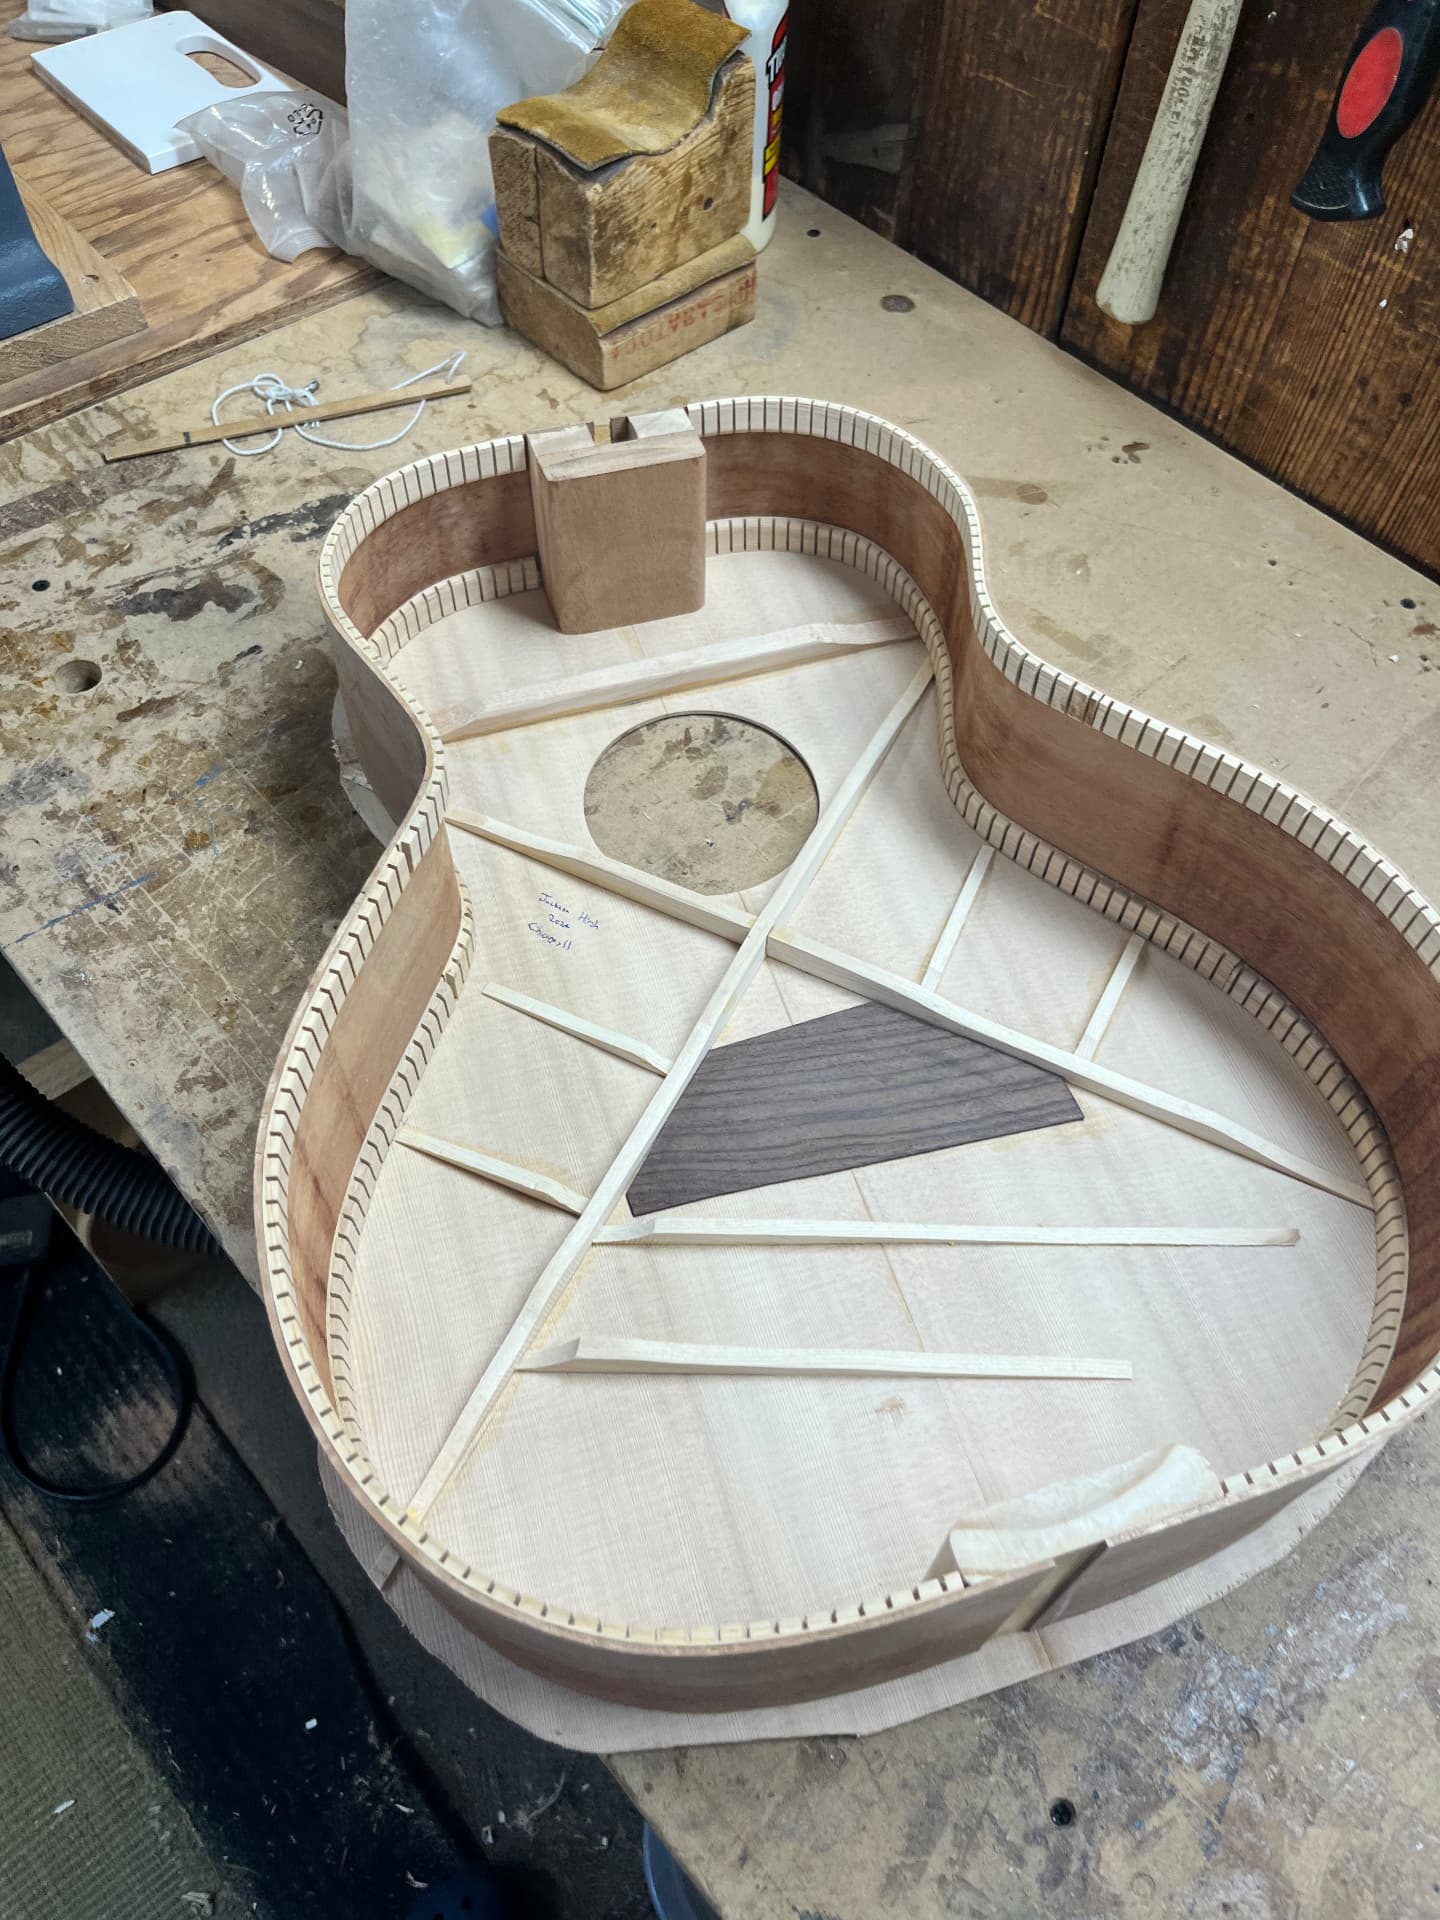
From the leftover spruce, I carved braces for the top and back. Then, each brace was carefully placed and glued into its spot on the body.
Stage Six
Installing the bridge plate
After the brace glue finished drying, I carved out a small wooden plate to go under the top to provide more support for the soon-to-be-added bridge.
Stage Seven
Making and bending the sides
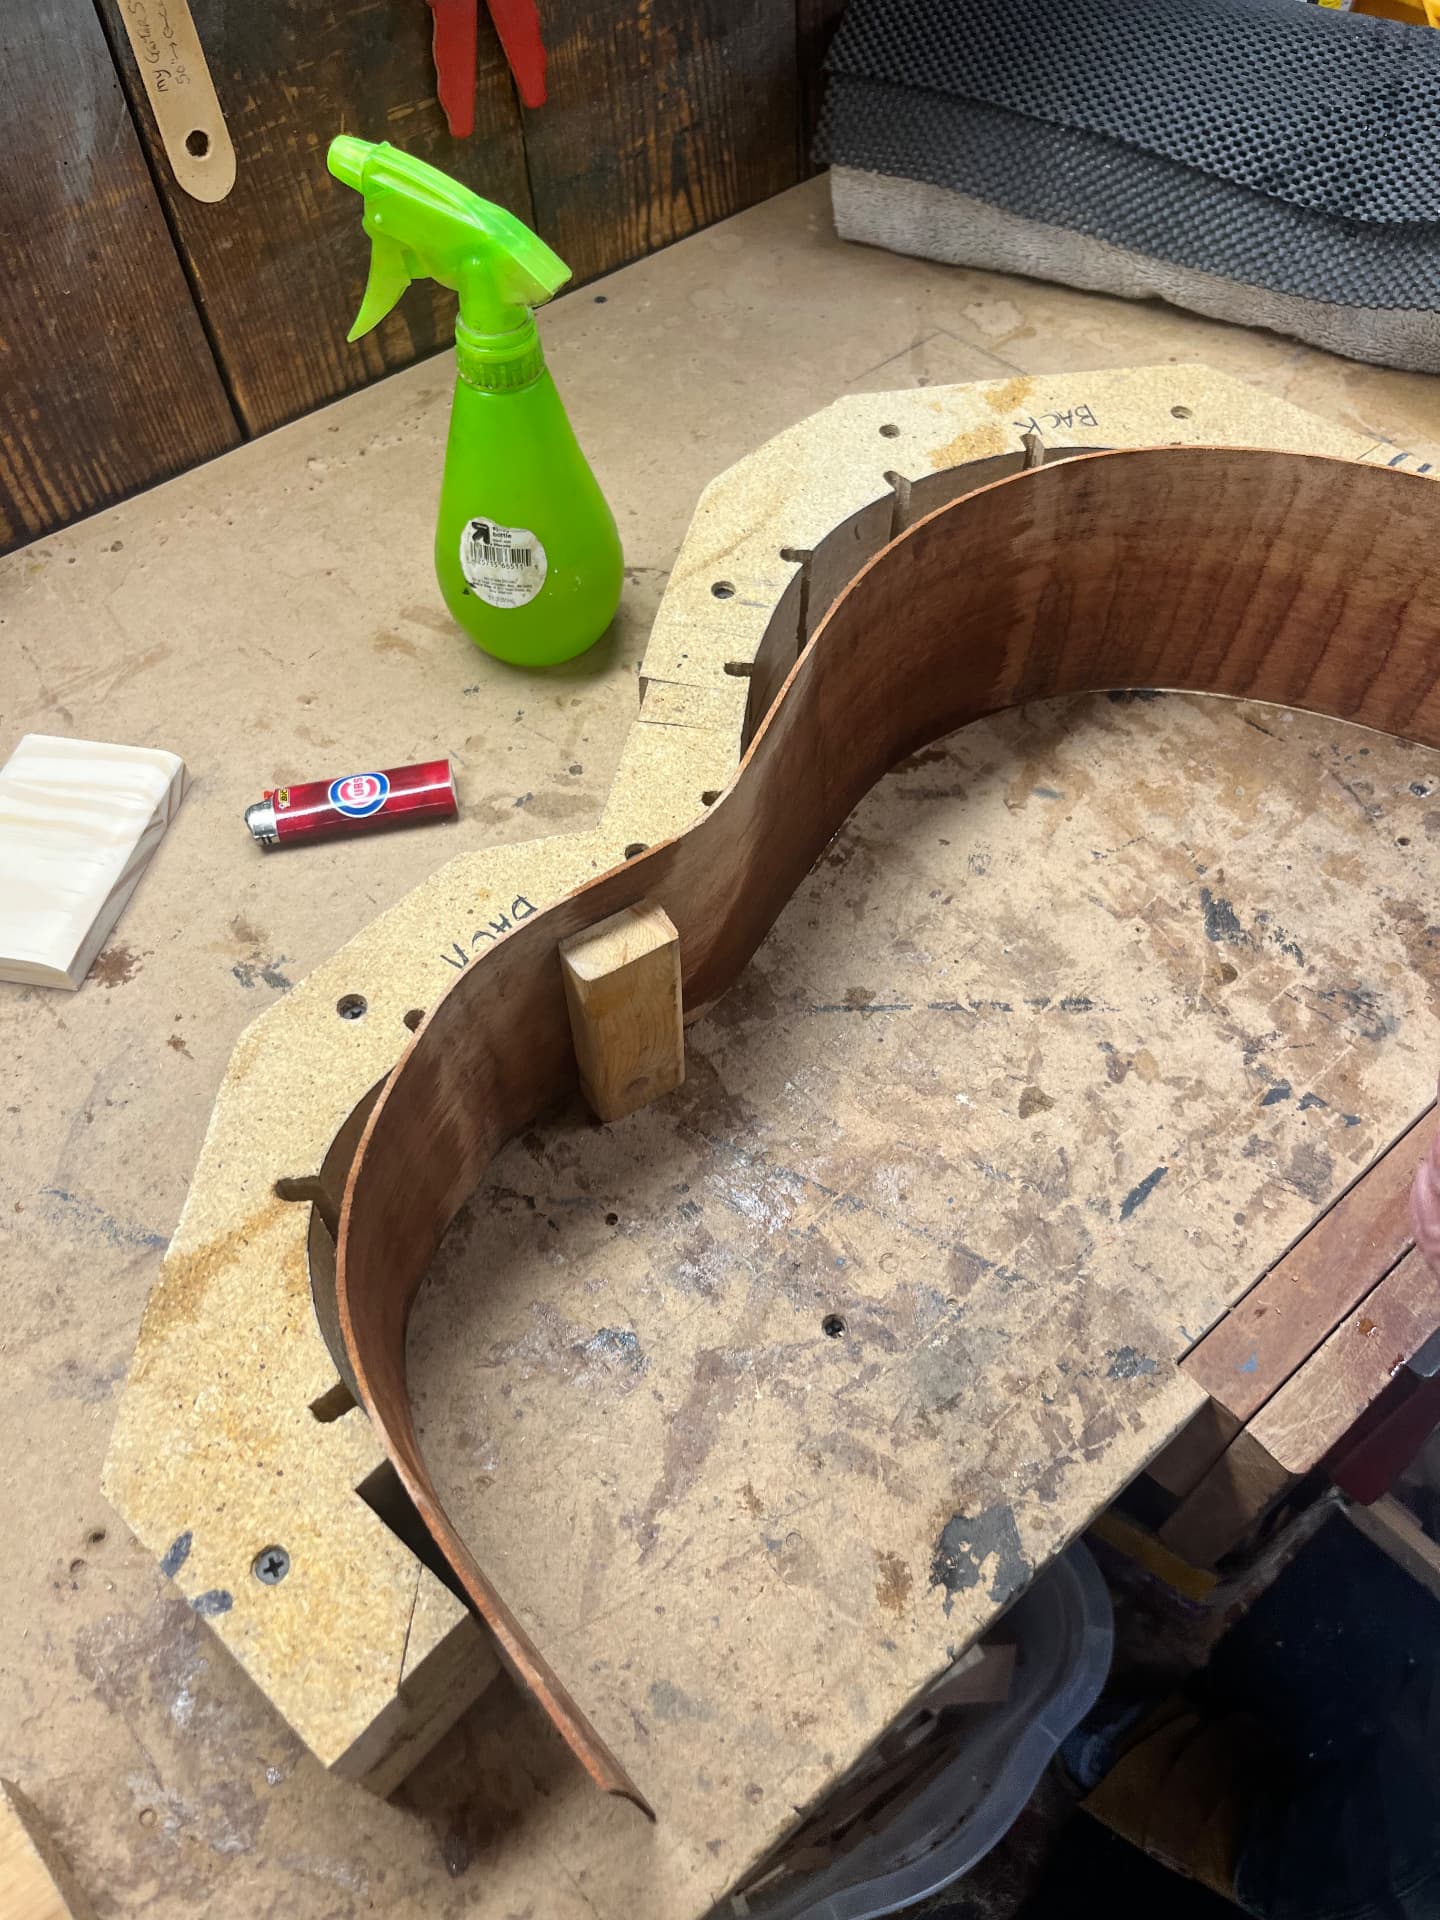
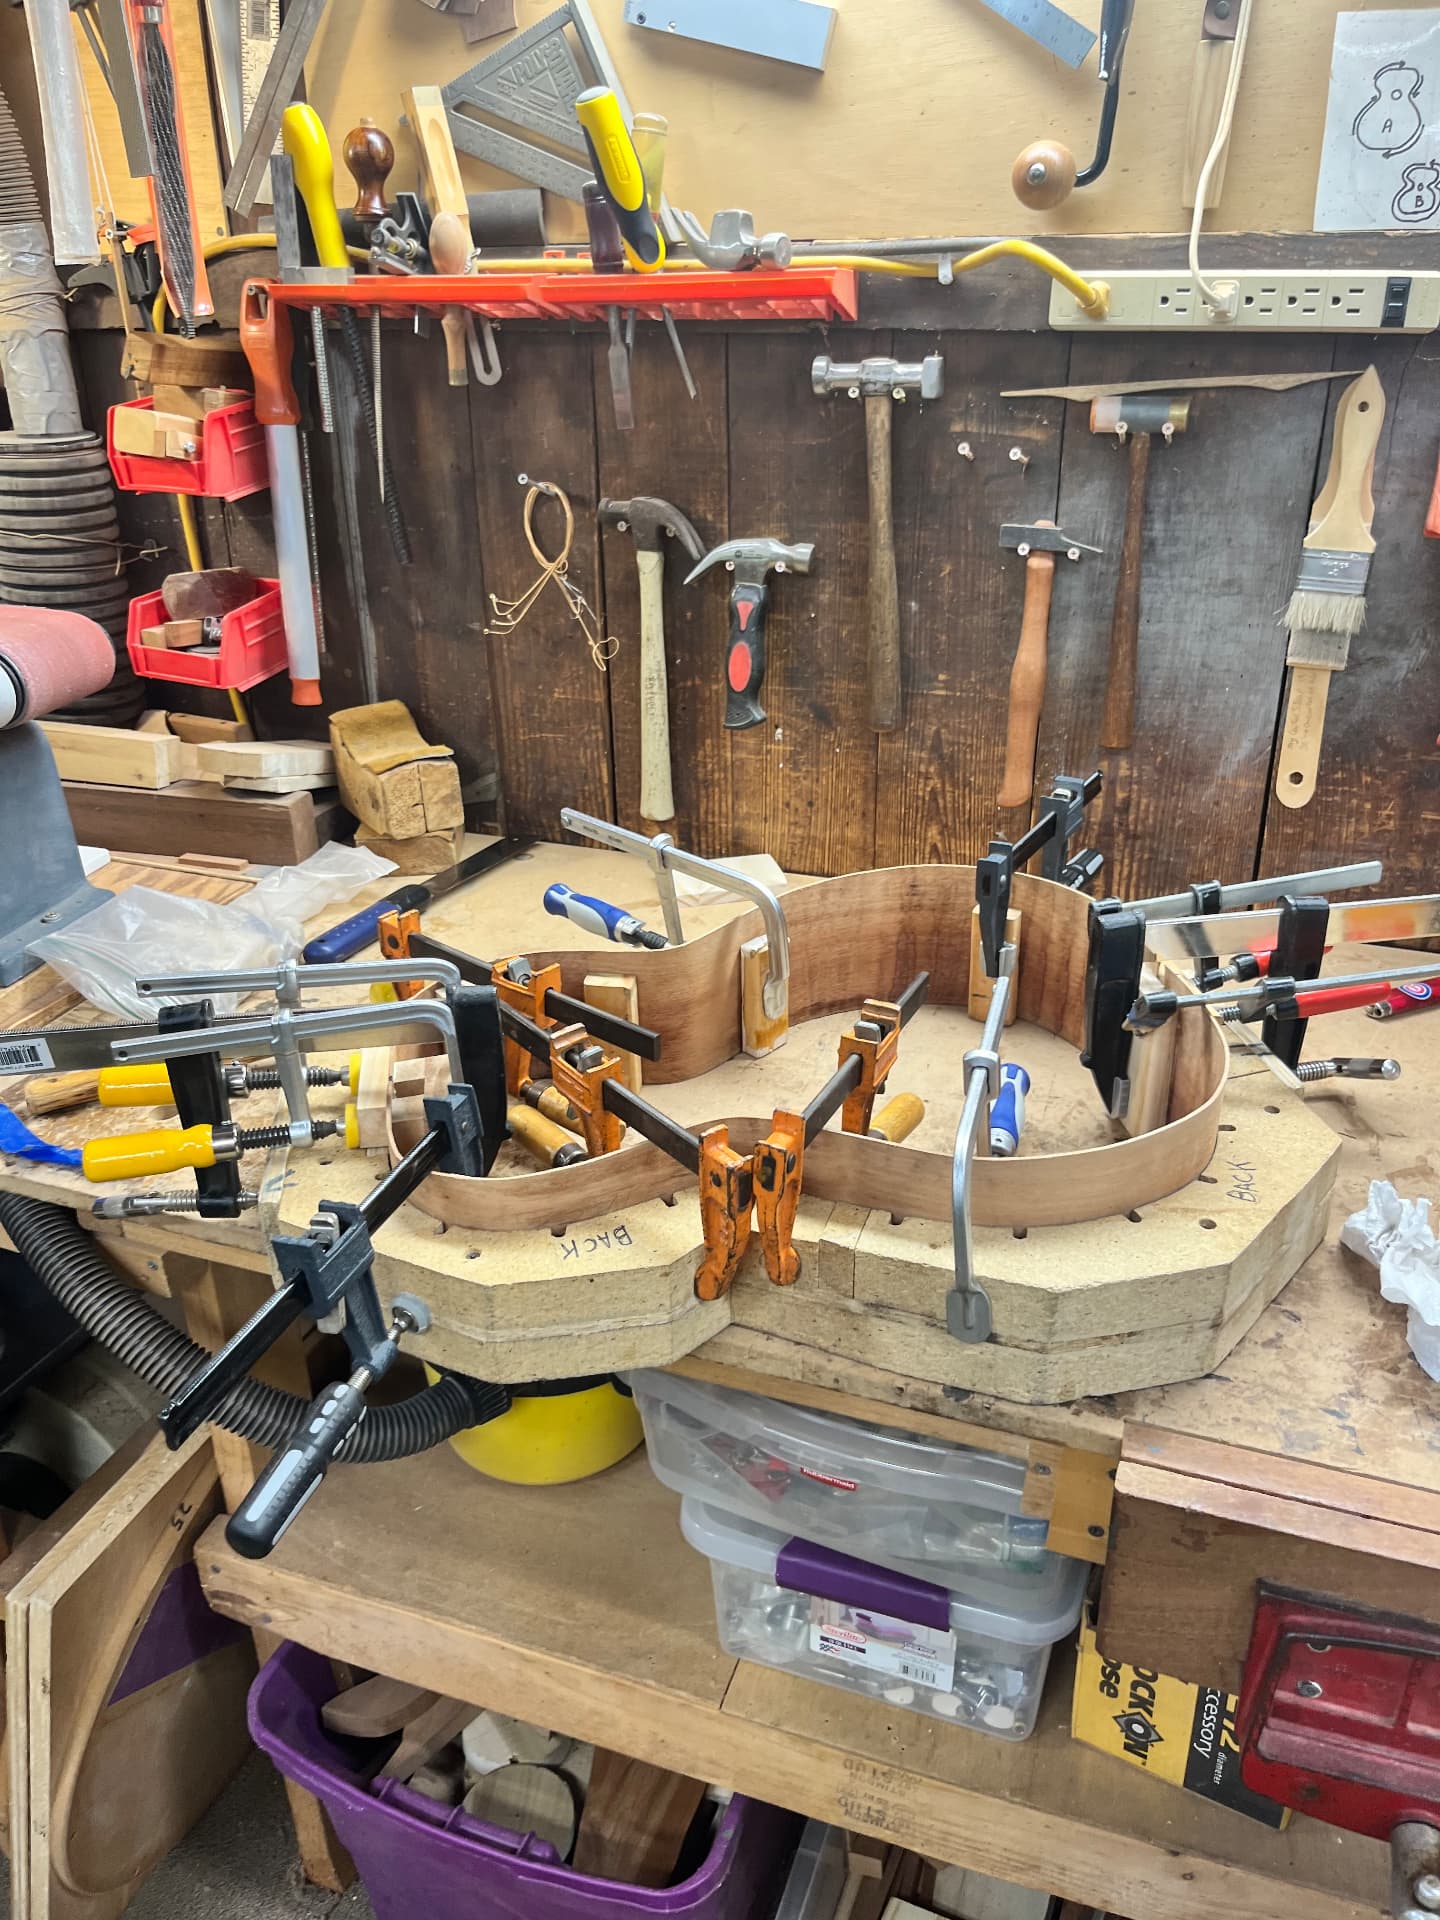
Next, I took some of the sapele and soaked it in water to soften the fibers. Once the wood was completely waterlogged, I bent it using a nearly red-hot metal cylinder, which caused the wood to stay bent as the water evaporated. To ensure the wood's shape was correct, I then clamped the sides and left them overnight in a shape mold.
Stage Eight
Binding and bonding the body
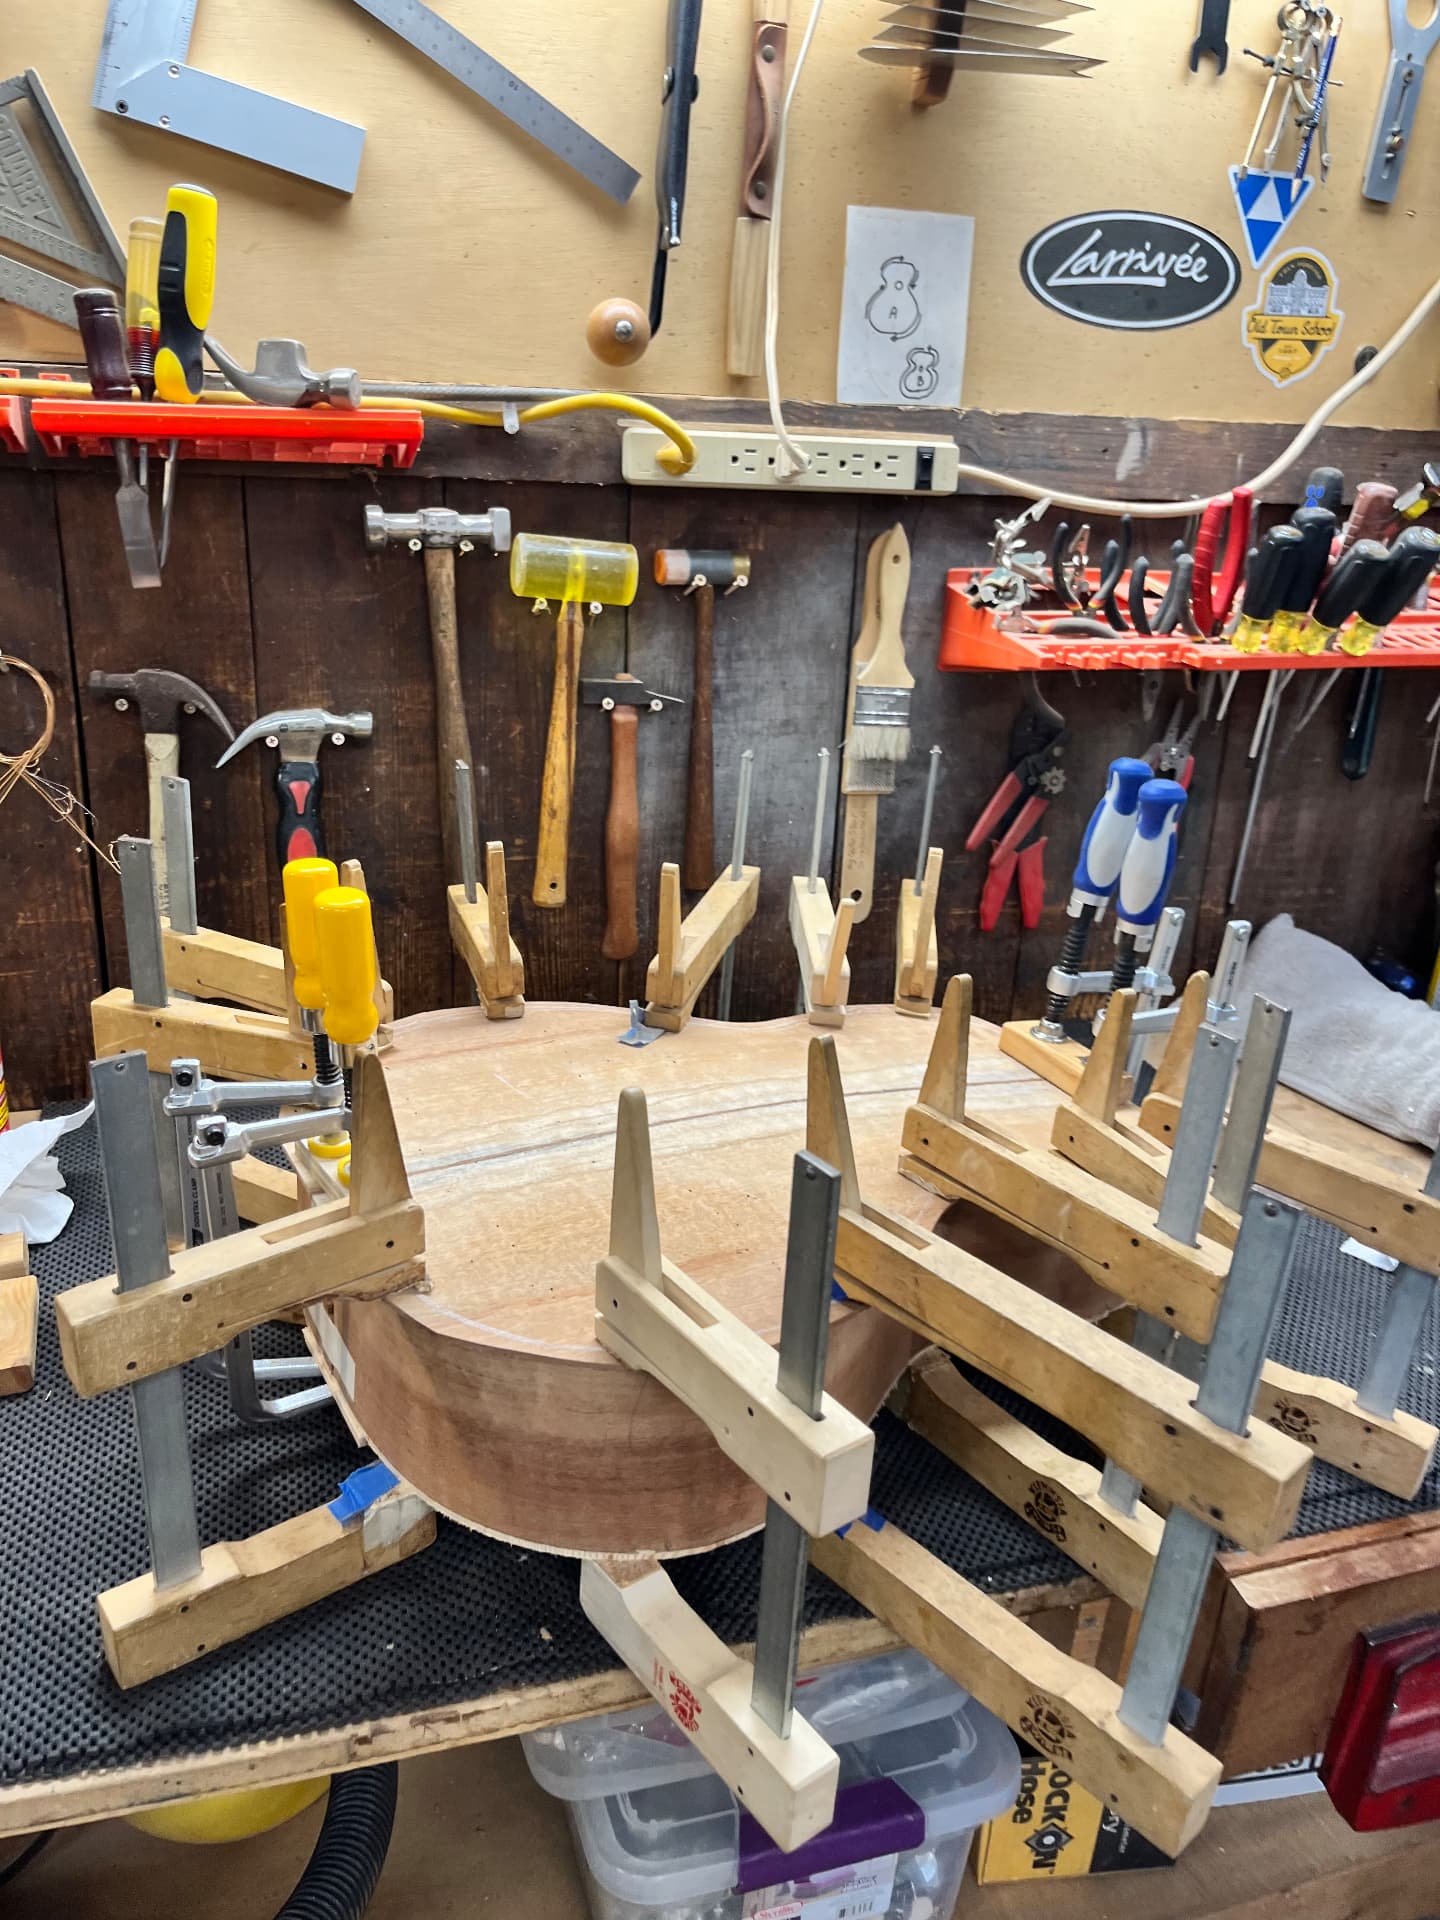
Now that all the body sections were complete, I added wooden binding strips to all the edges. Then, I glued and clamped the whole thing together.
Stage Nine
Trimming the body
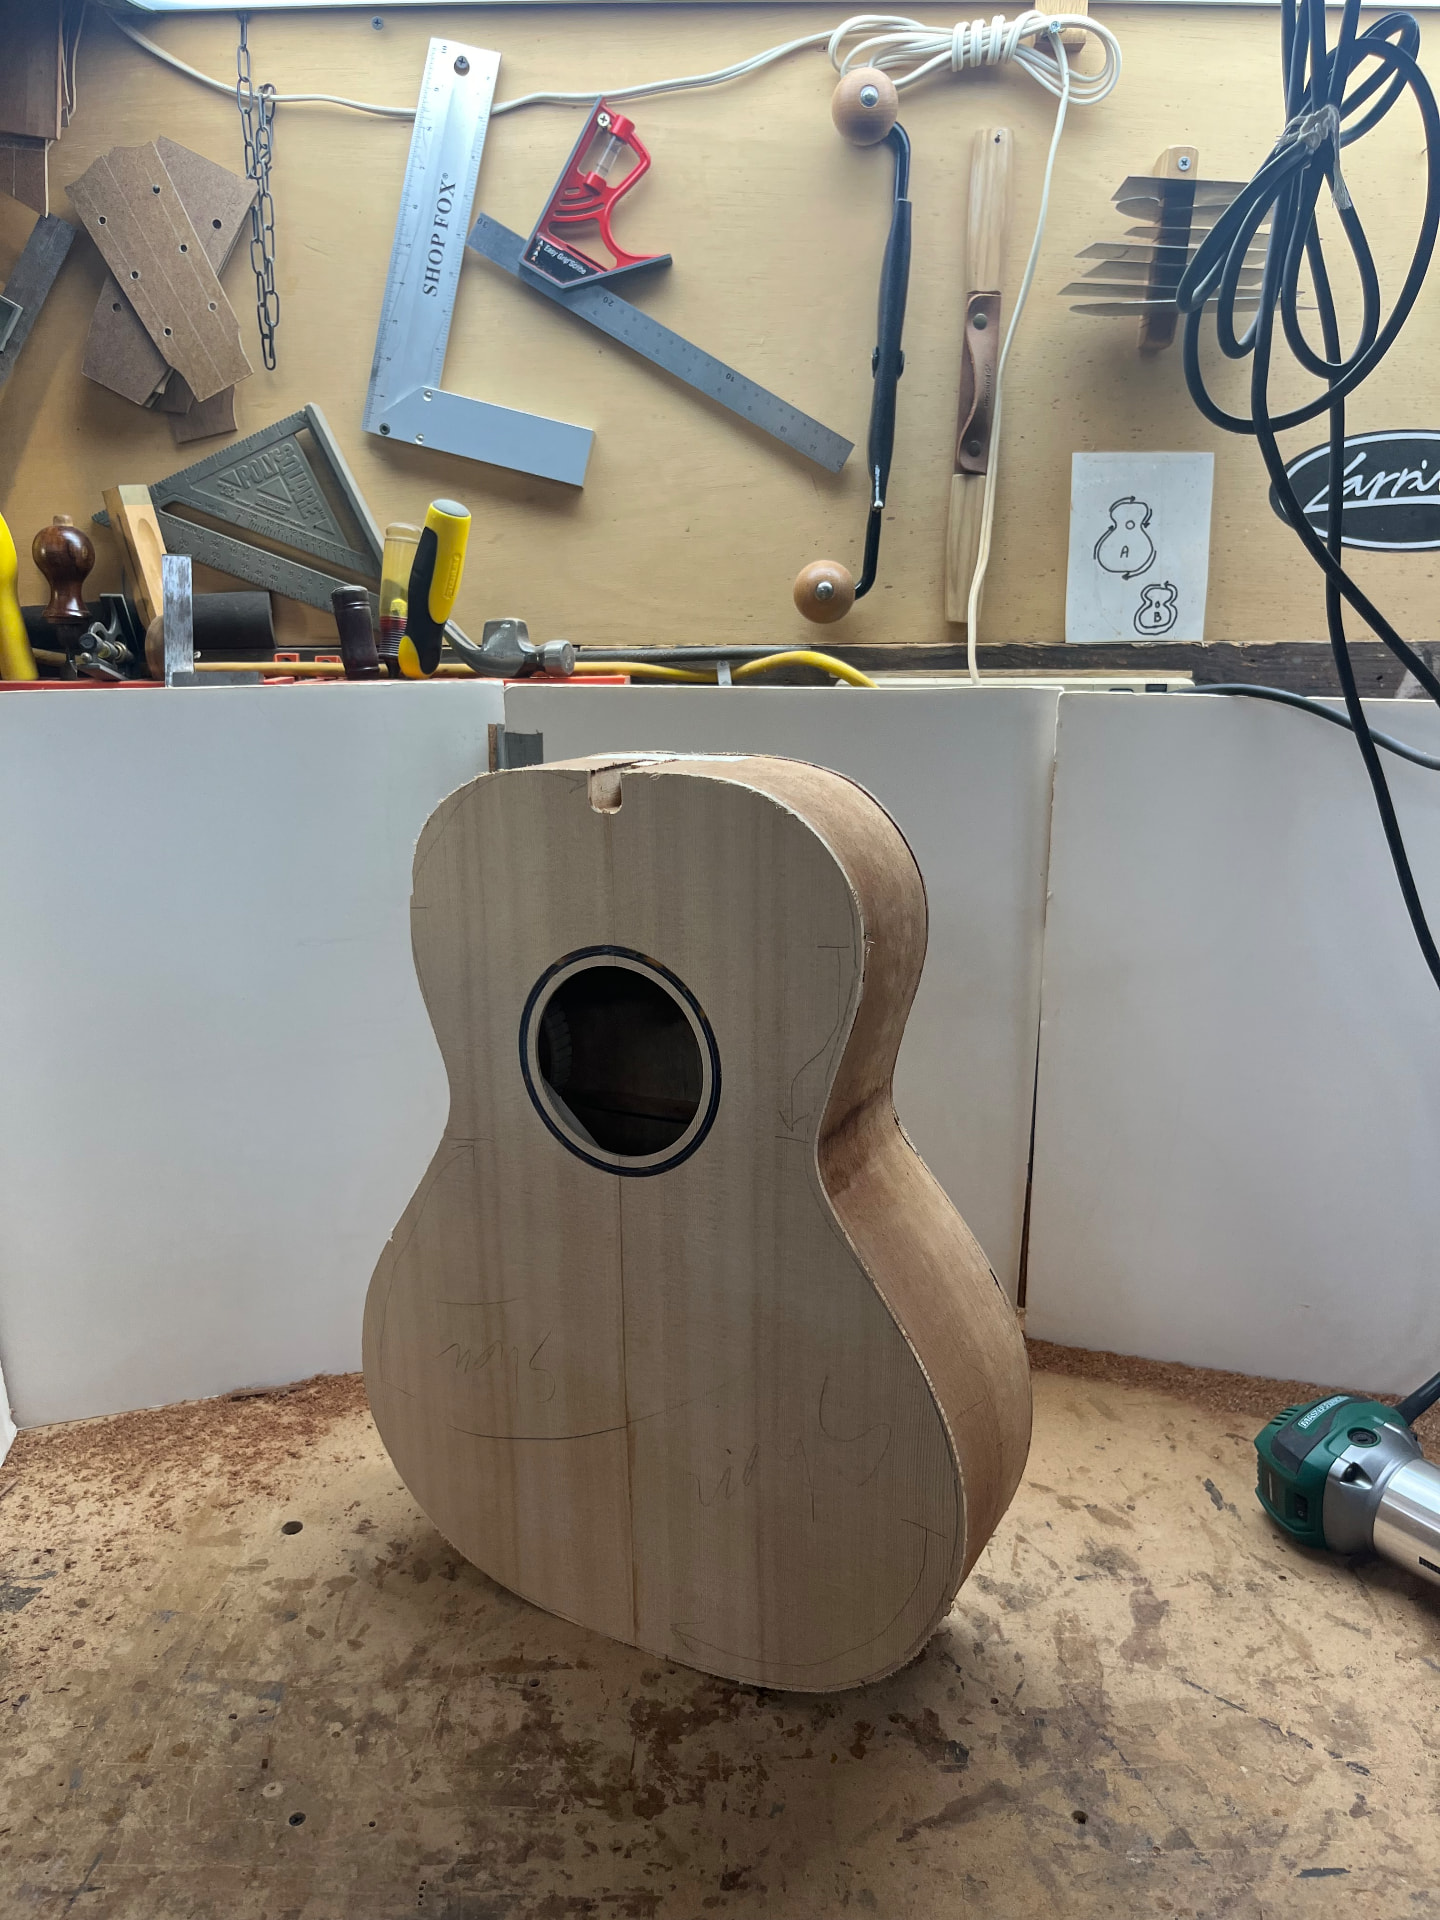
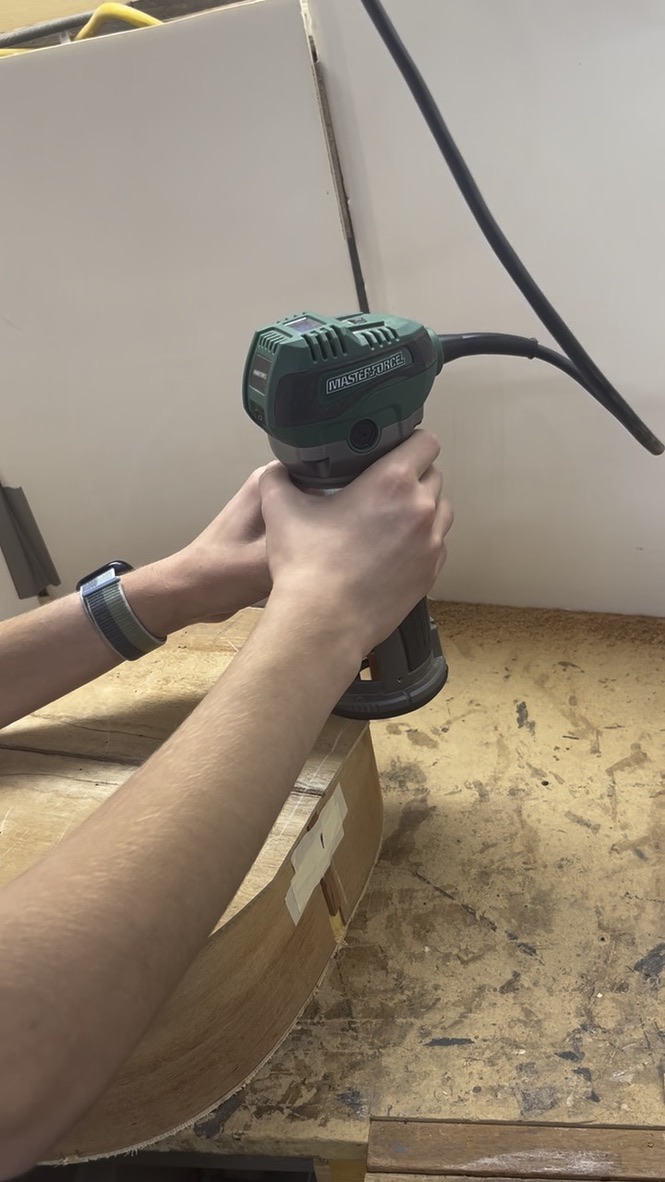
After everything had dried, it was time to trim off the excess wood.
Stage Ten
The neck pt. 1
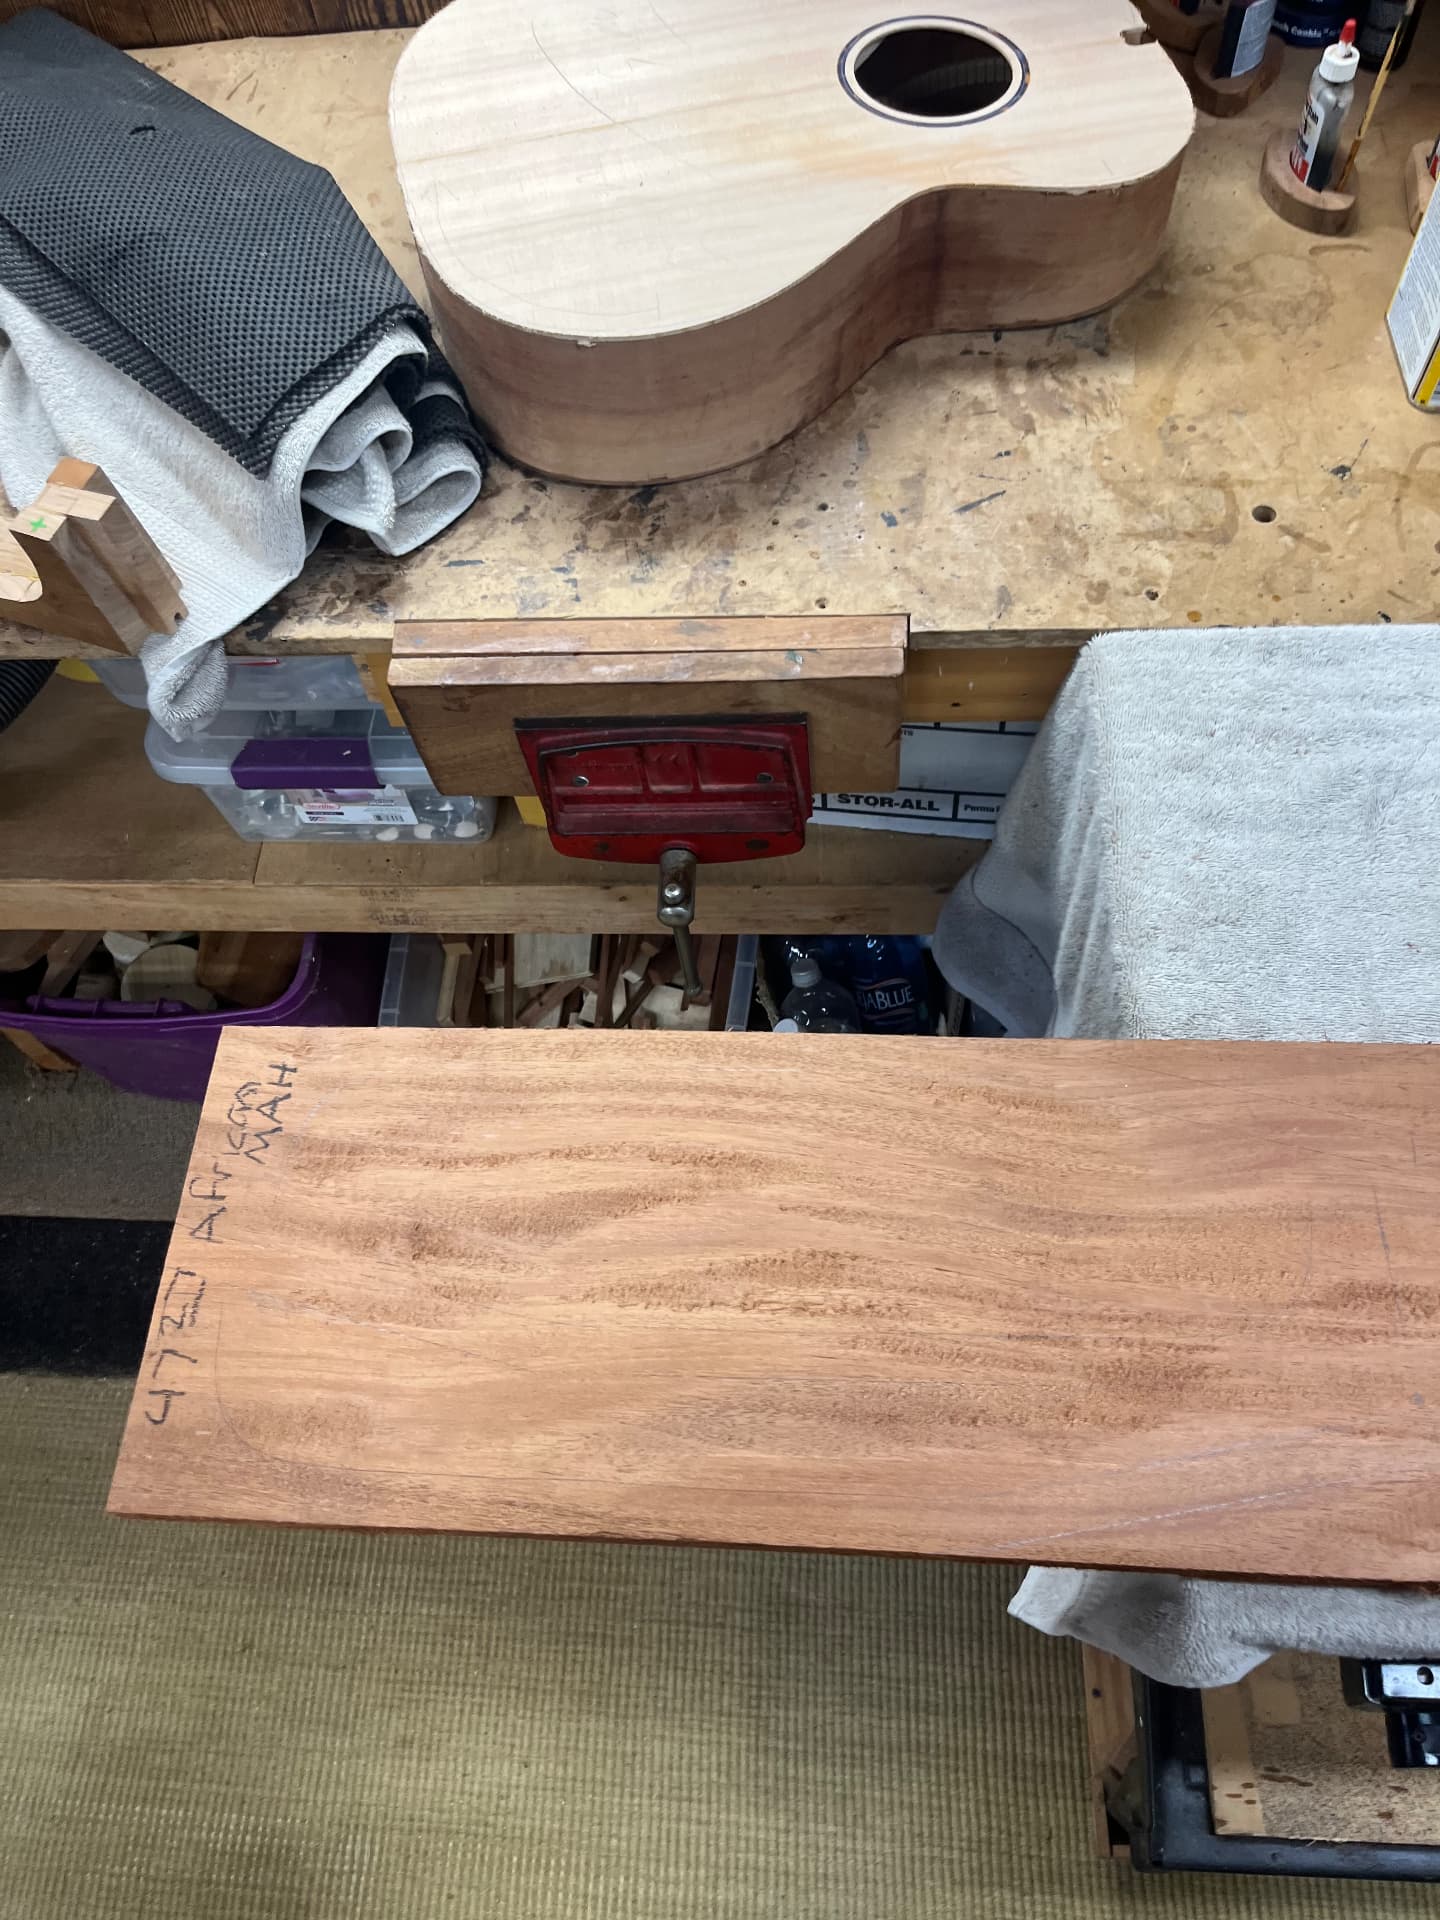
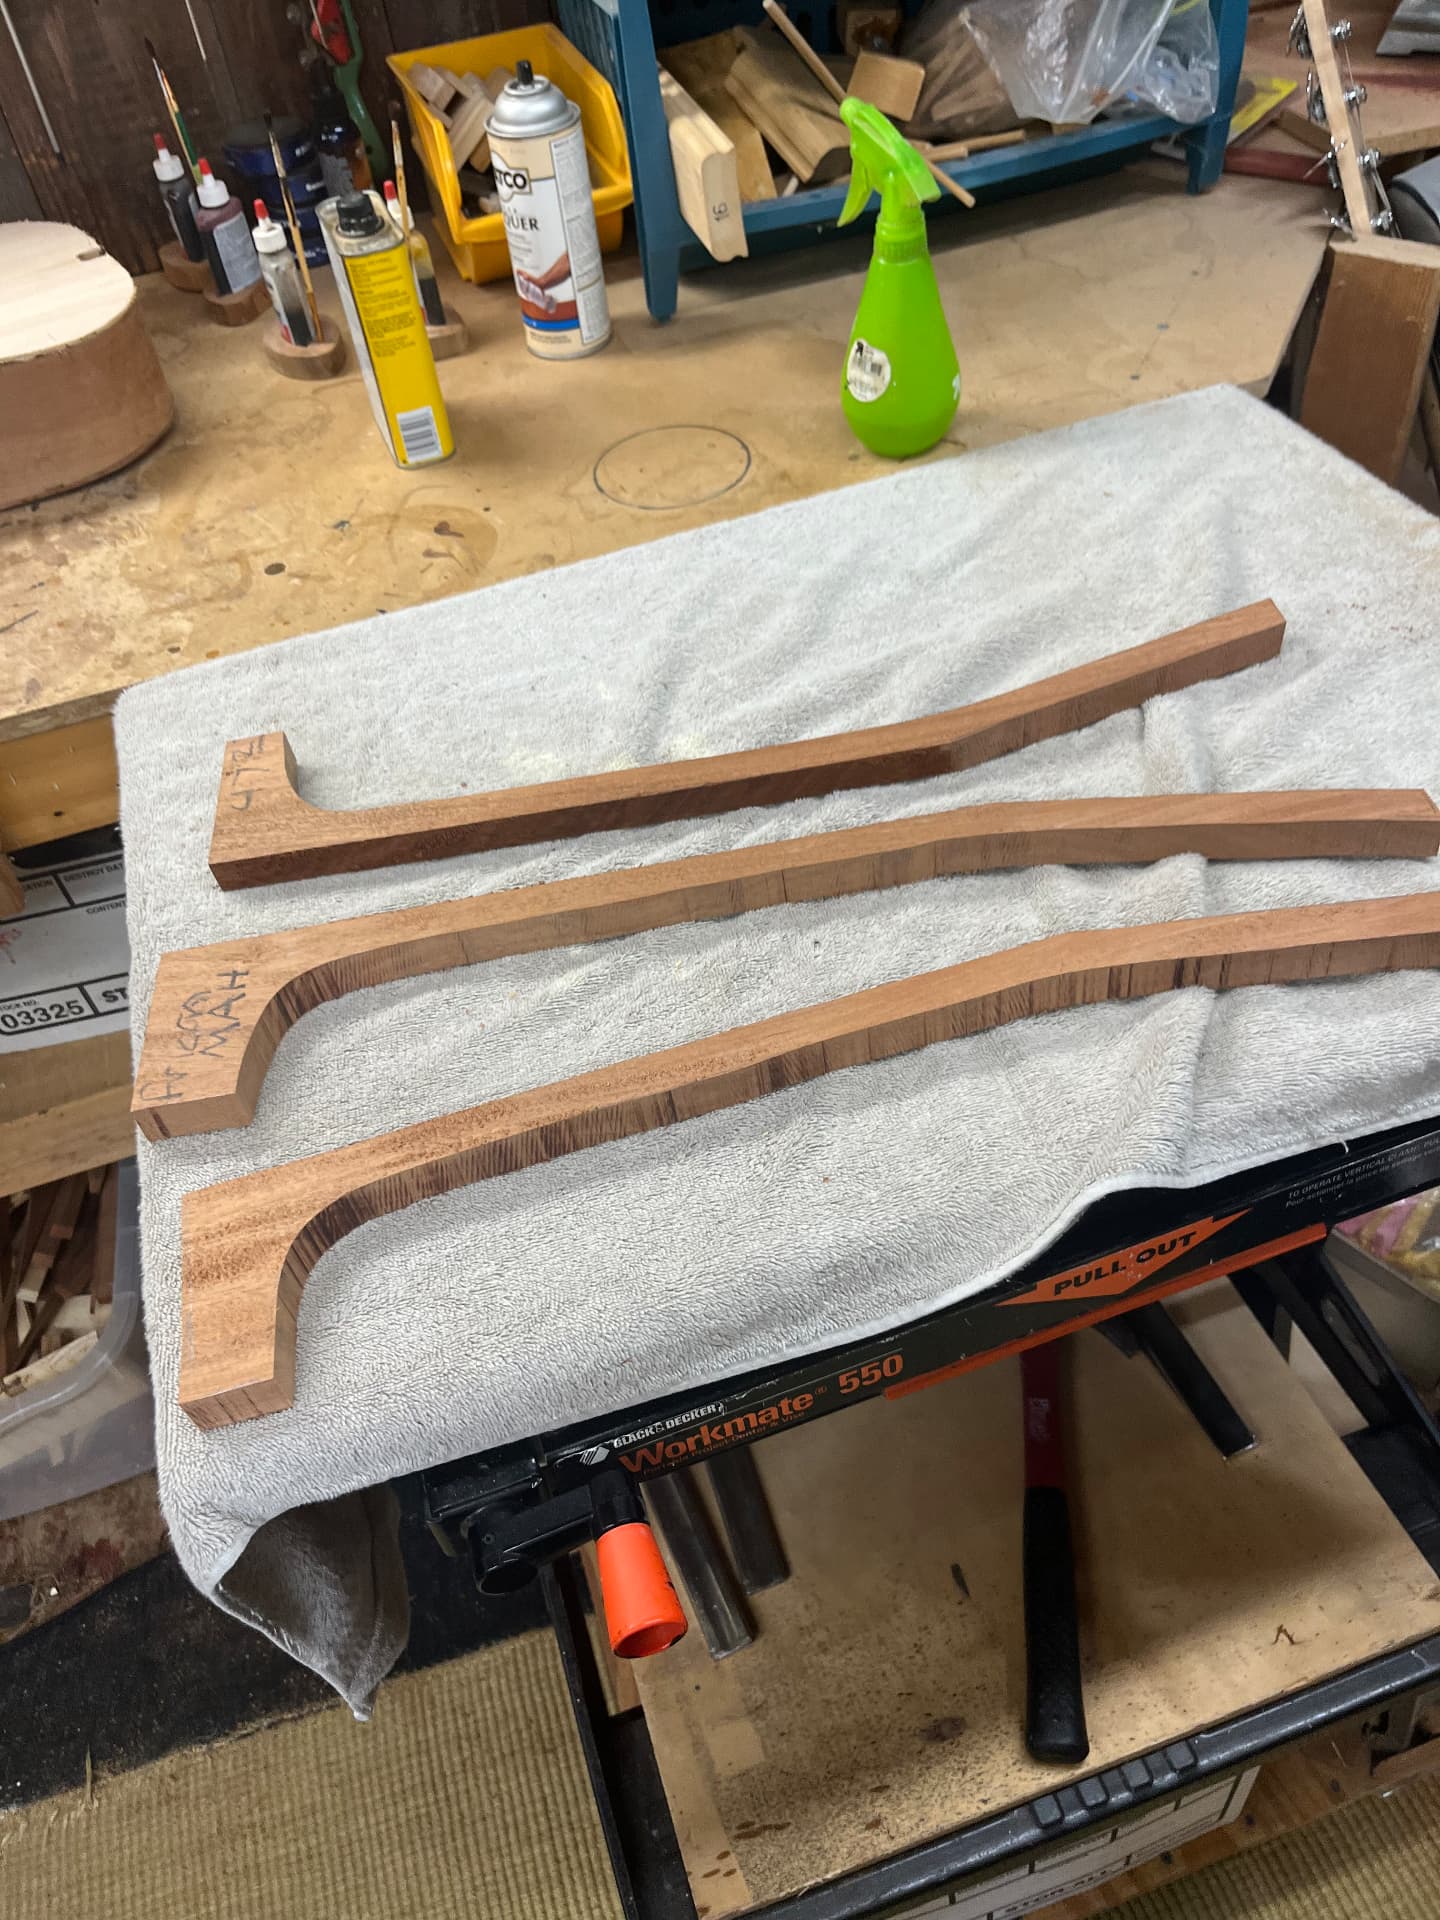
Using the other board of sapele, I cut out the shape of the neck in thirds.
Stage Eleven
The neck pt. 2
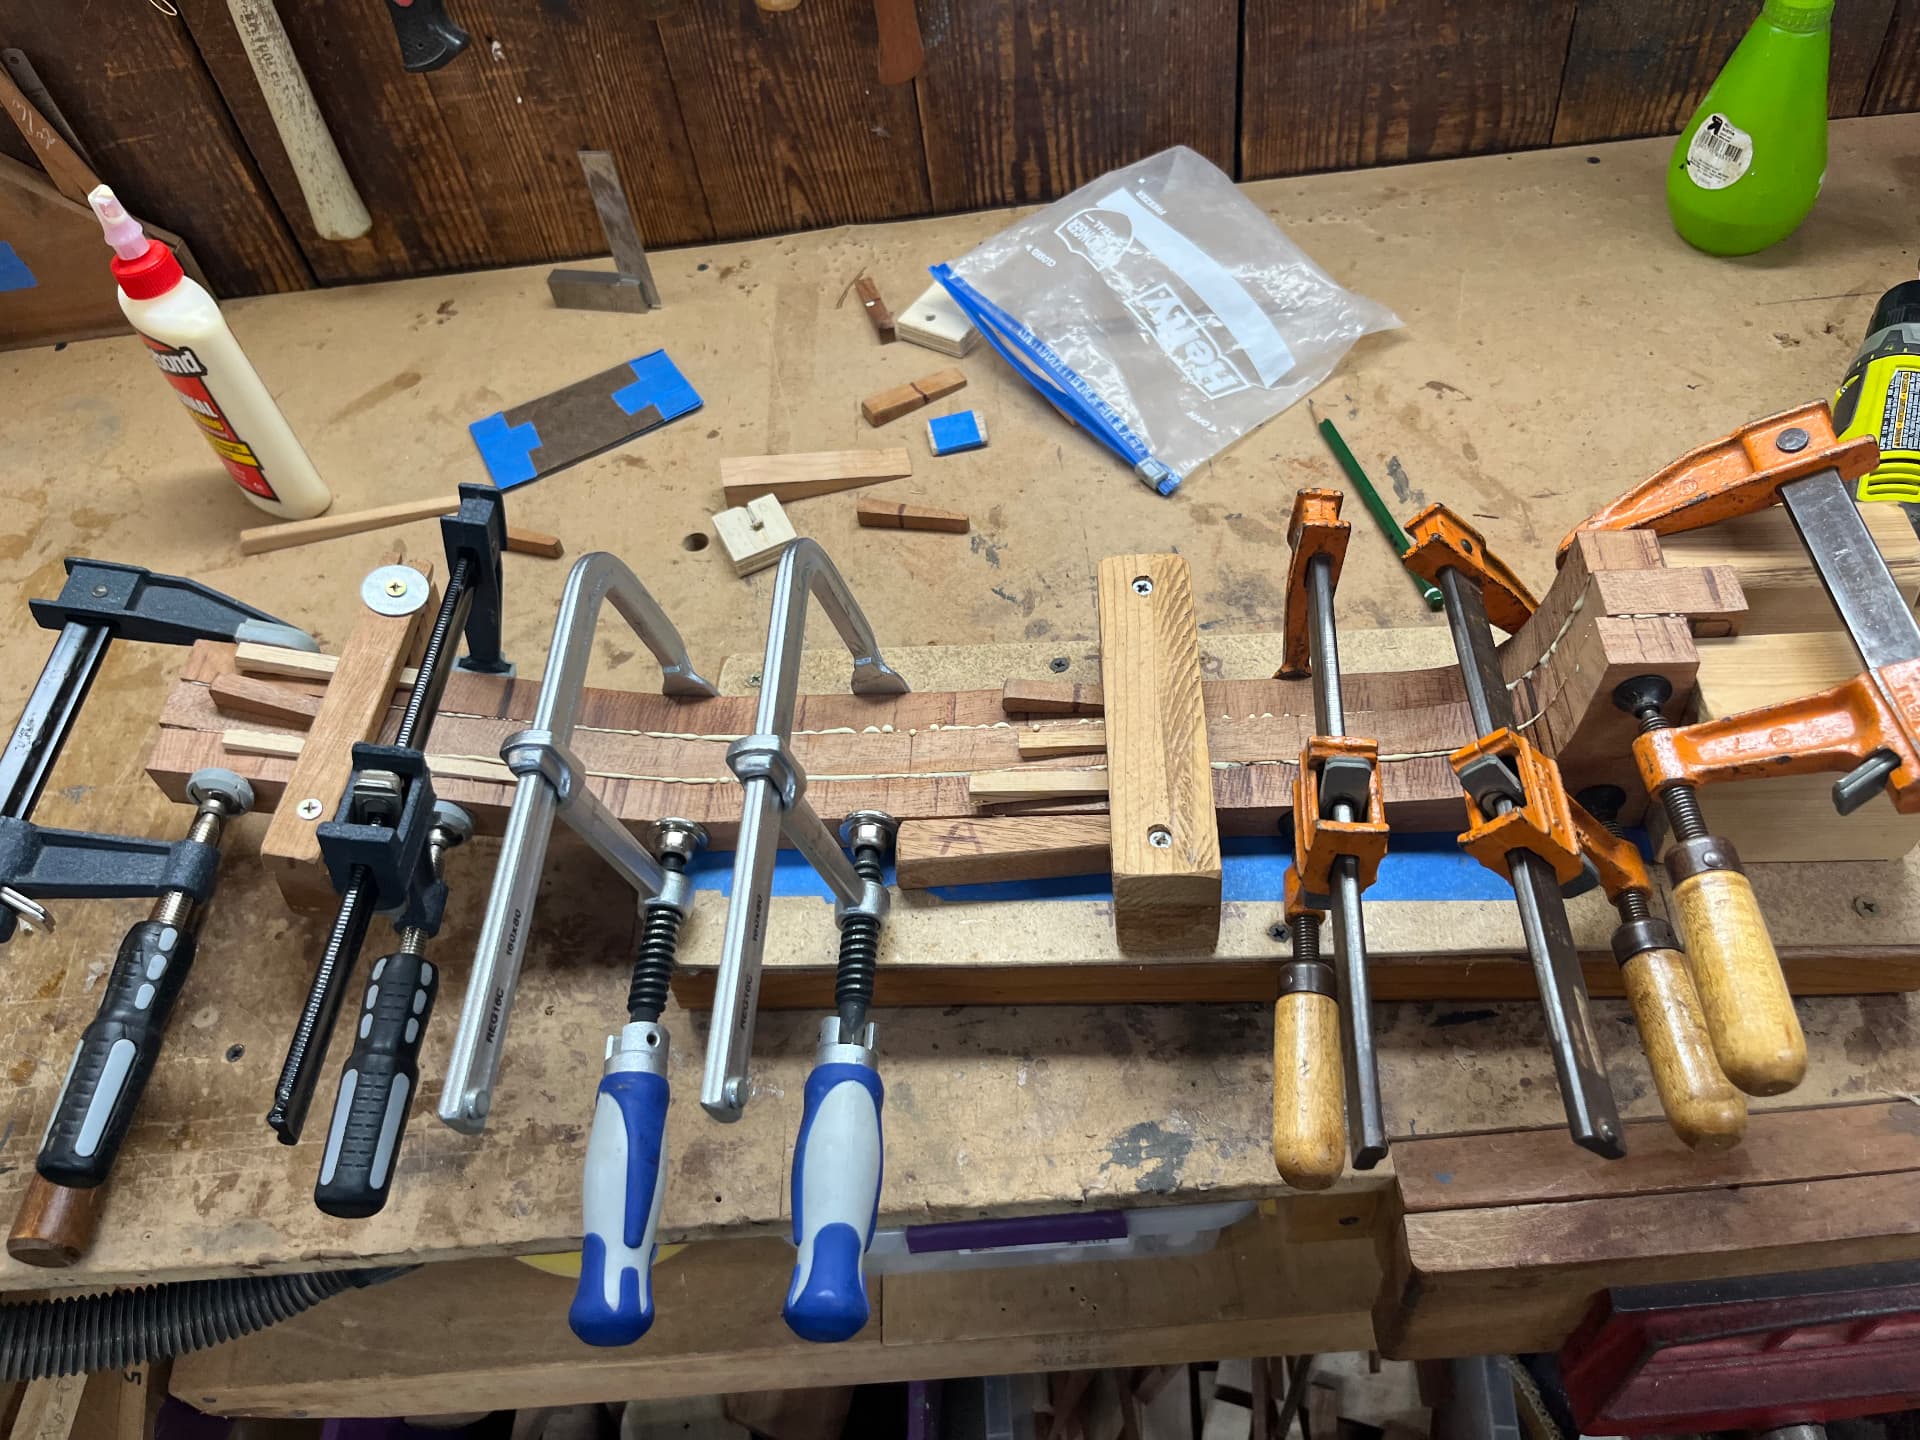
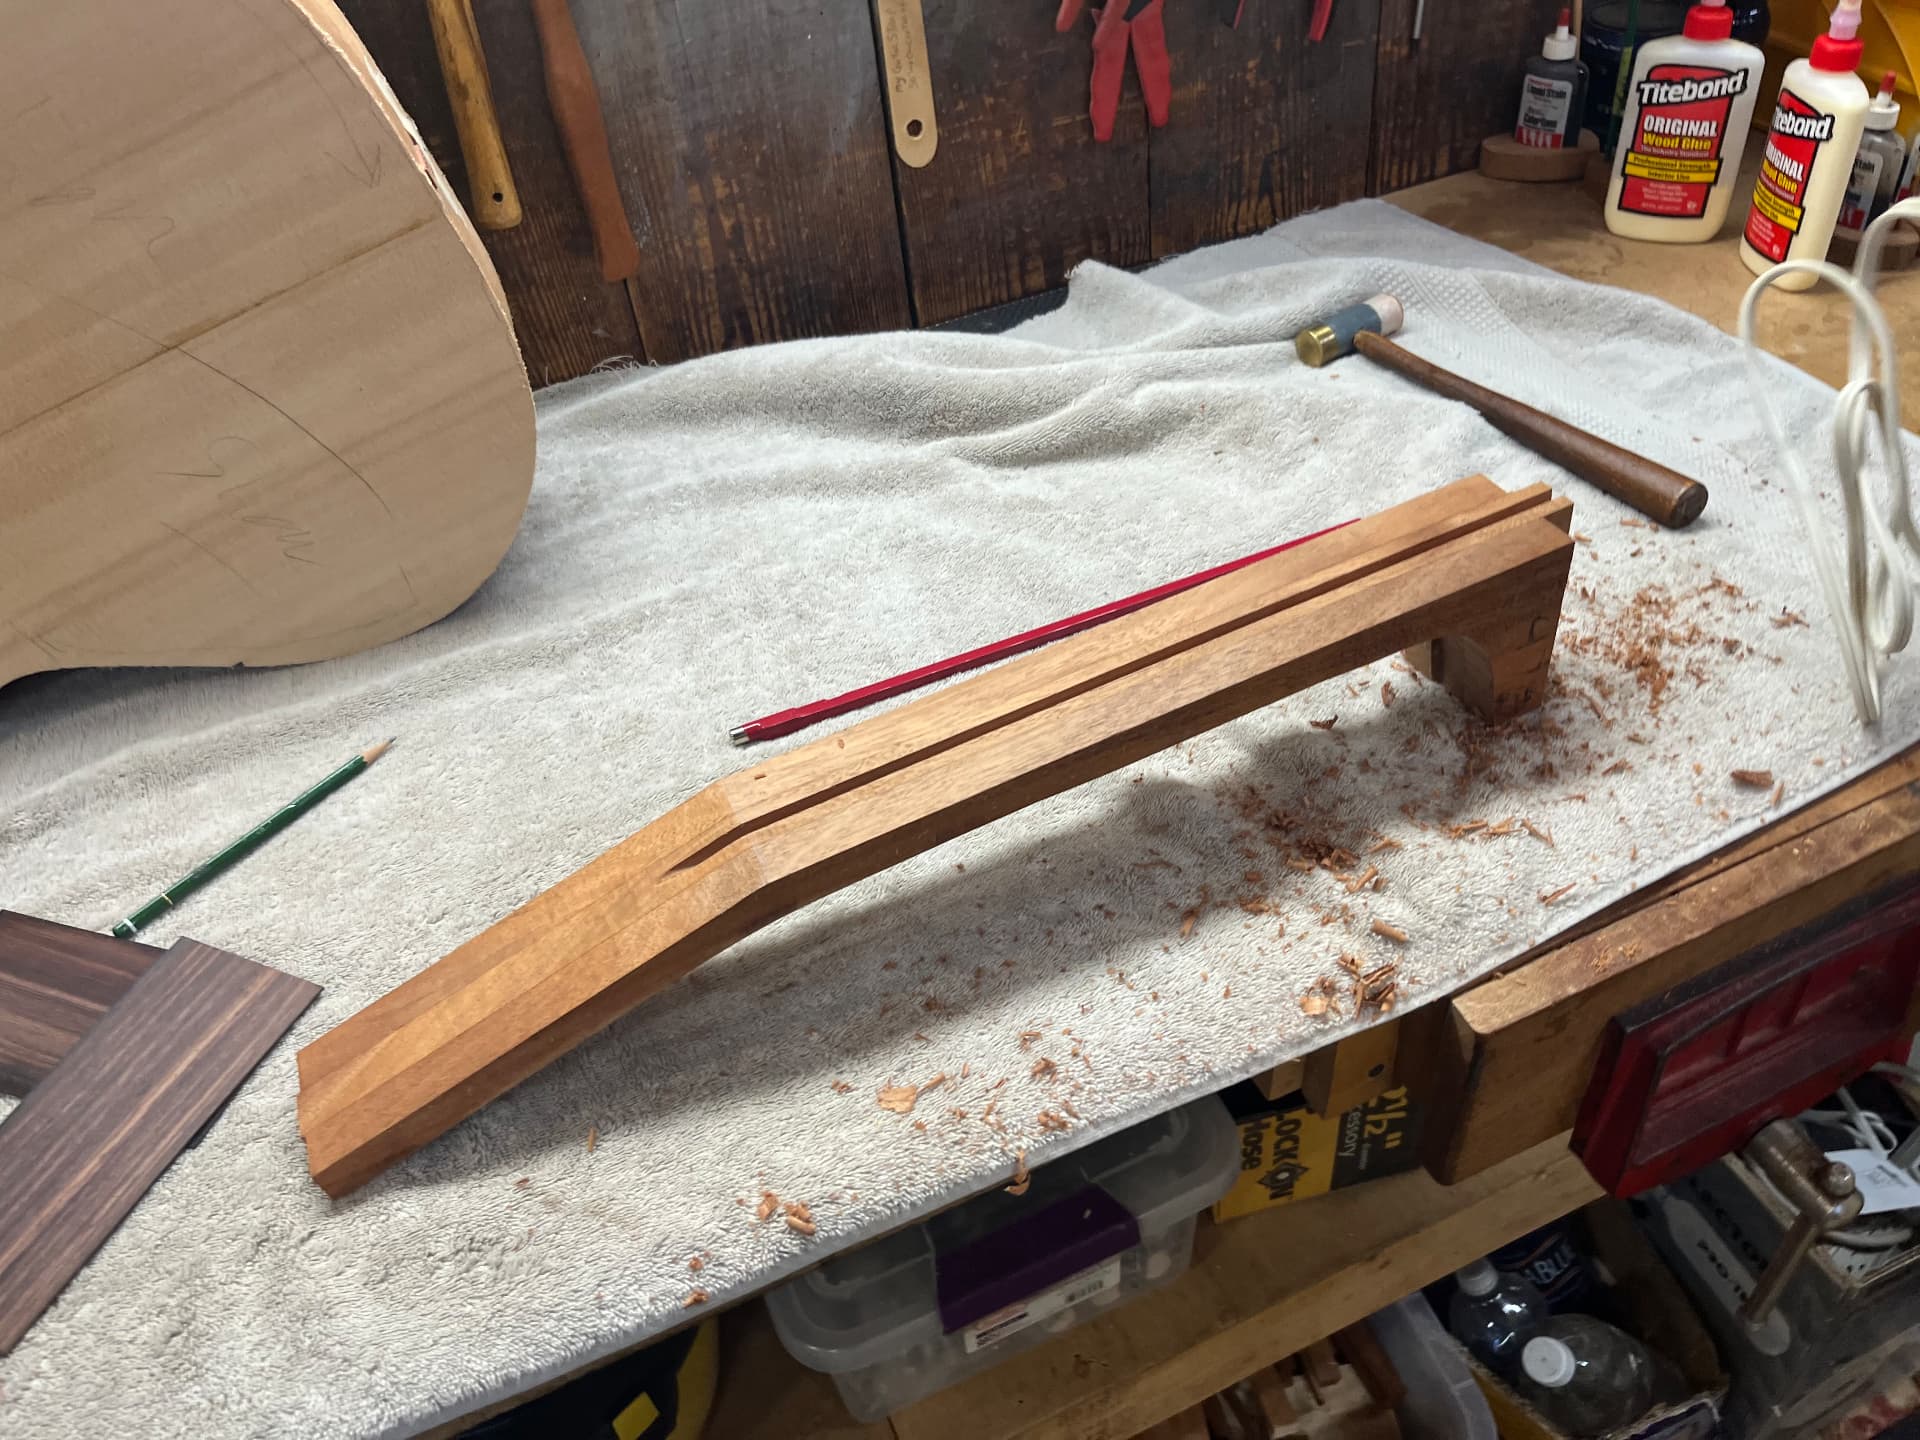
After cutting the pieces, I clamped and glued them together. Then, a space was routed in the center for the truss rod.
Stage Twelve
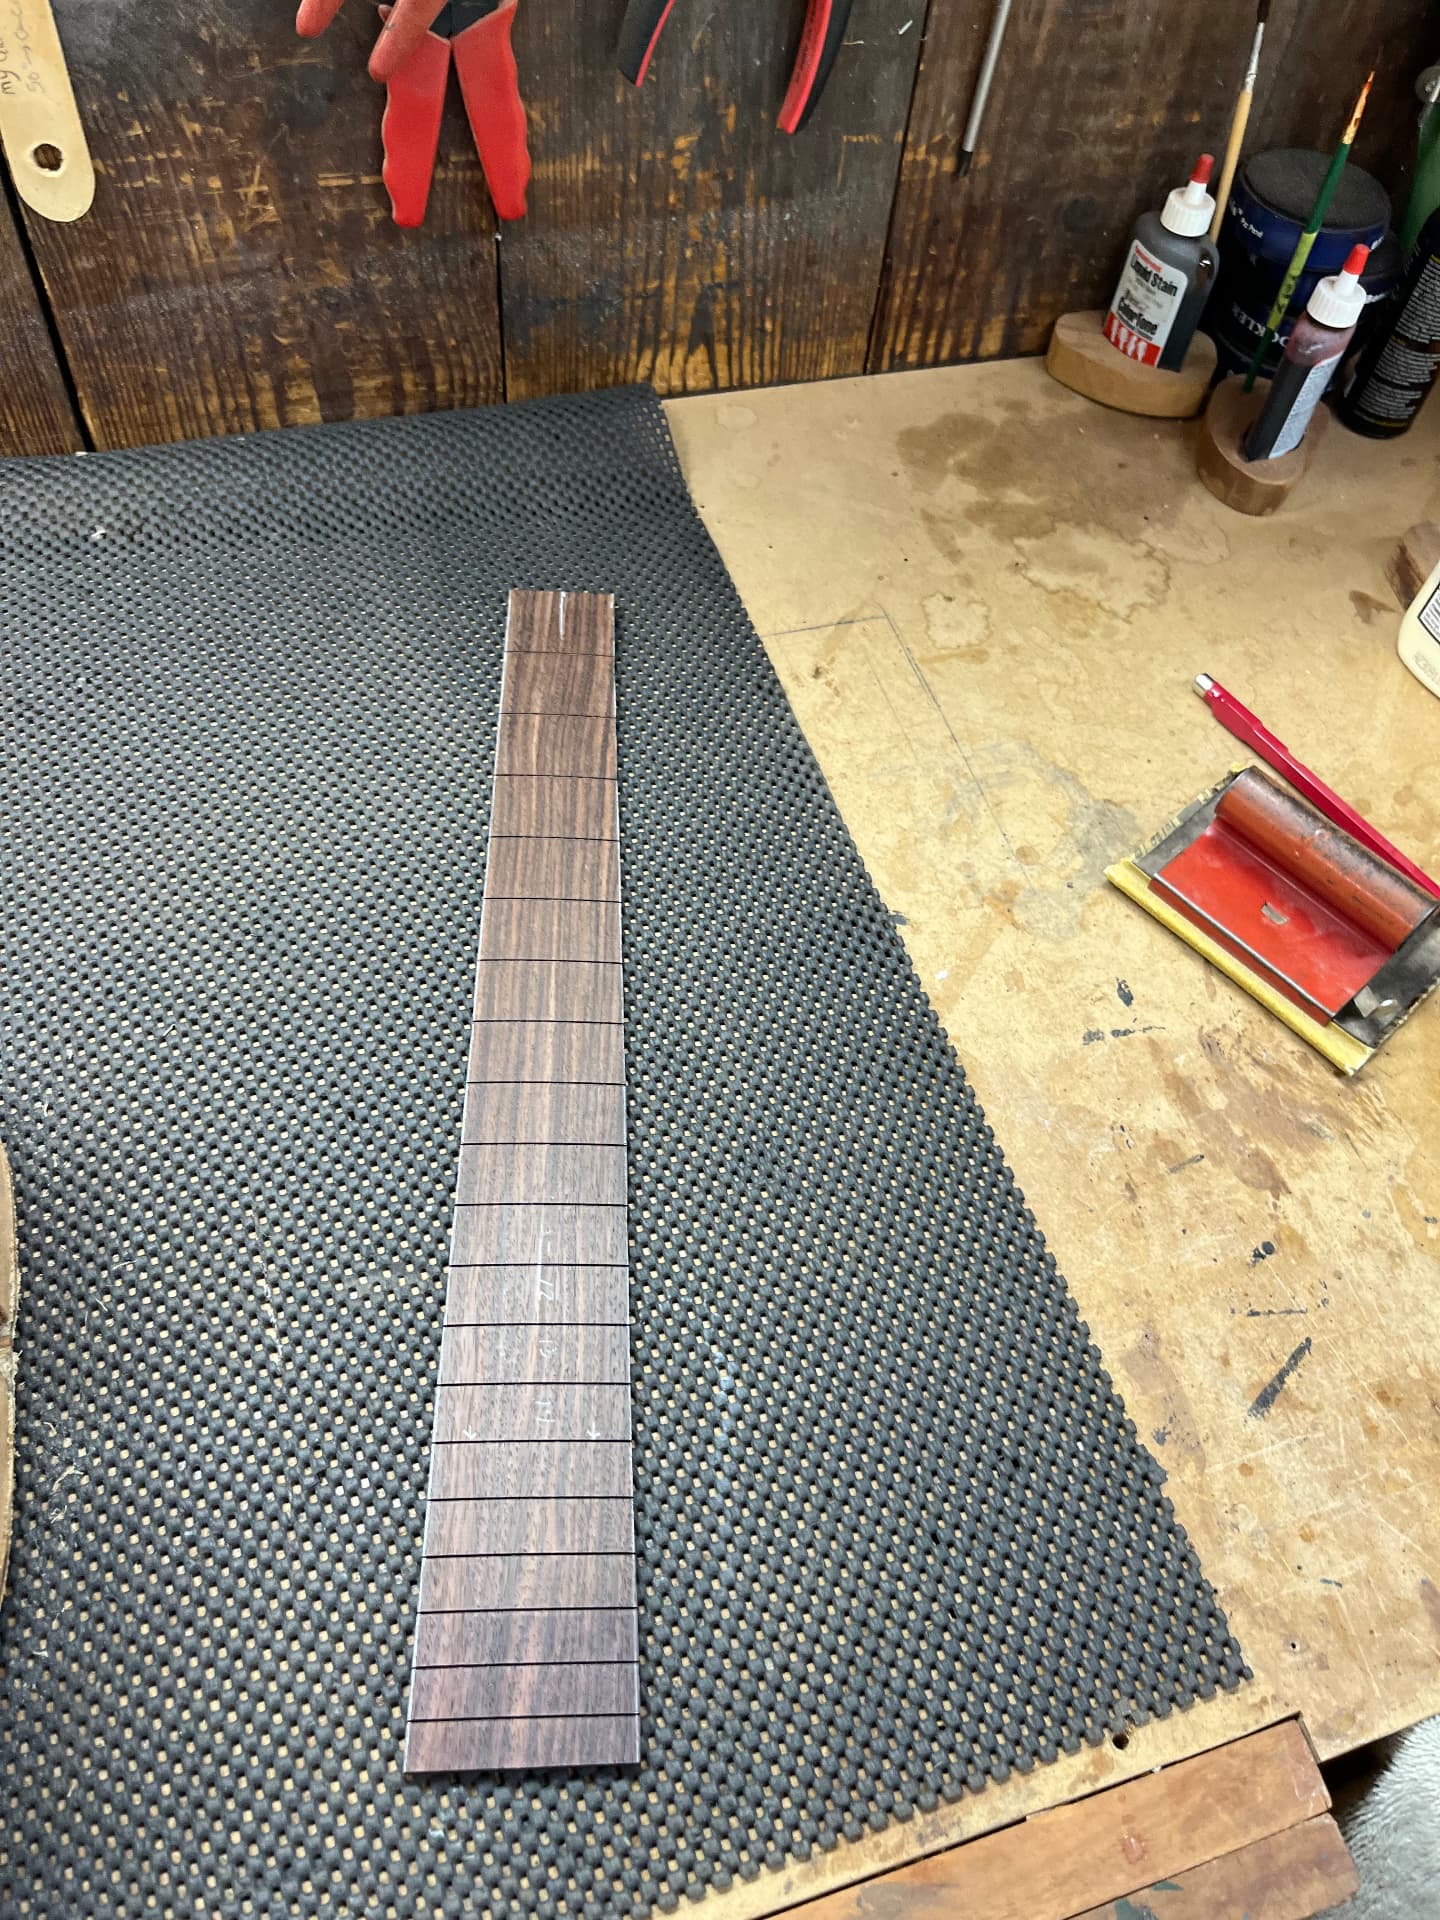
The fingerboard
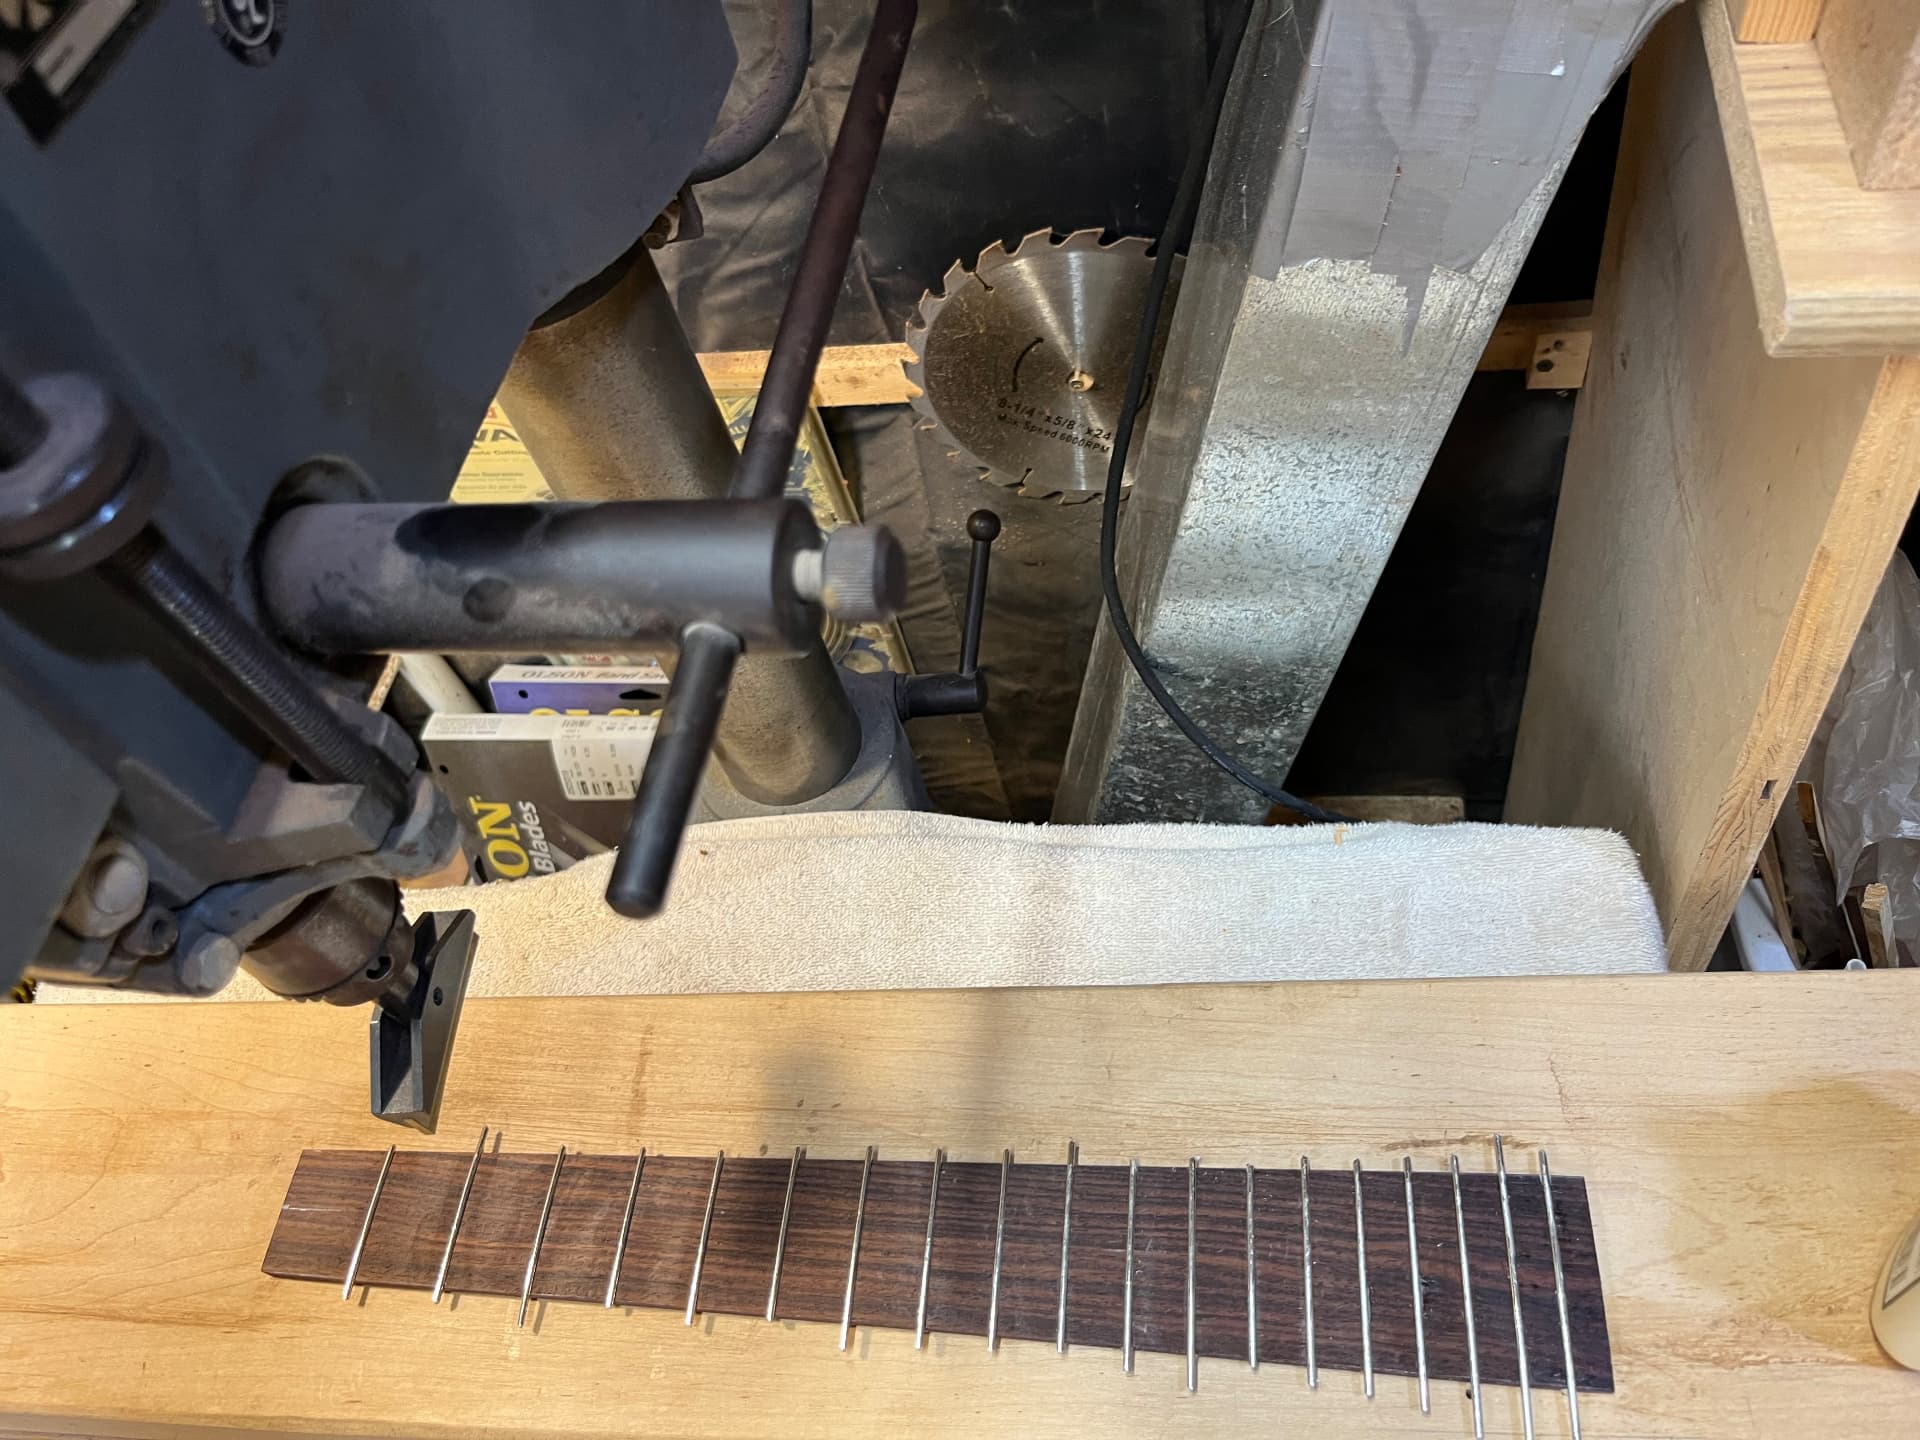
I then installed each fret individually onto a piece of rosewood.
Stage Thirteen
The neck pt. 3
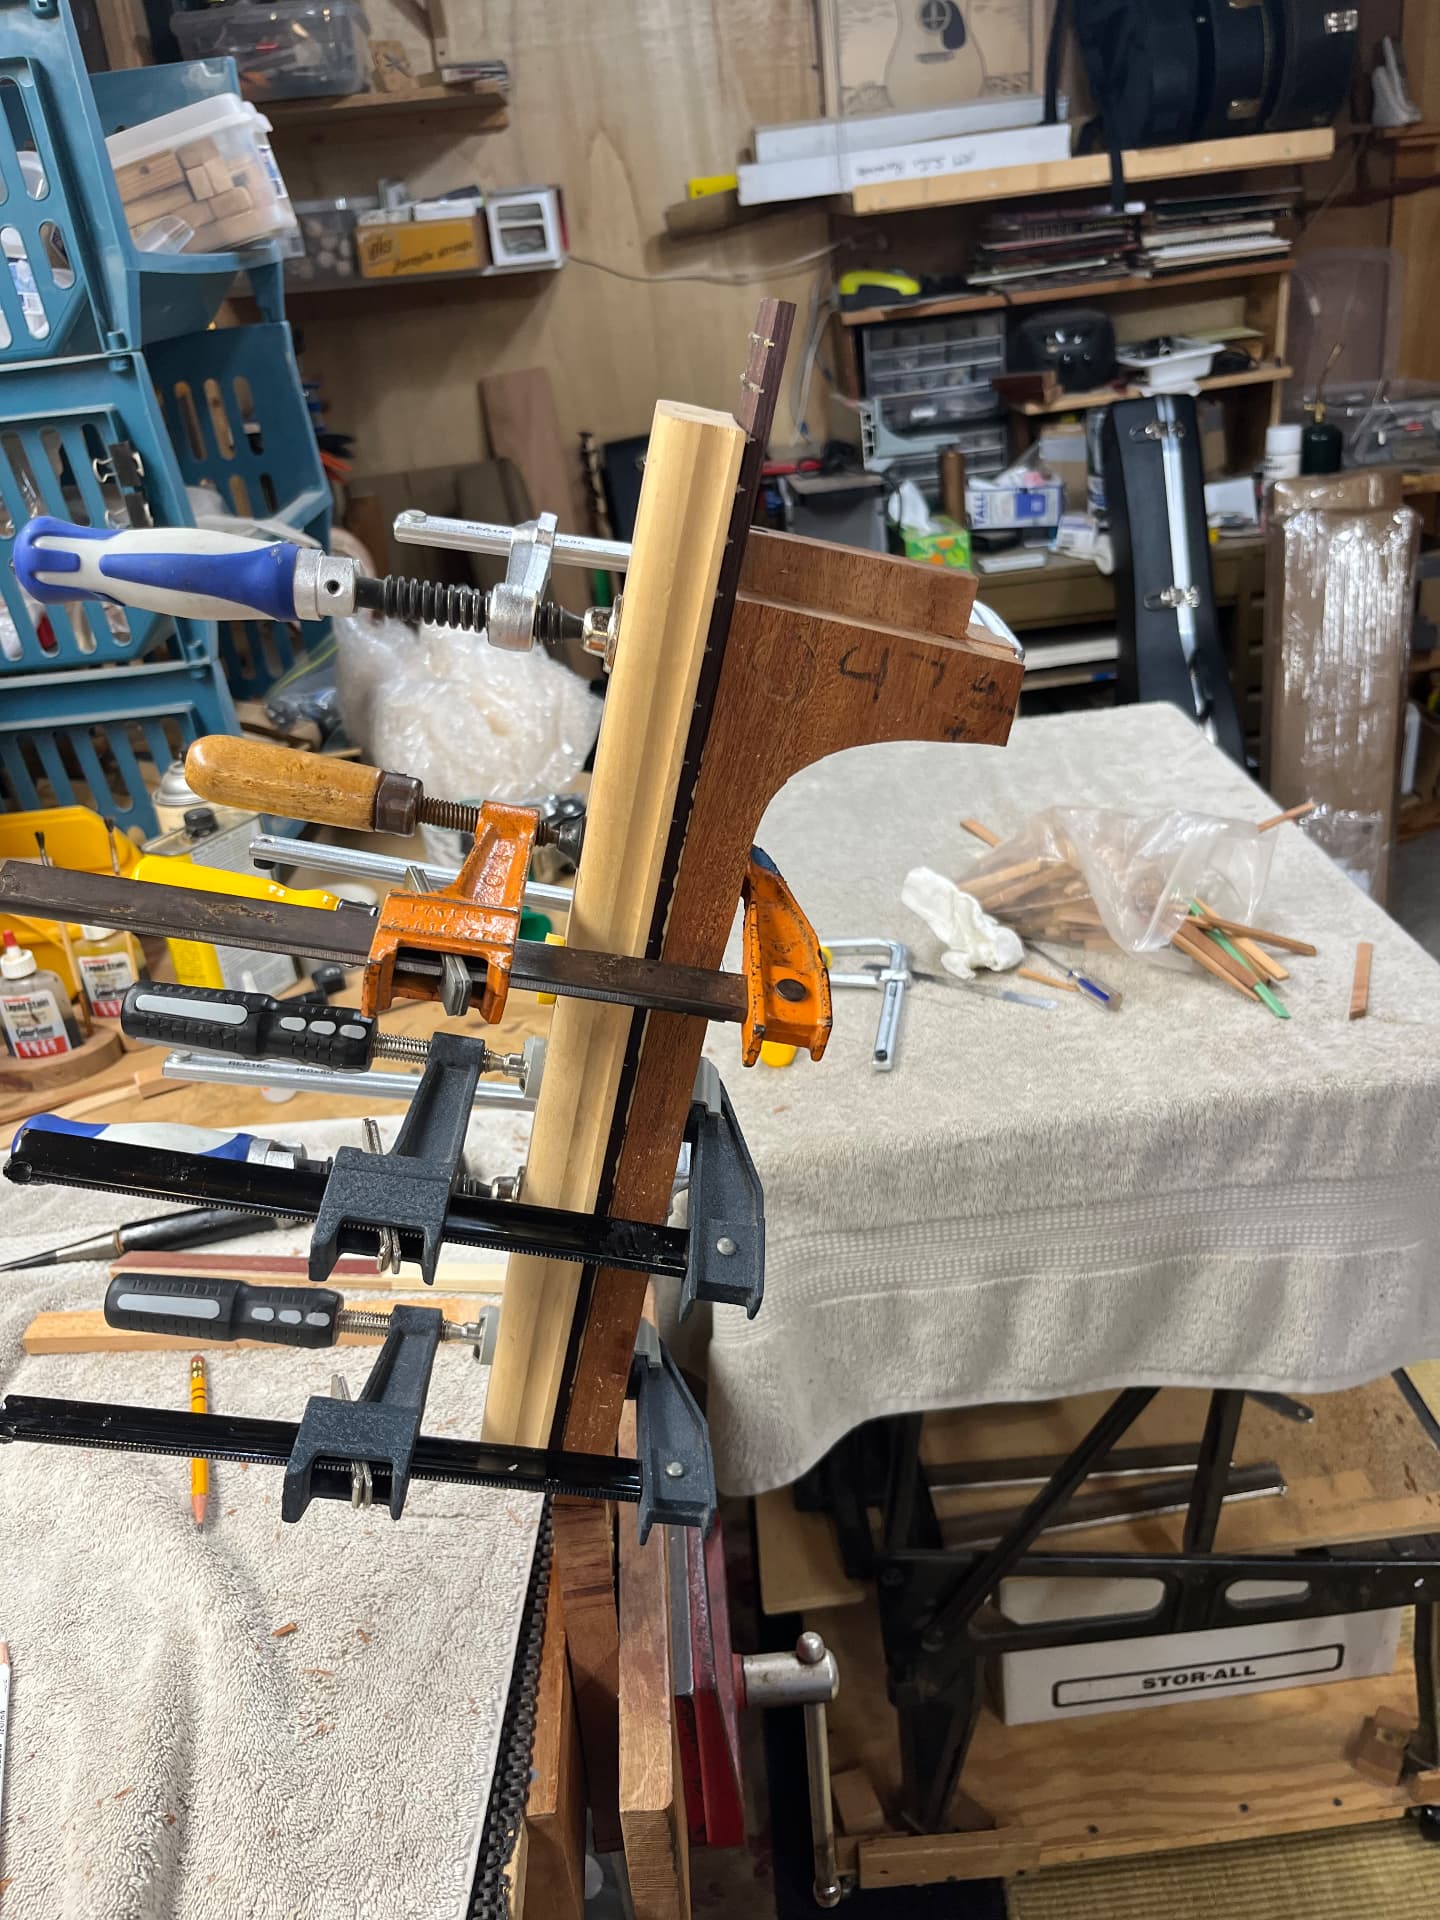
Now it was time to finish the neck by installing the truss rod and then gluing the finished fingerboard onto the neck. It was glued, clamped, and left for several days to ensure it was completely dry.
Stage Fourteen
Making it beautiful
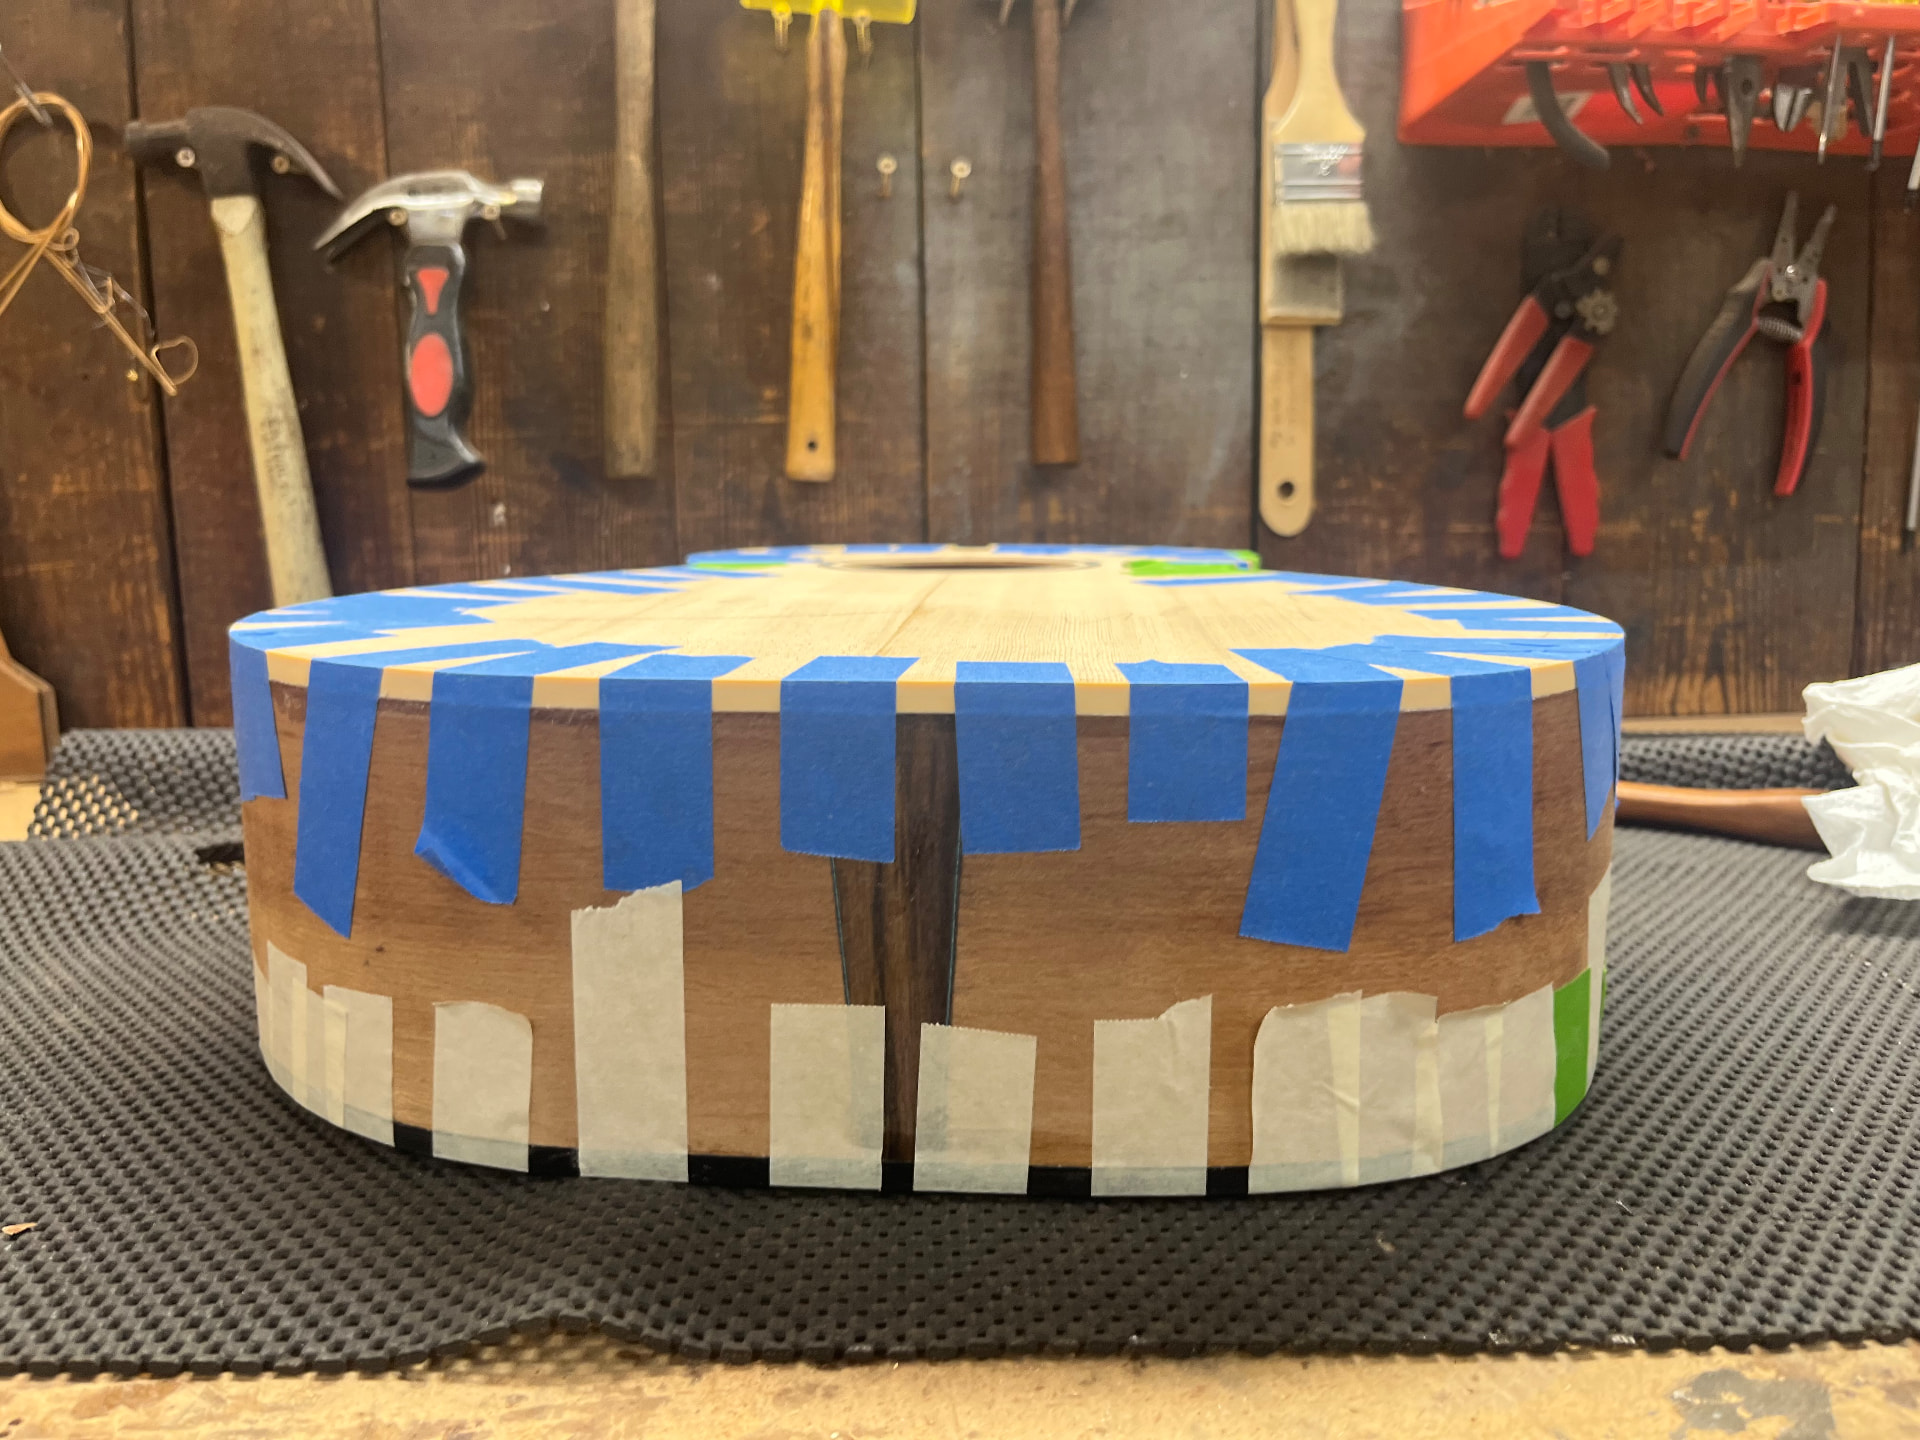
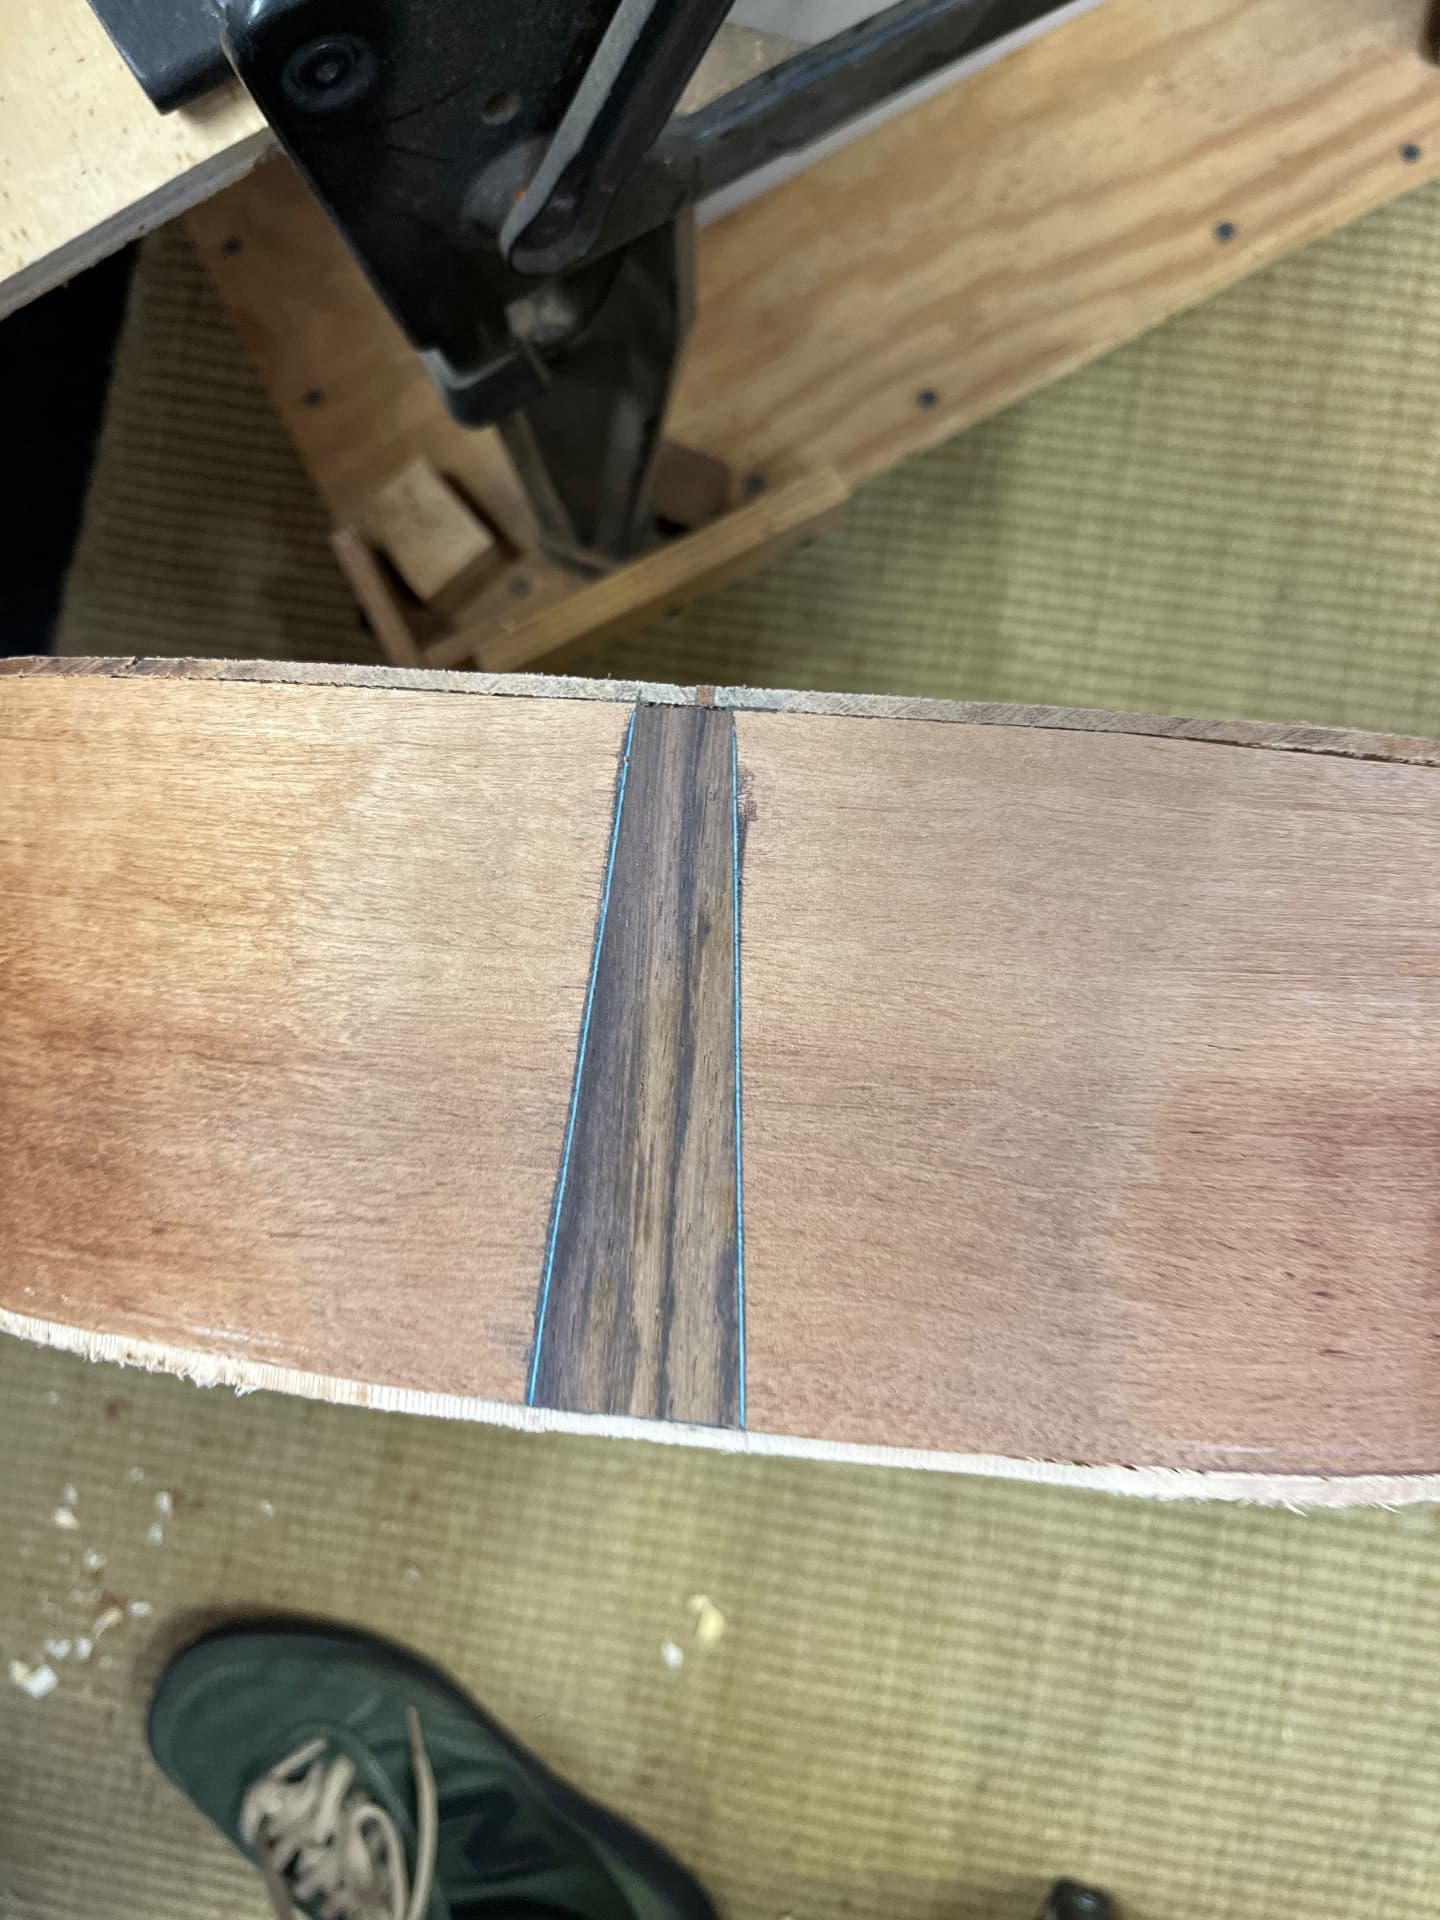
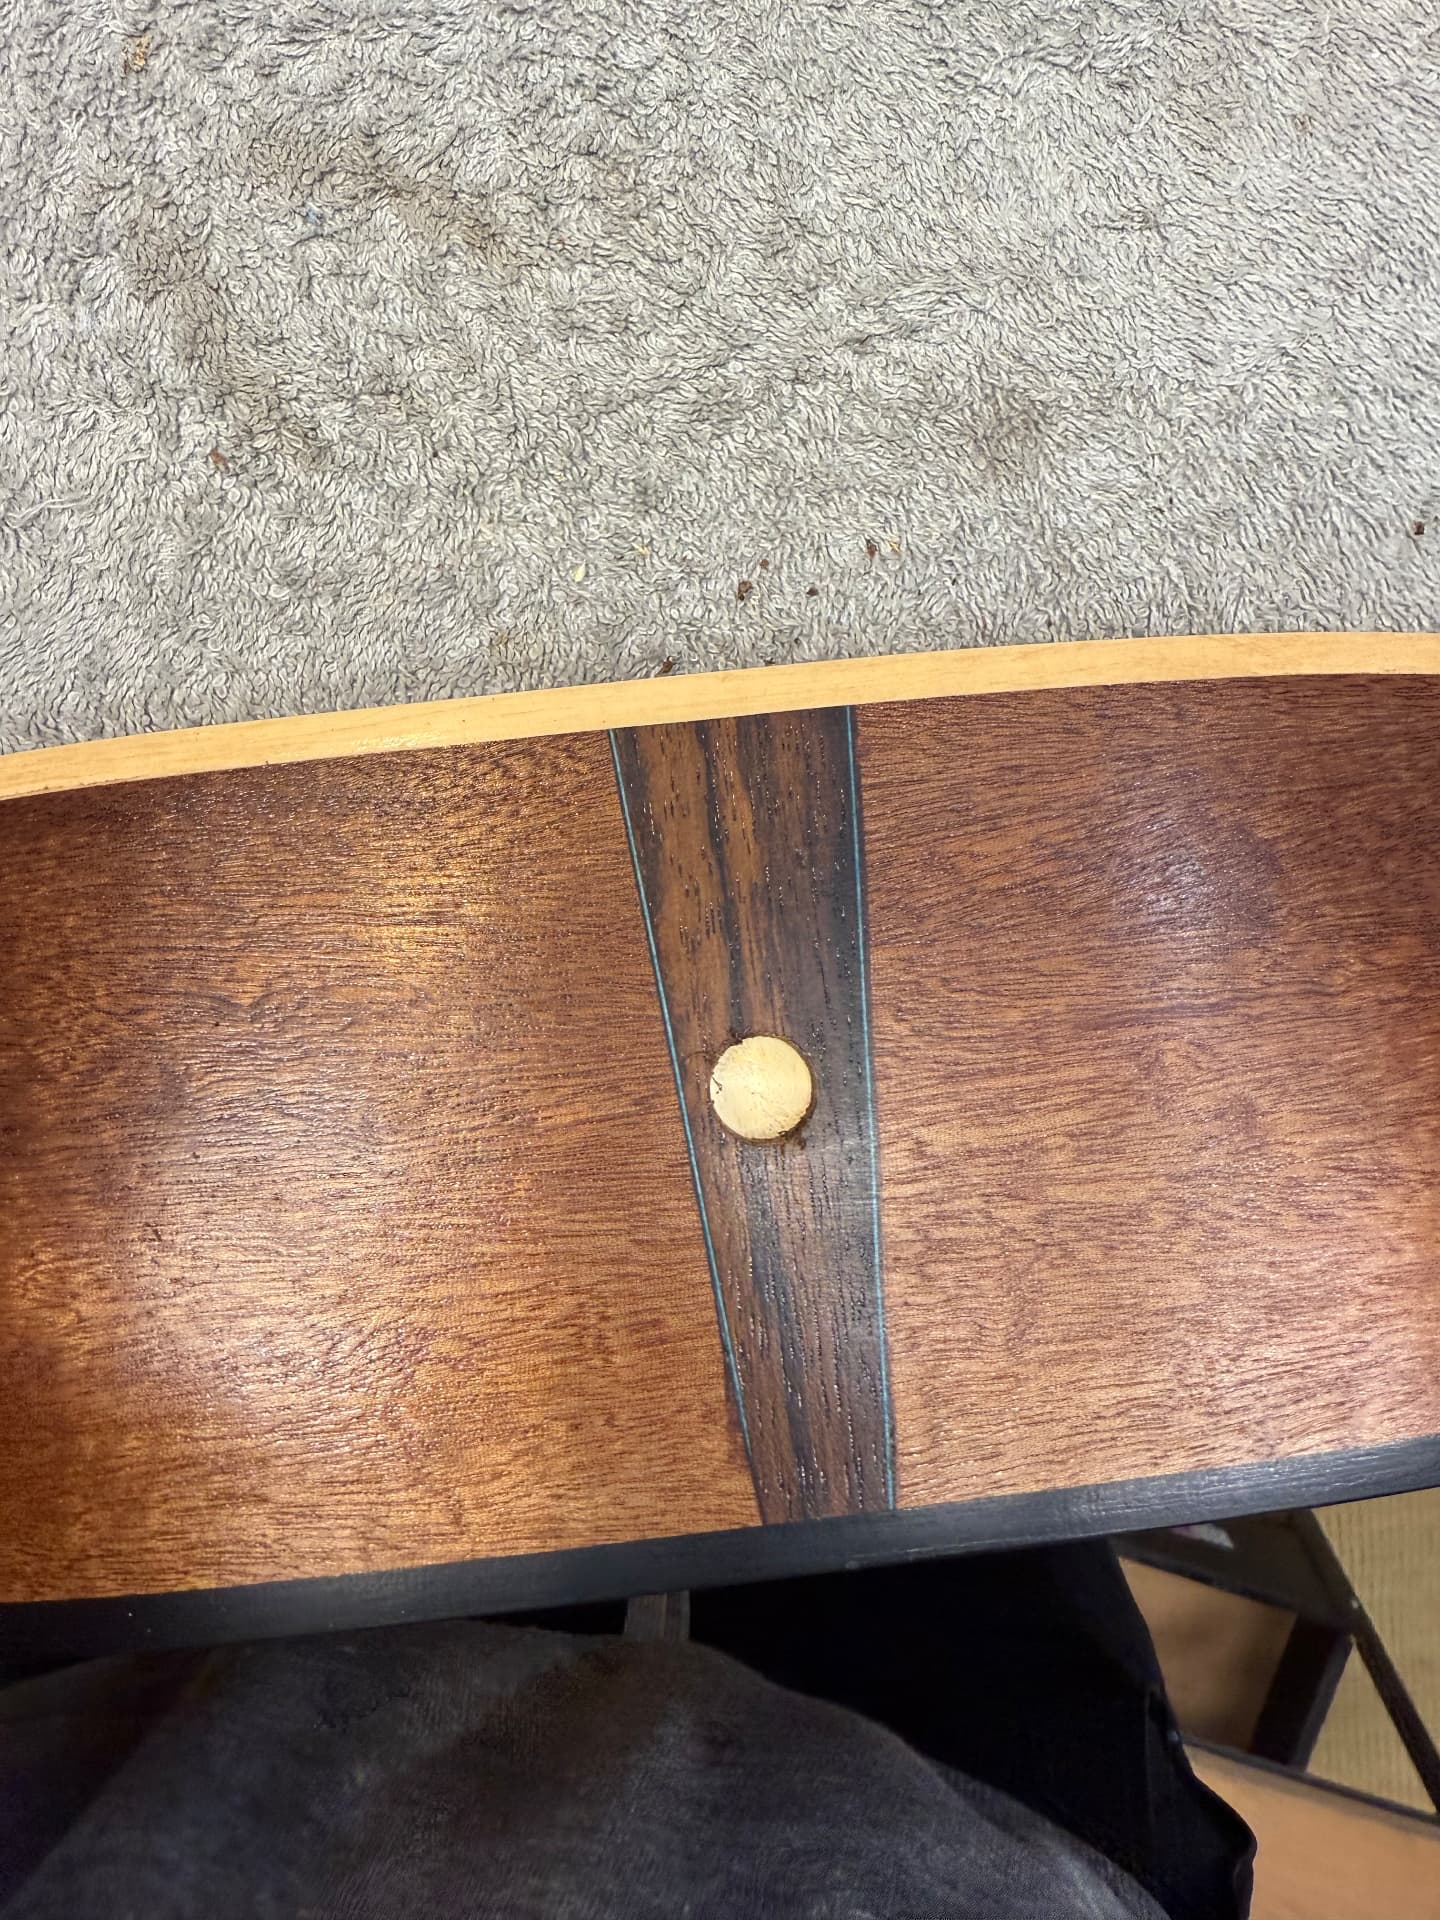
After the neck was complete, it was time to add external binding to the body and add a small, differently colored piece of wood to the bottom for the strap pin to screw into.
Stage Fifteen
Sanding, sanding, and more sanding
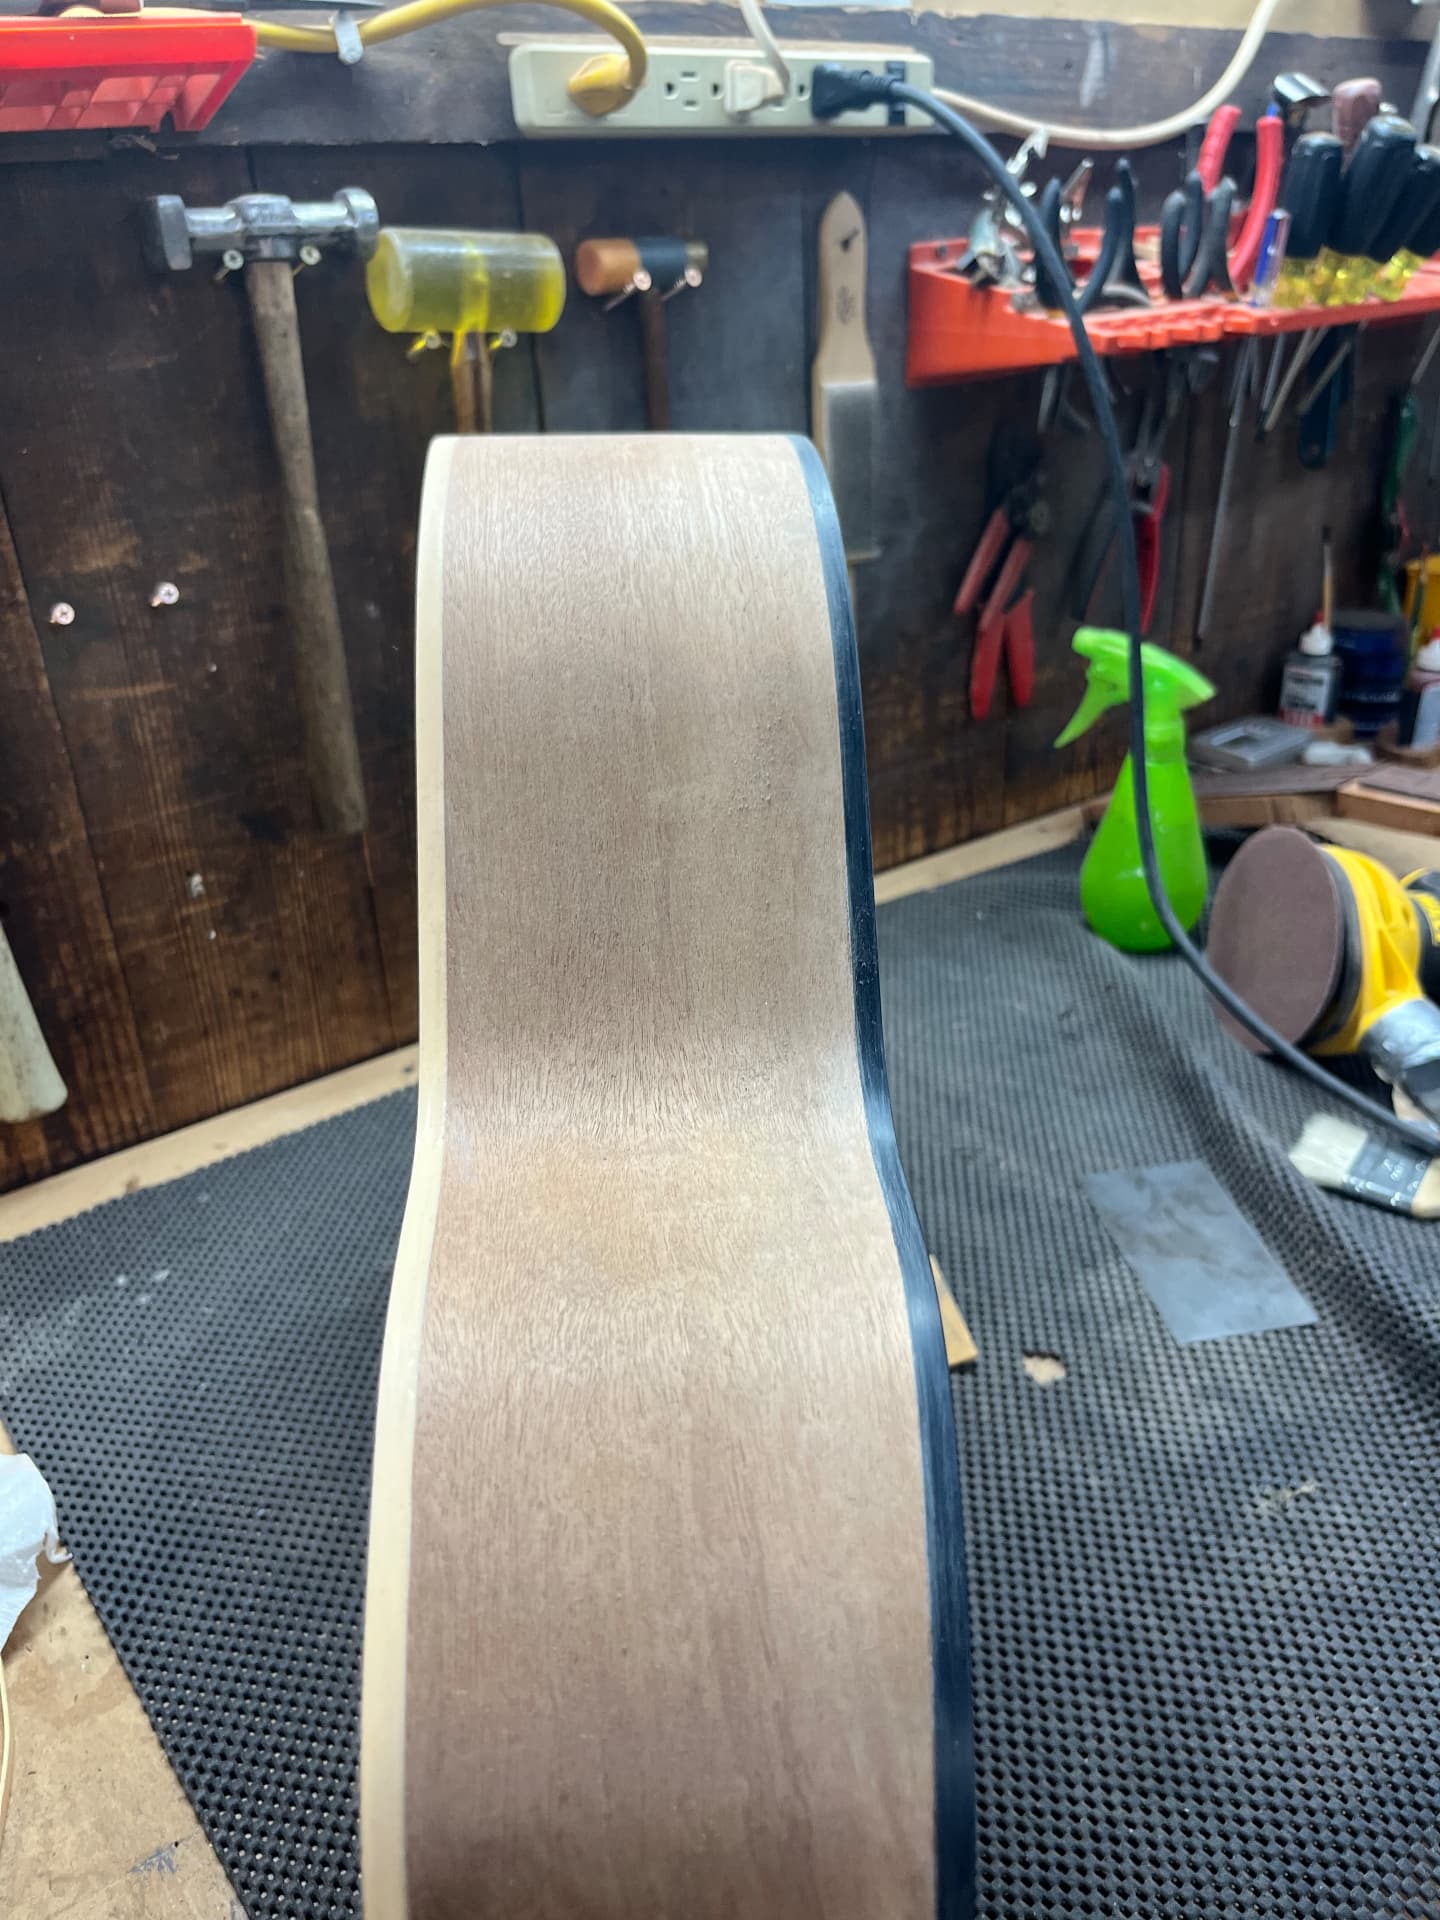
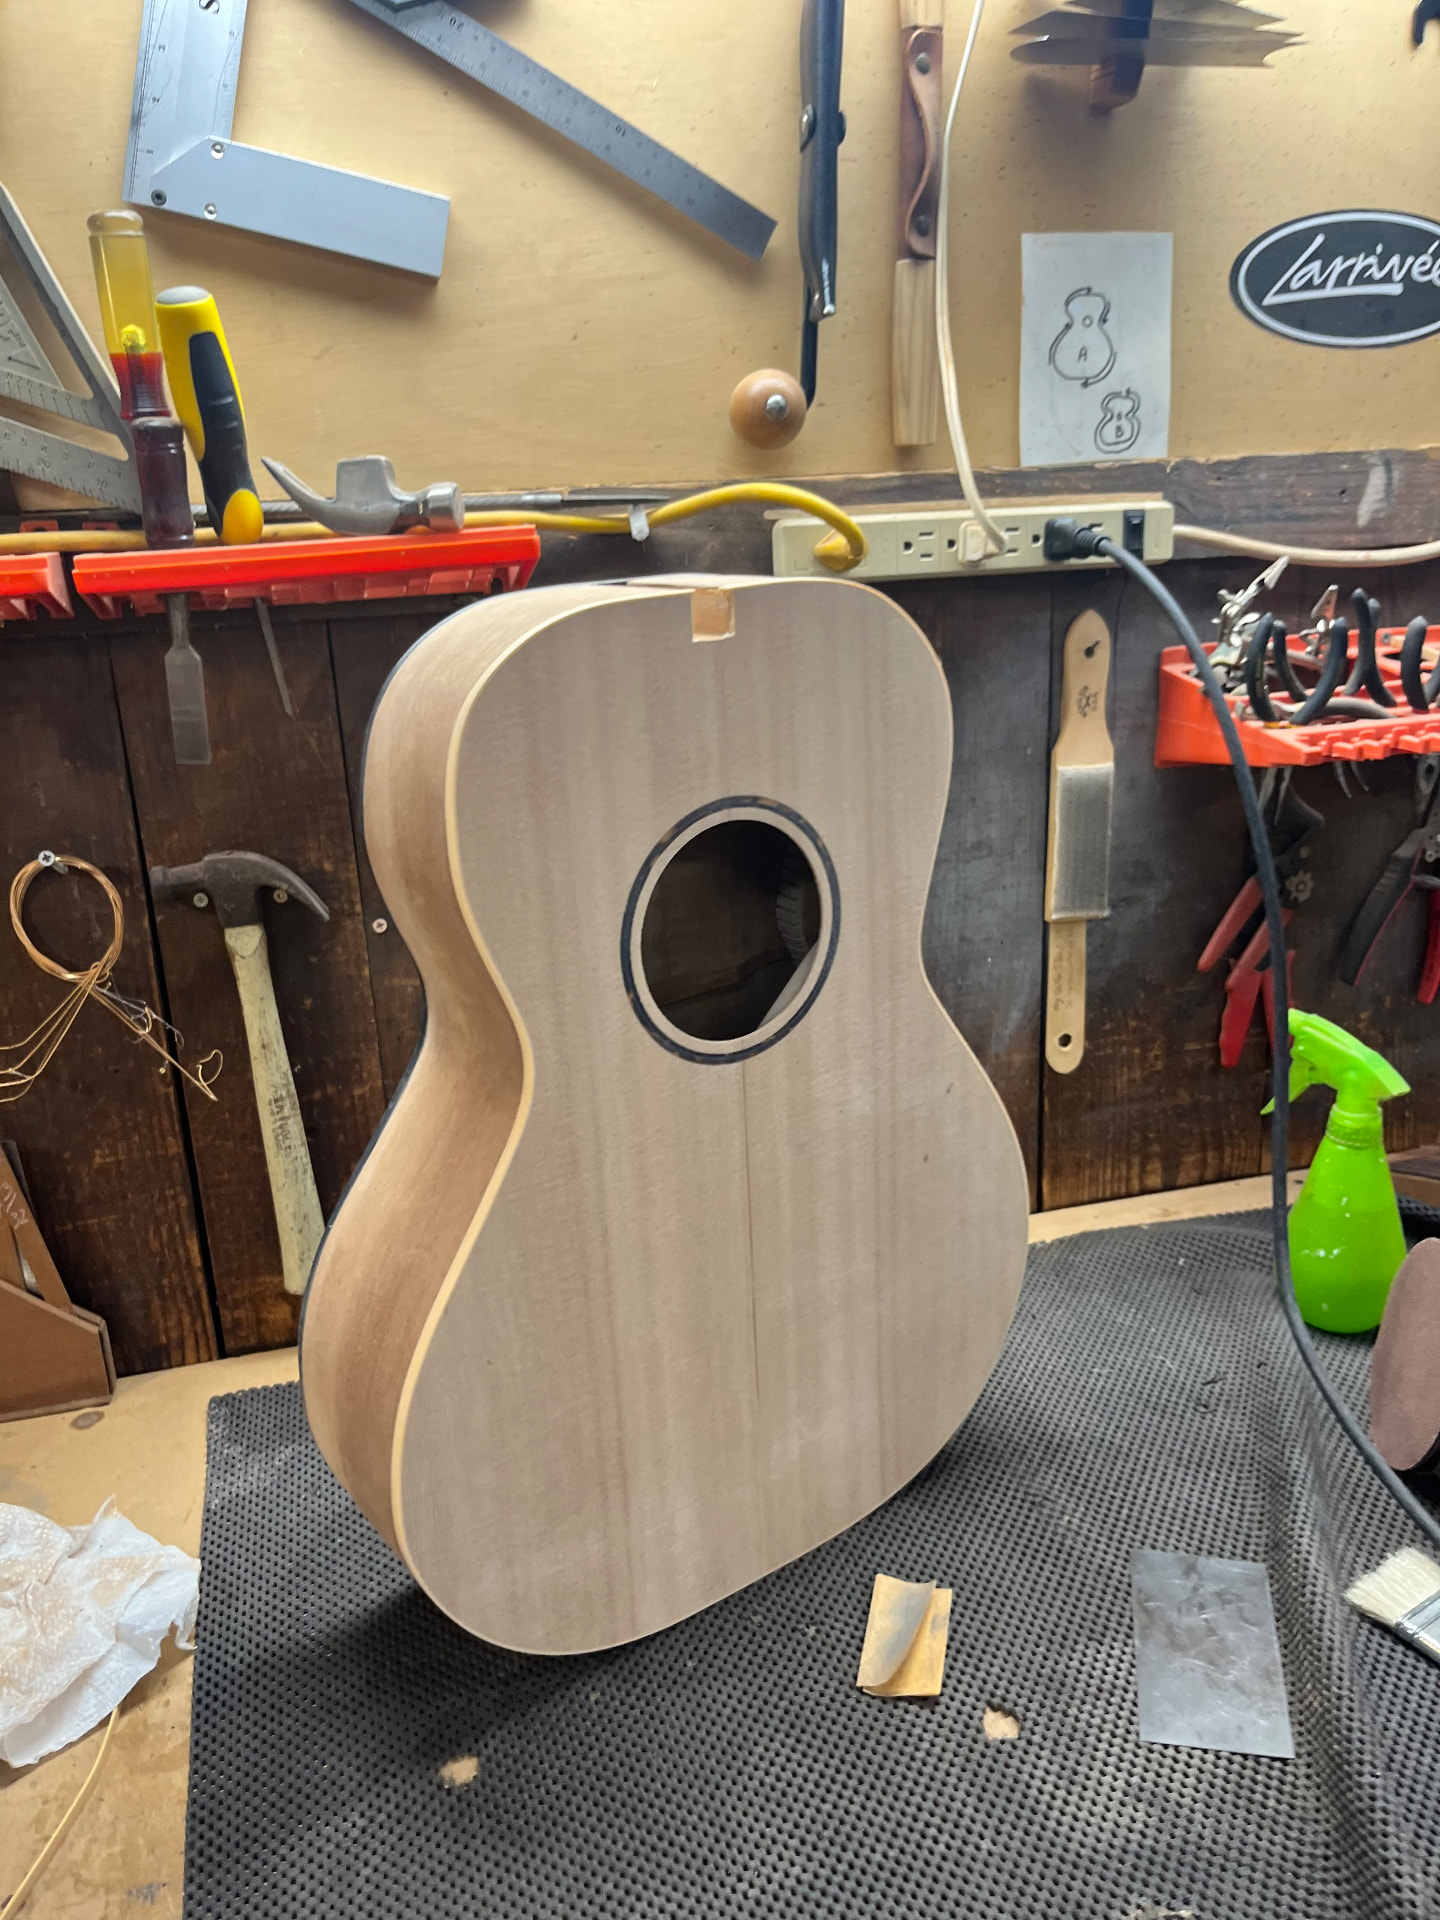
Once the glue had dried, it was time to sand the whole body down to a smooth finish.
Stage Sixteen
Finishing the body
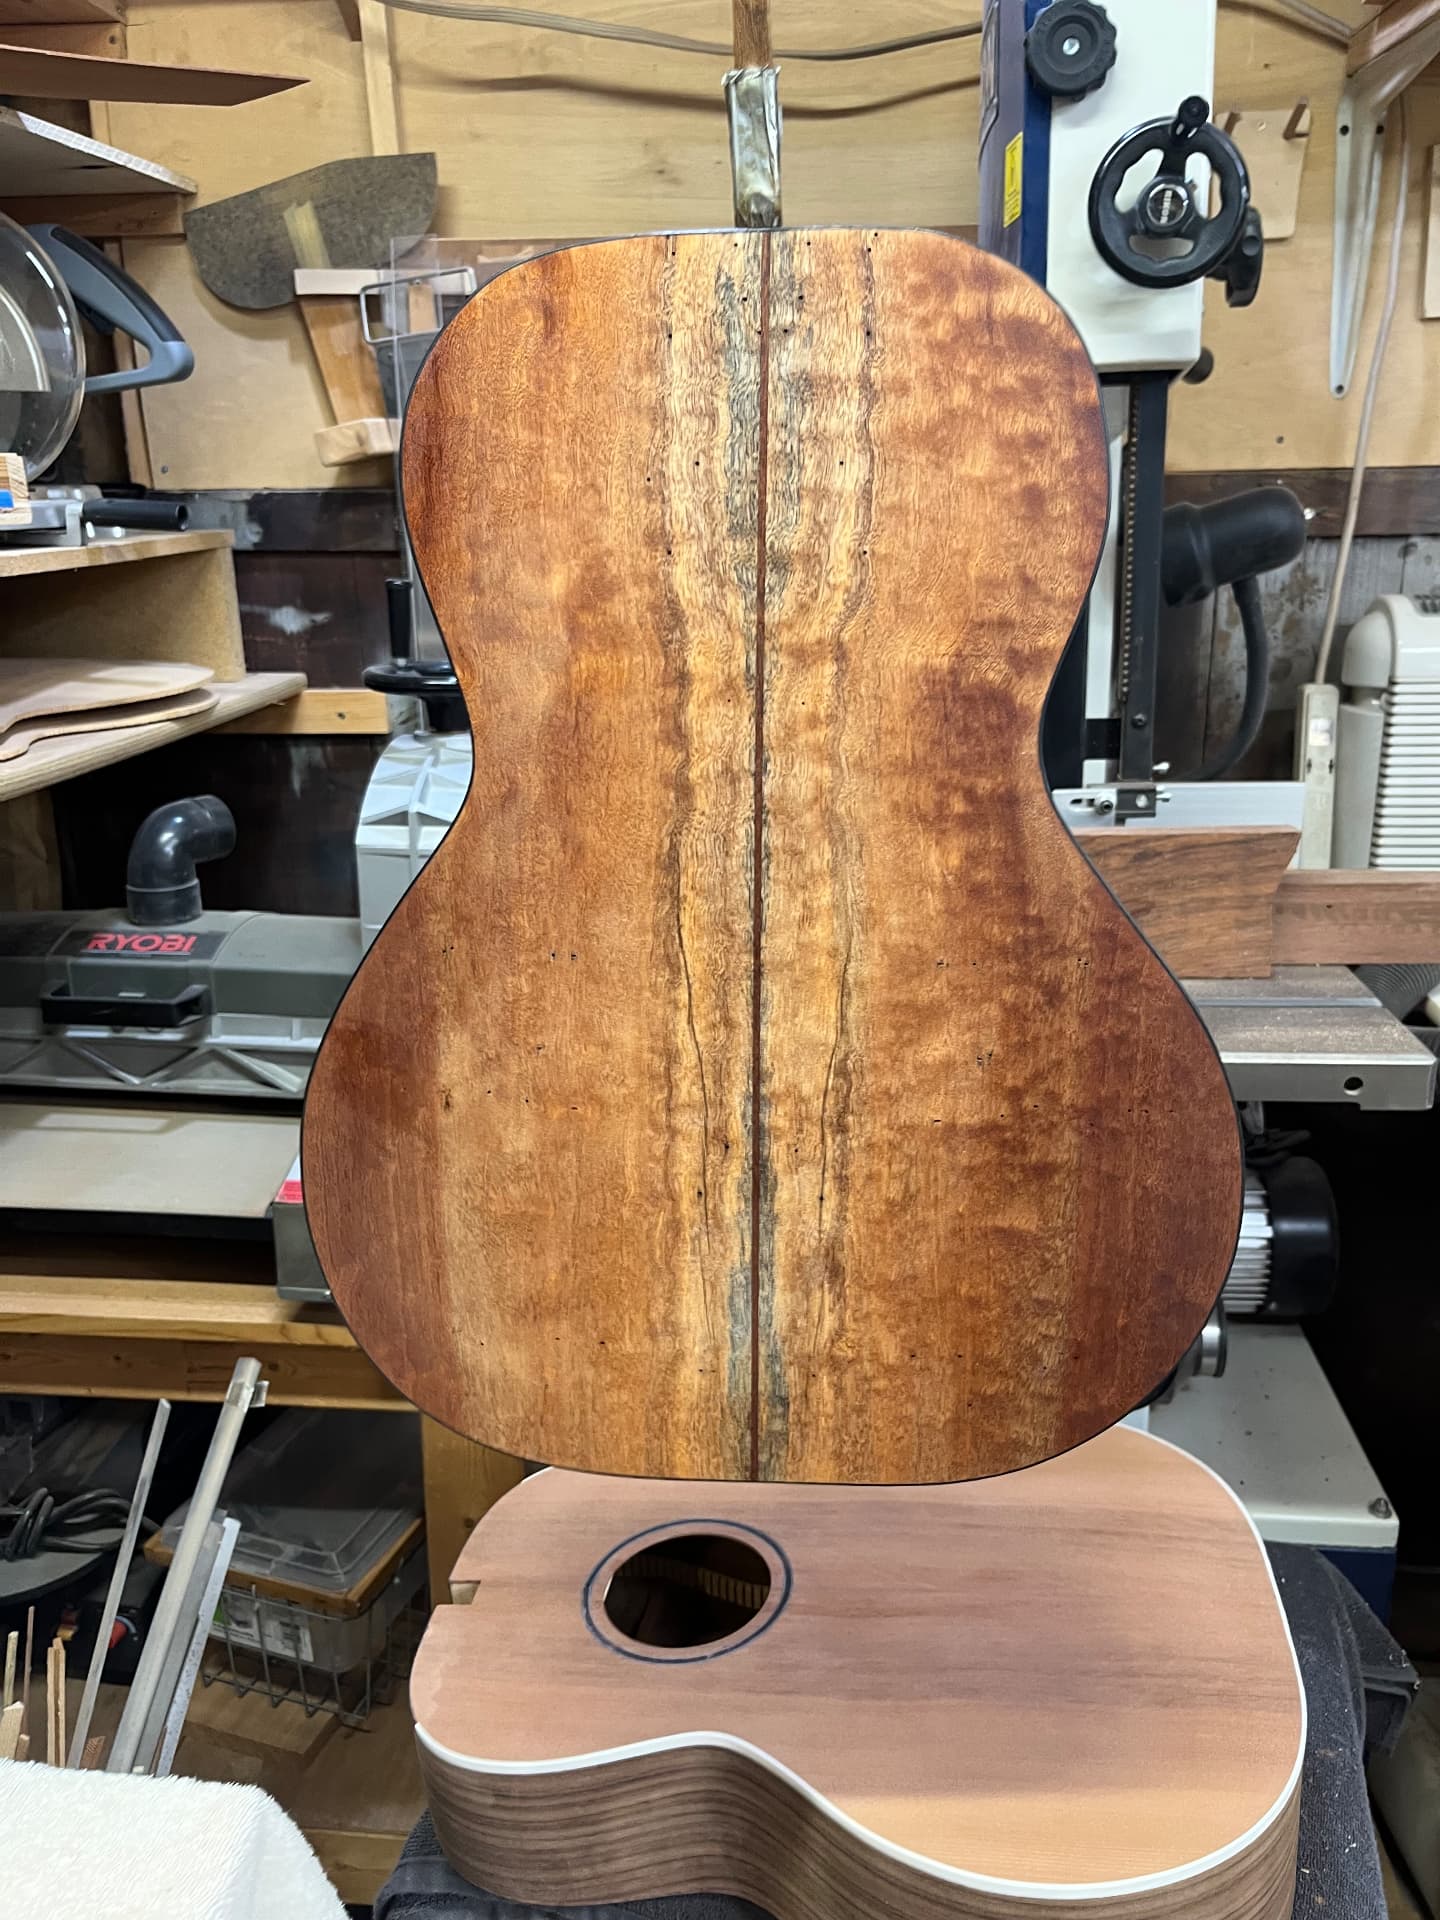
Wood varnish was then applied to seal the pores and give the instrument a beautiful shimmer. The sapele was chosen specifically for its famous, vibrant patterns, visible after the varnish is applied.
Stage Seventeen
The headstock
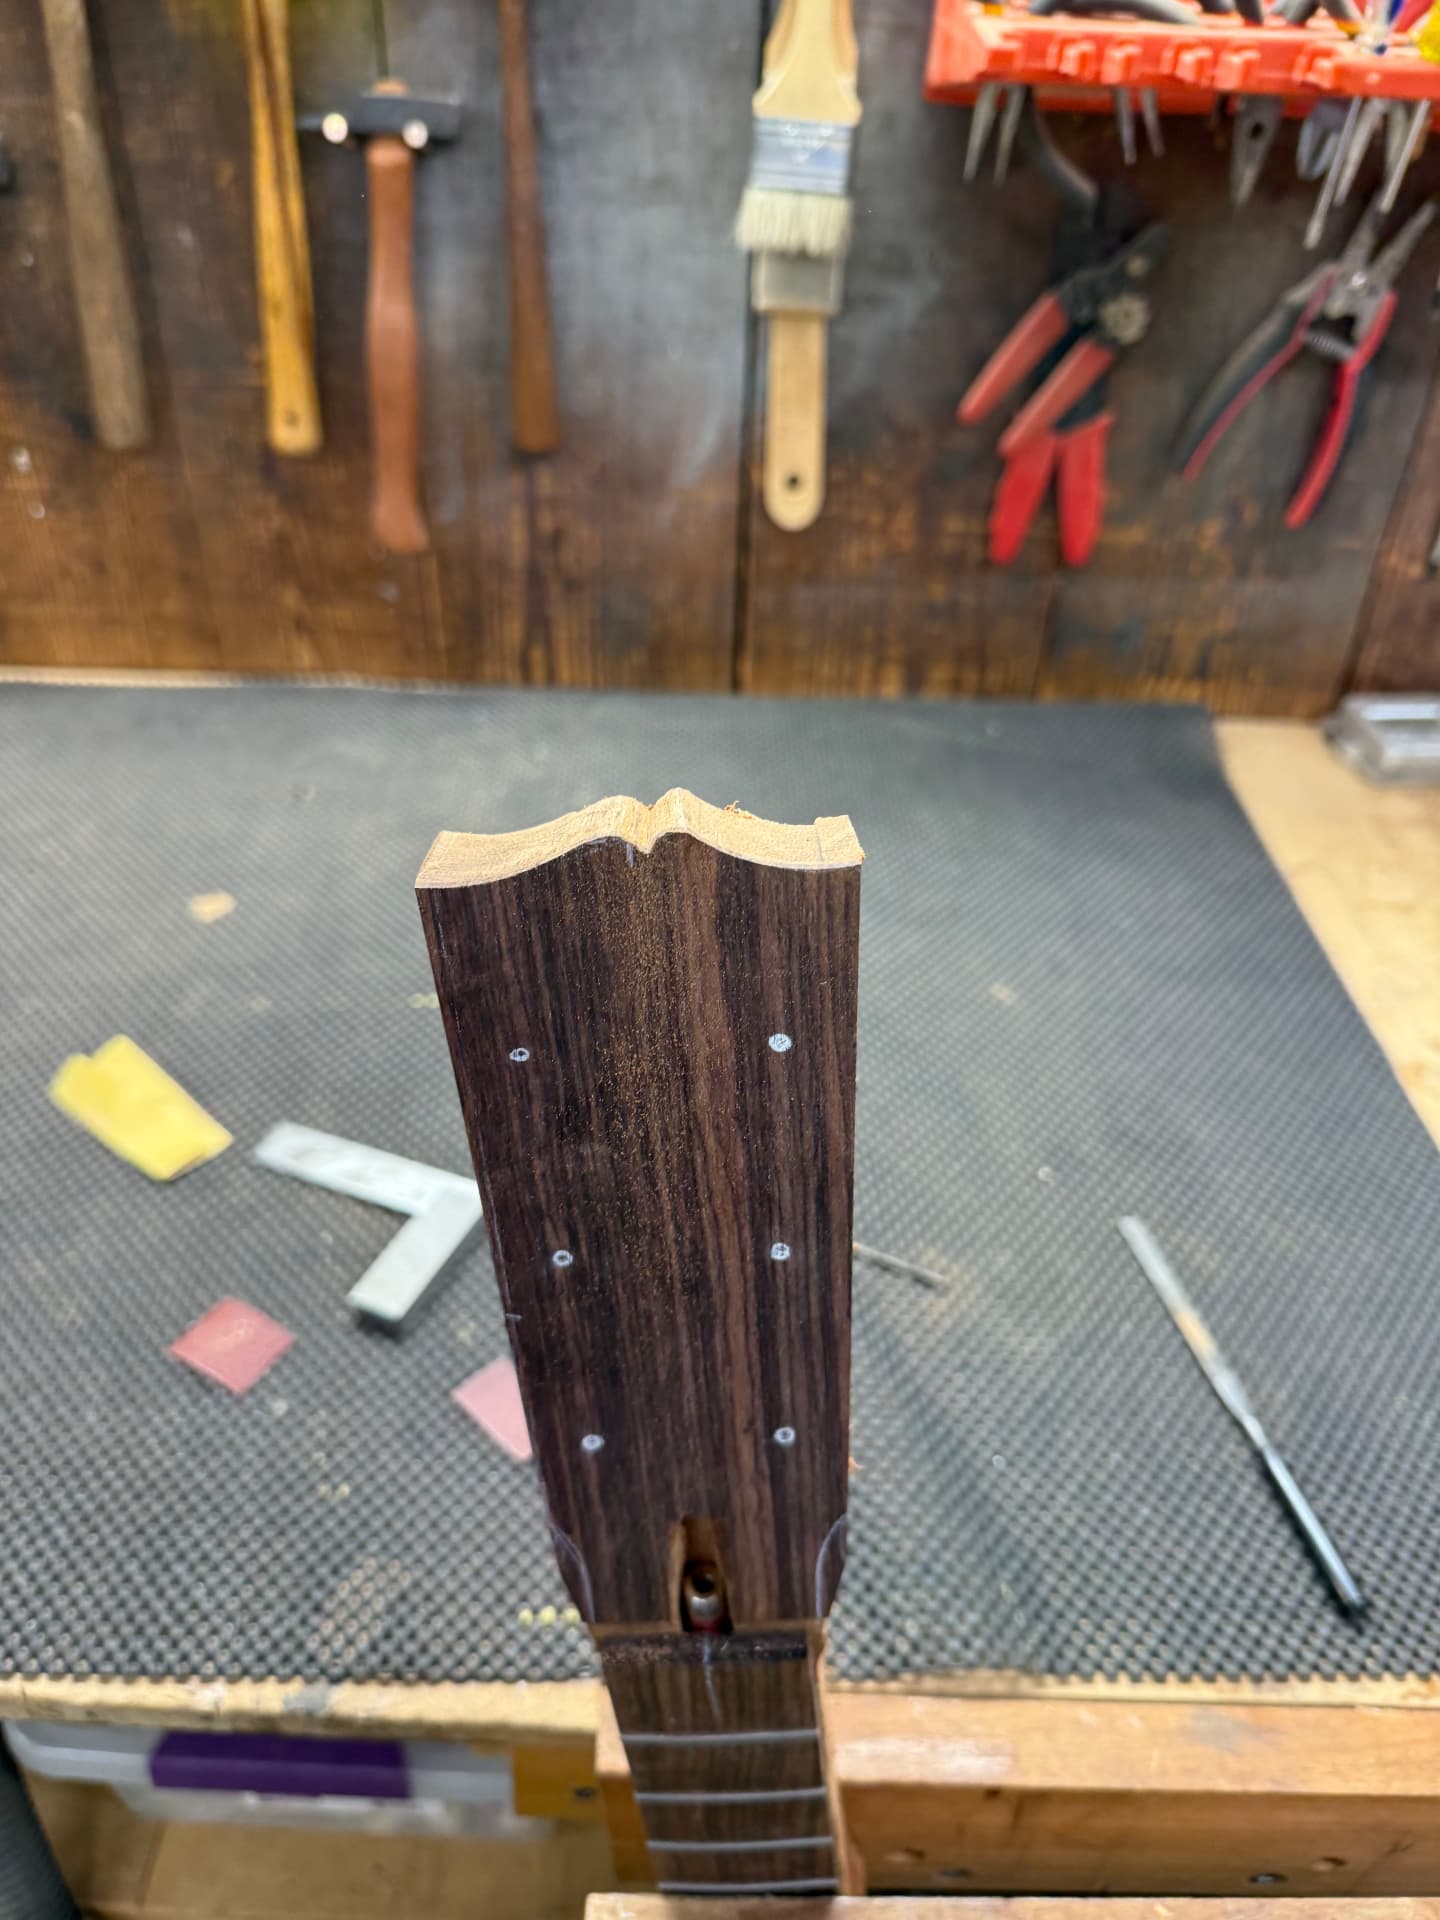
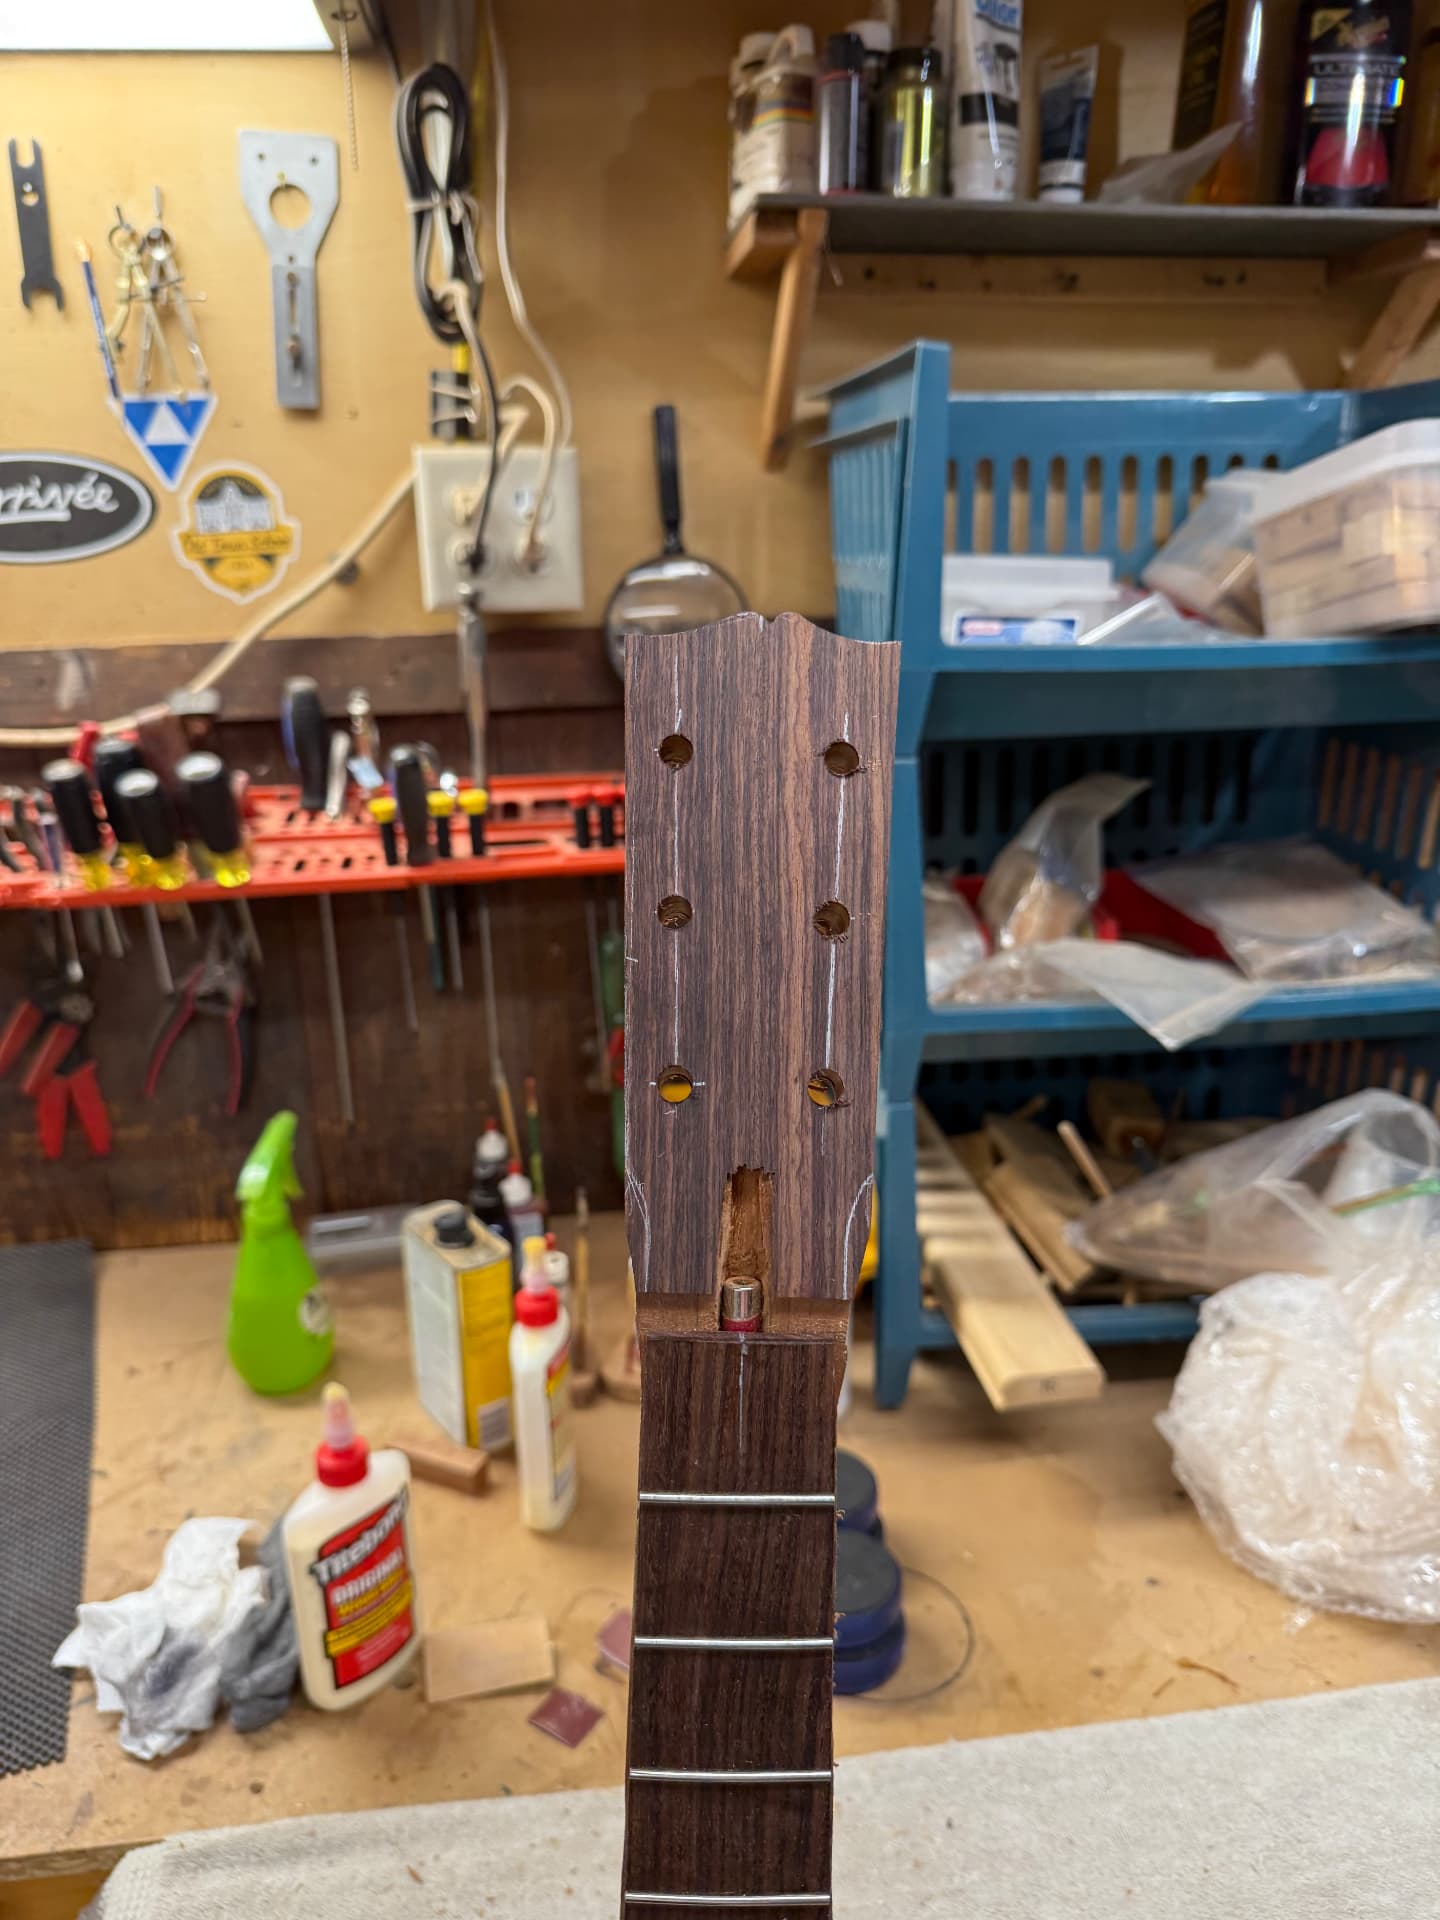
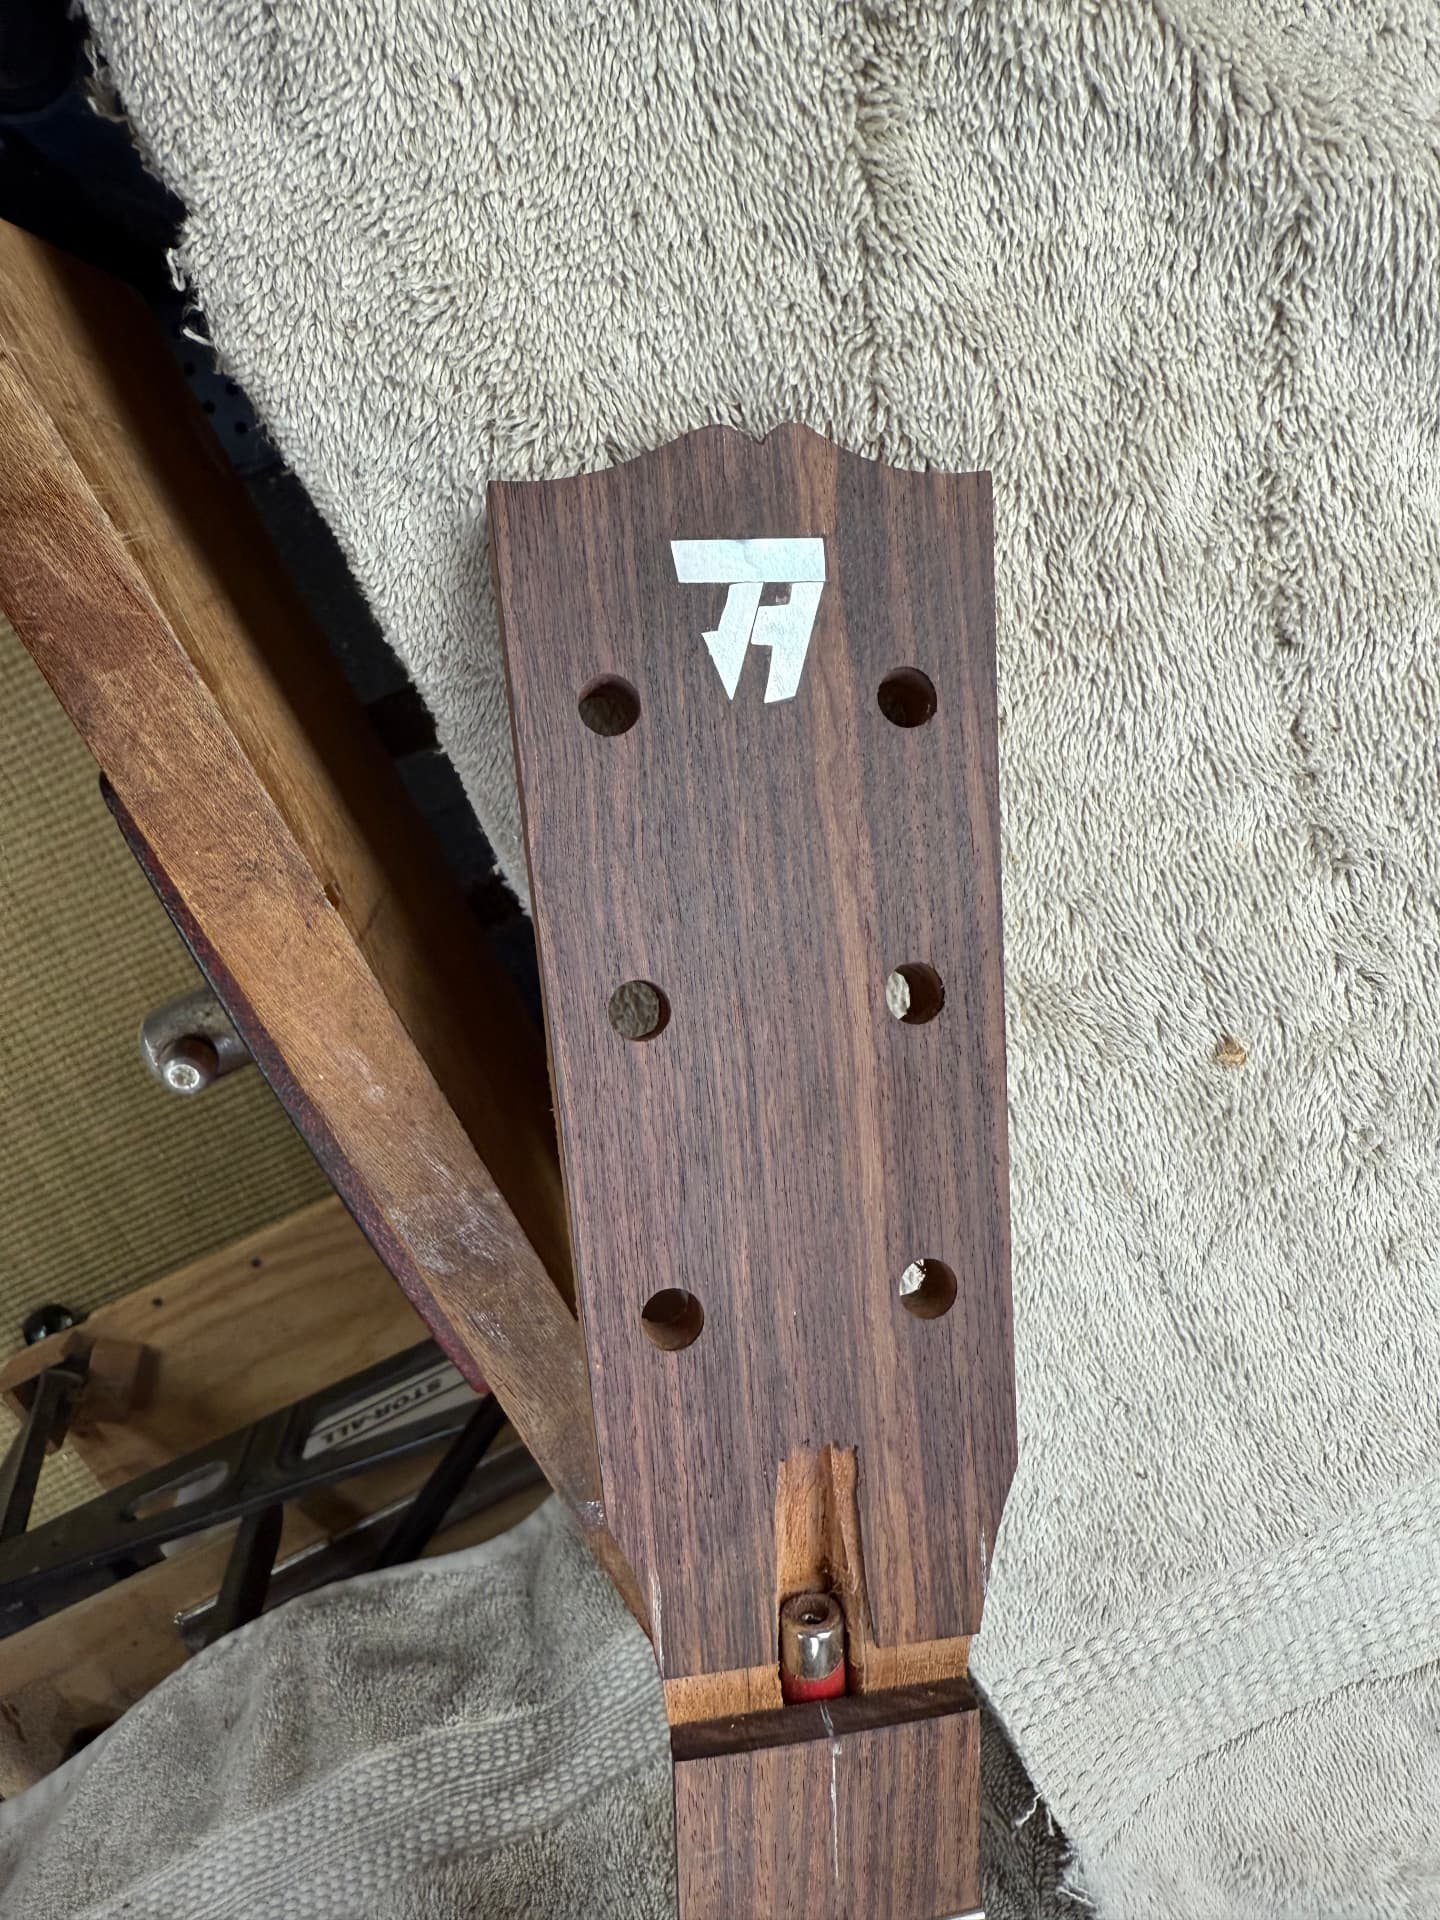
Next, I glued a piece of rosewood to the top of the neck and slowly carved it by hand into the desired shape. Then holes were drilled for the string posts before the neck was varnished.
Stage Eighteen
The bridge
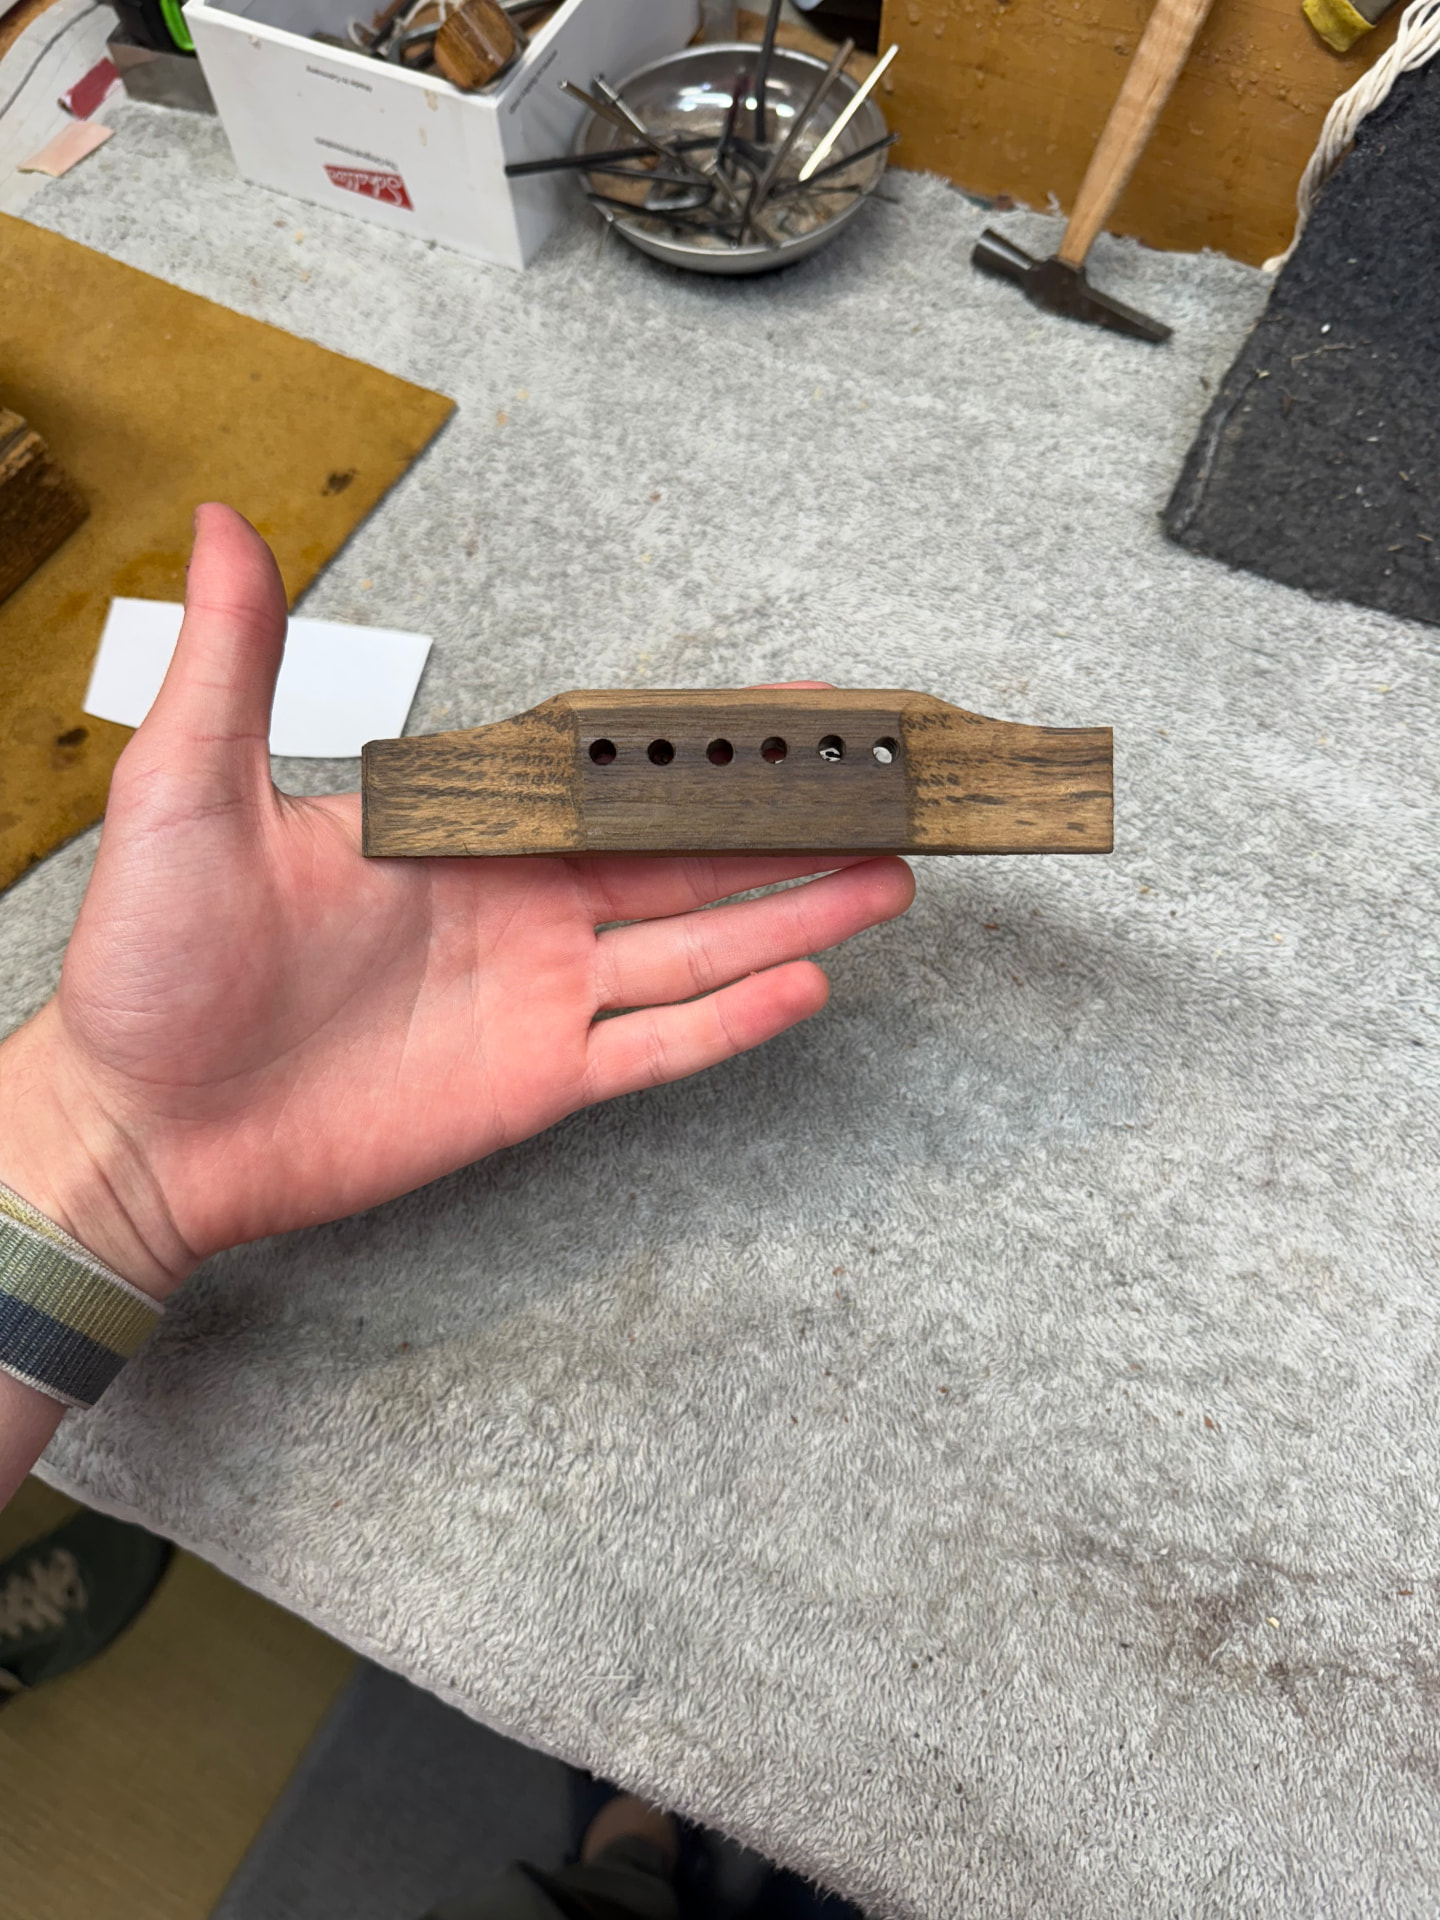
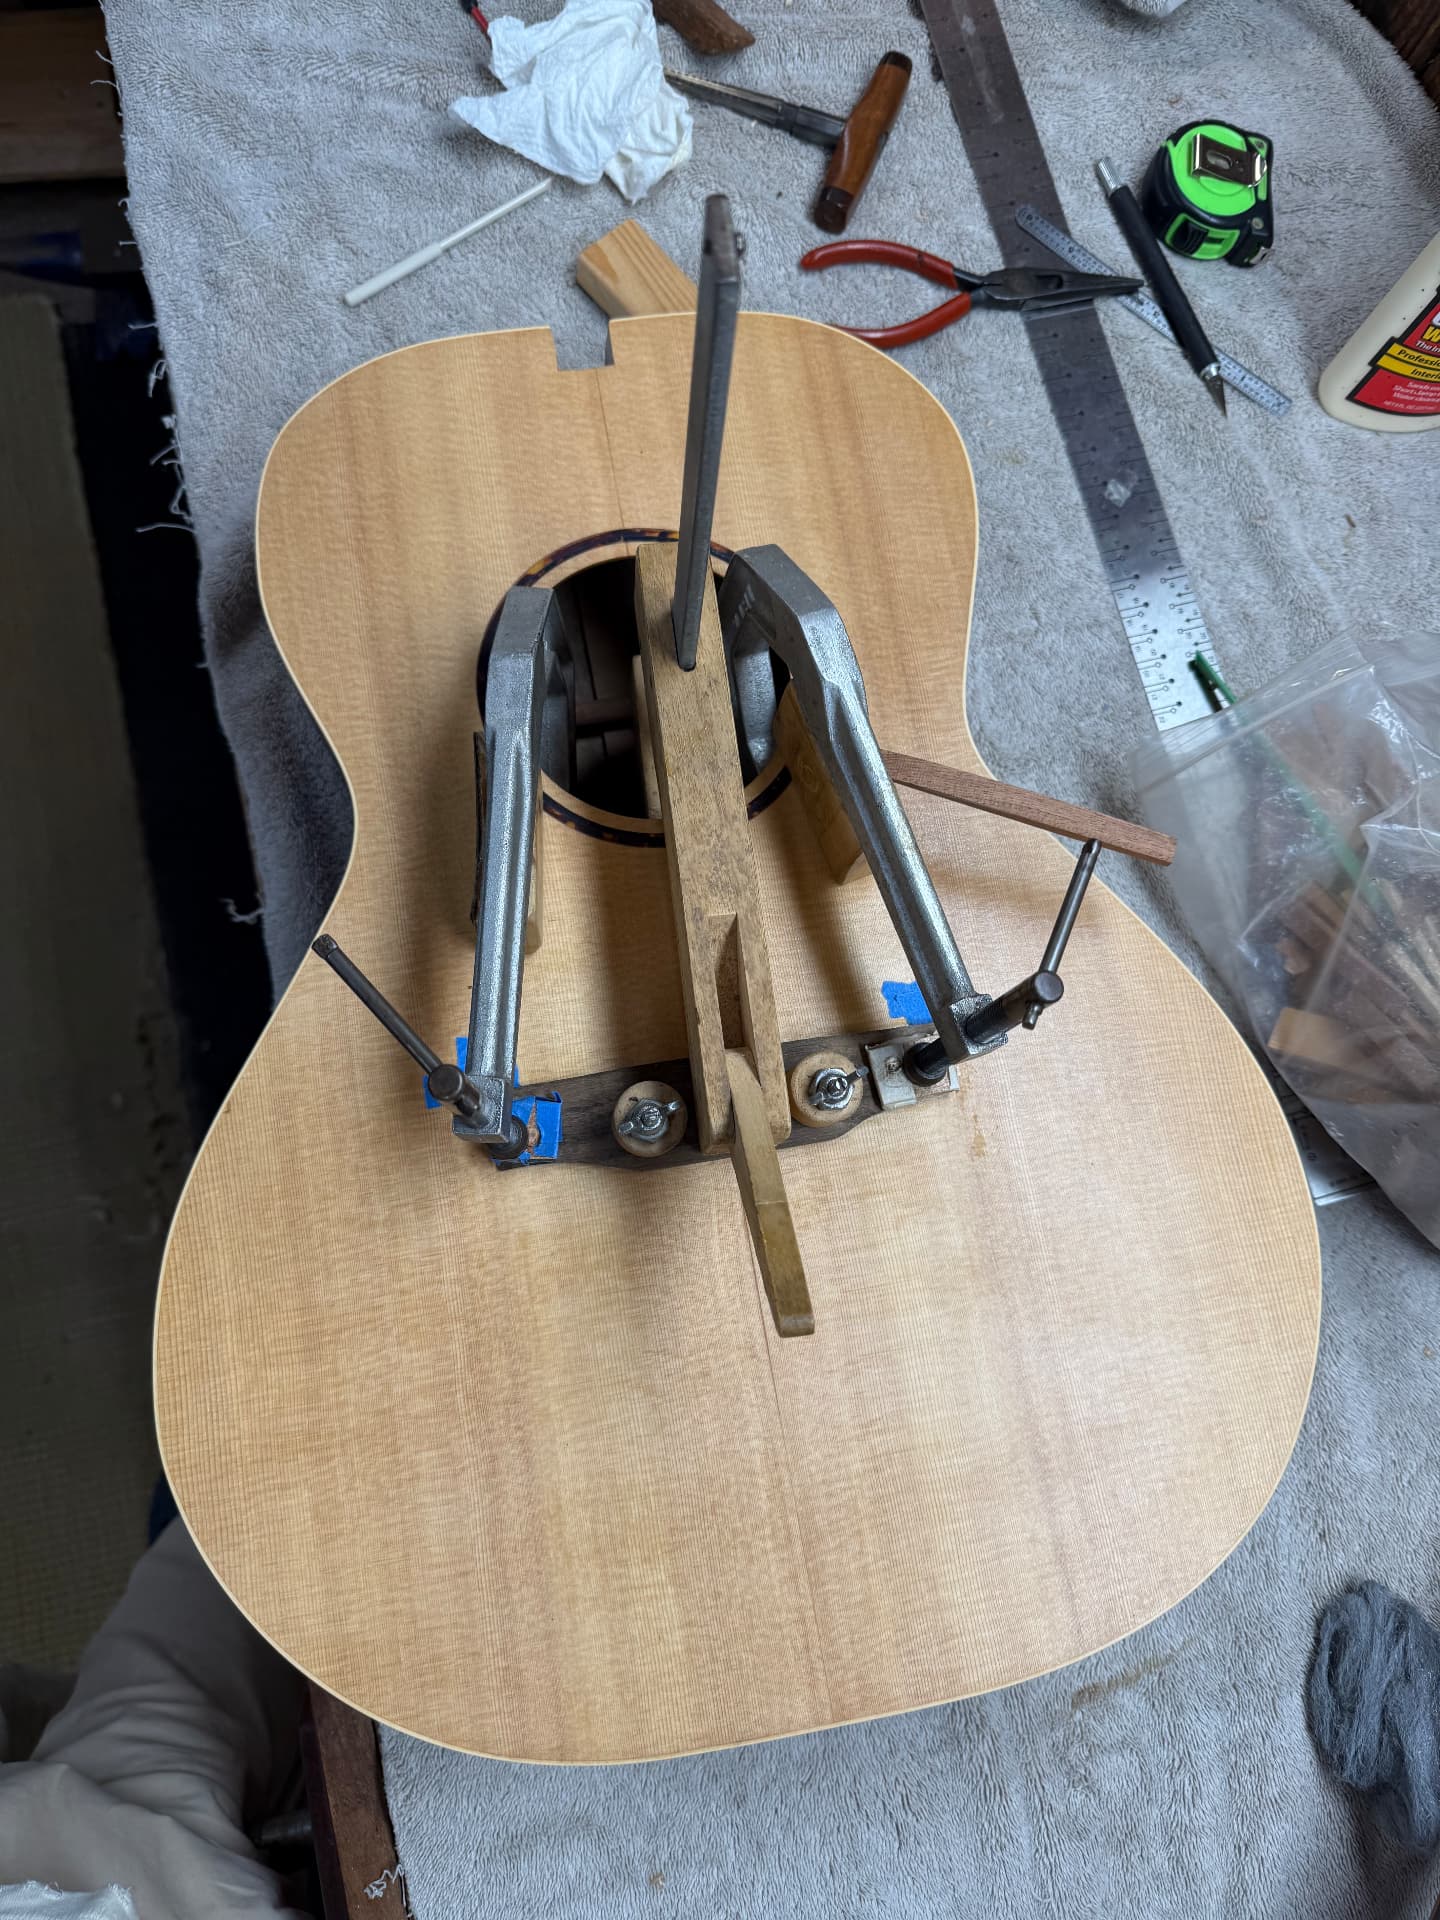
I then carved the bridge out of leftover wood from the body. Like many other steps in the process, this one also ended in some glue and clamps.
Stage Nineteen
Finishing touches
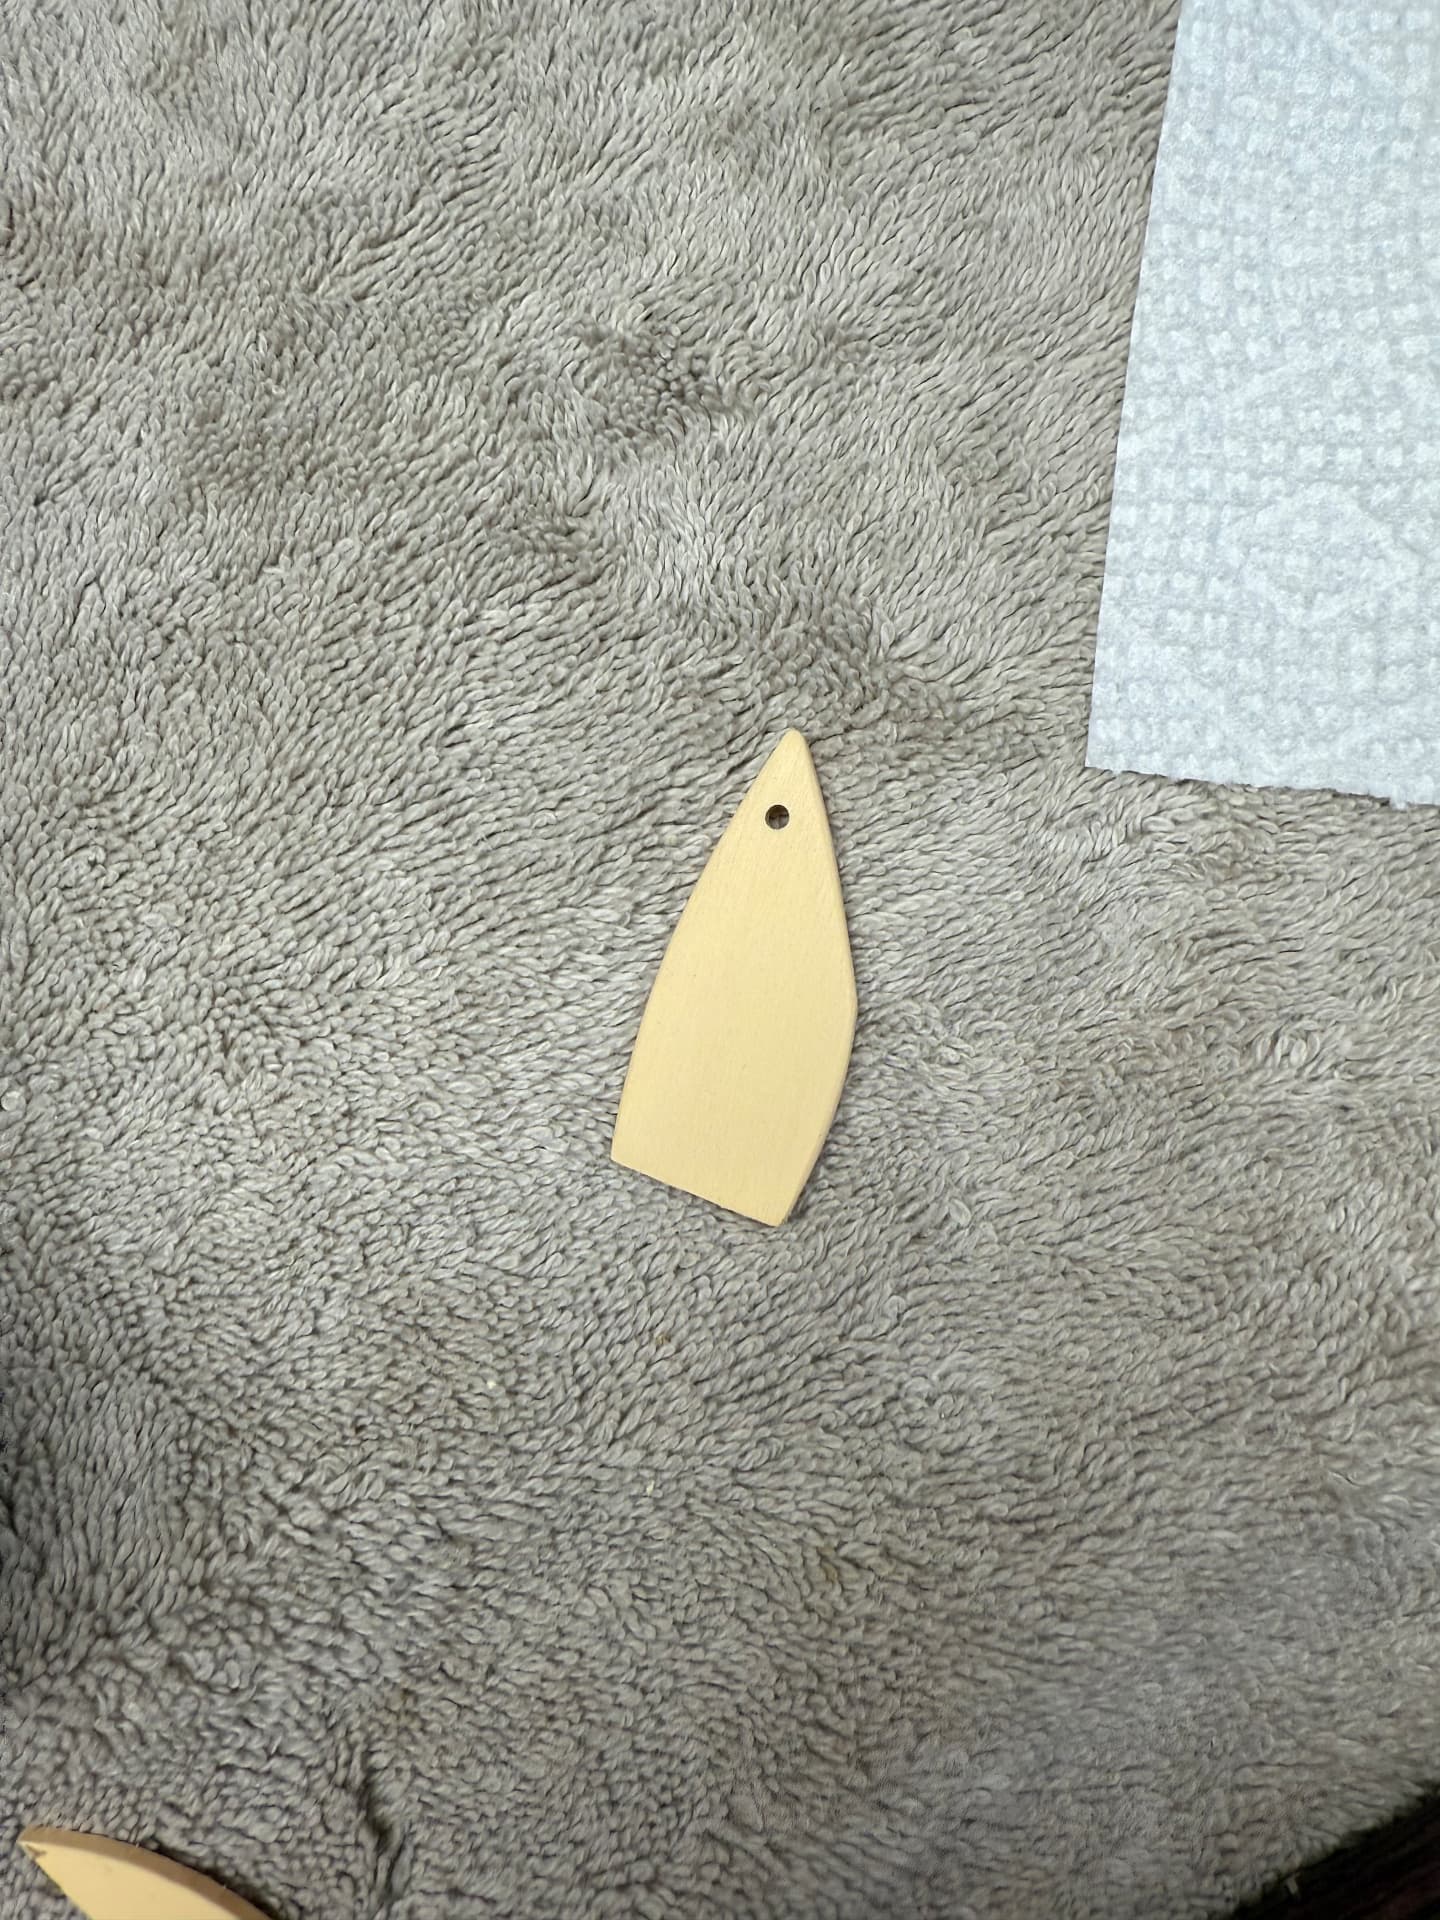
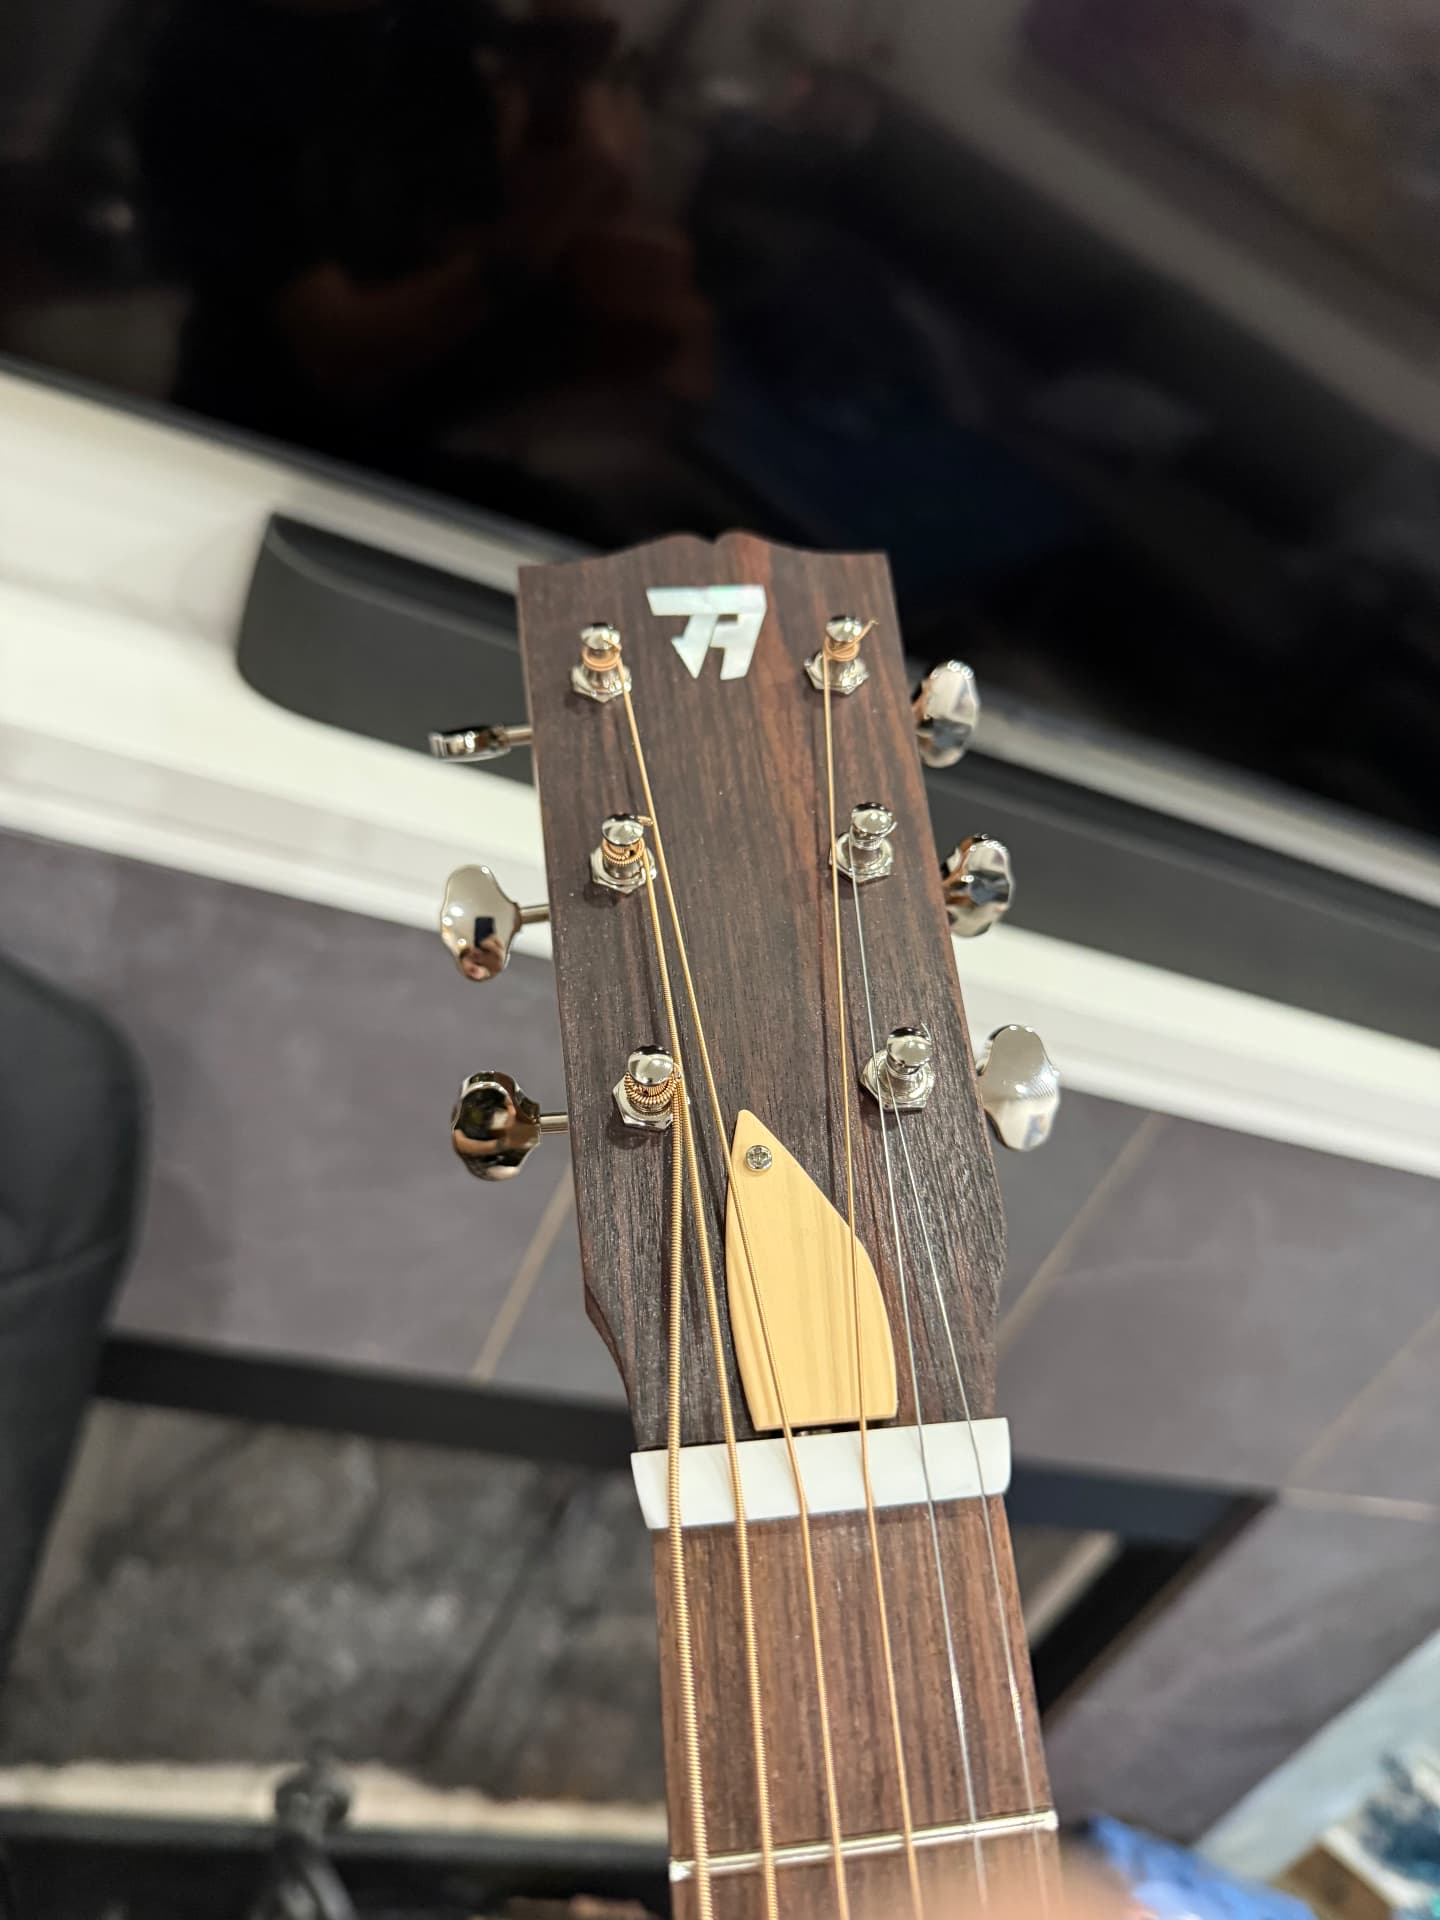
Now it was time for the last few steps. The neck was bolted onto the body, and I designed an inlay for the headstock based on my initials. I also designed a truss rod cover, which I carved out of plastic. Then I installed a pickup, jack, nut, and strap pins.
Stage Twenty
The guitar (at last)
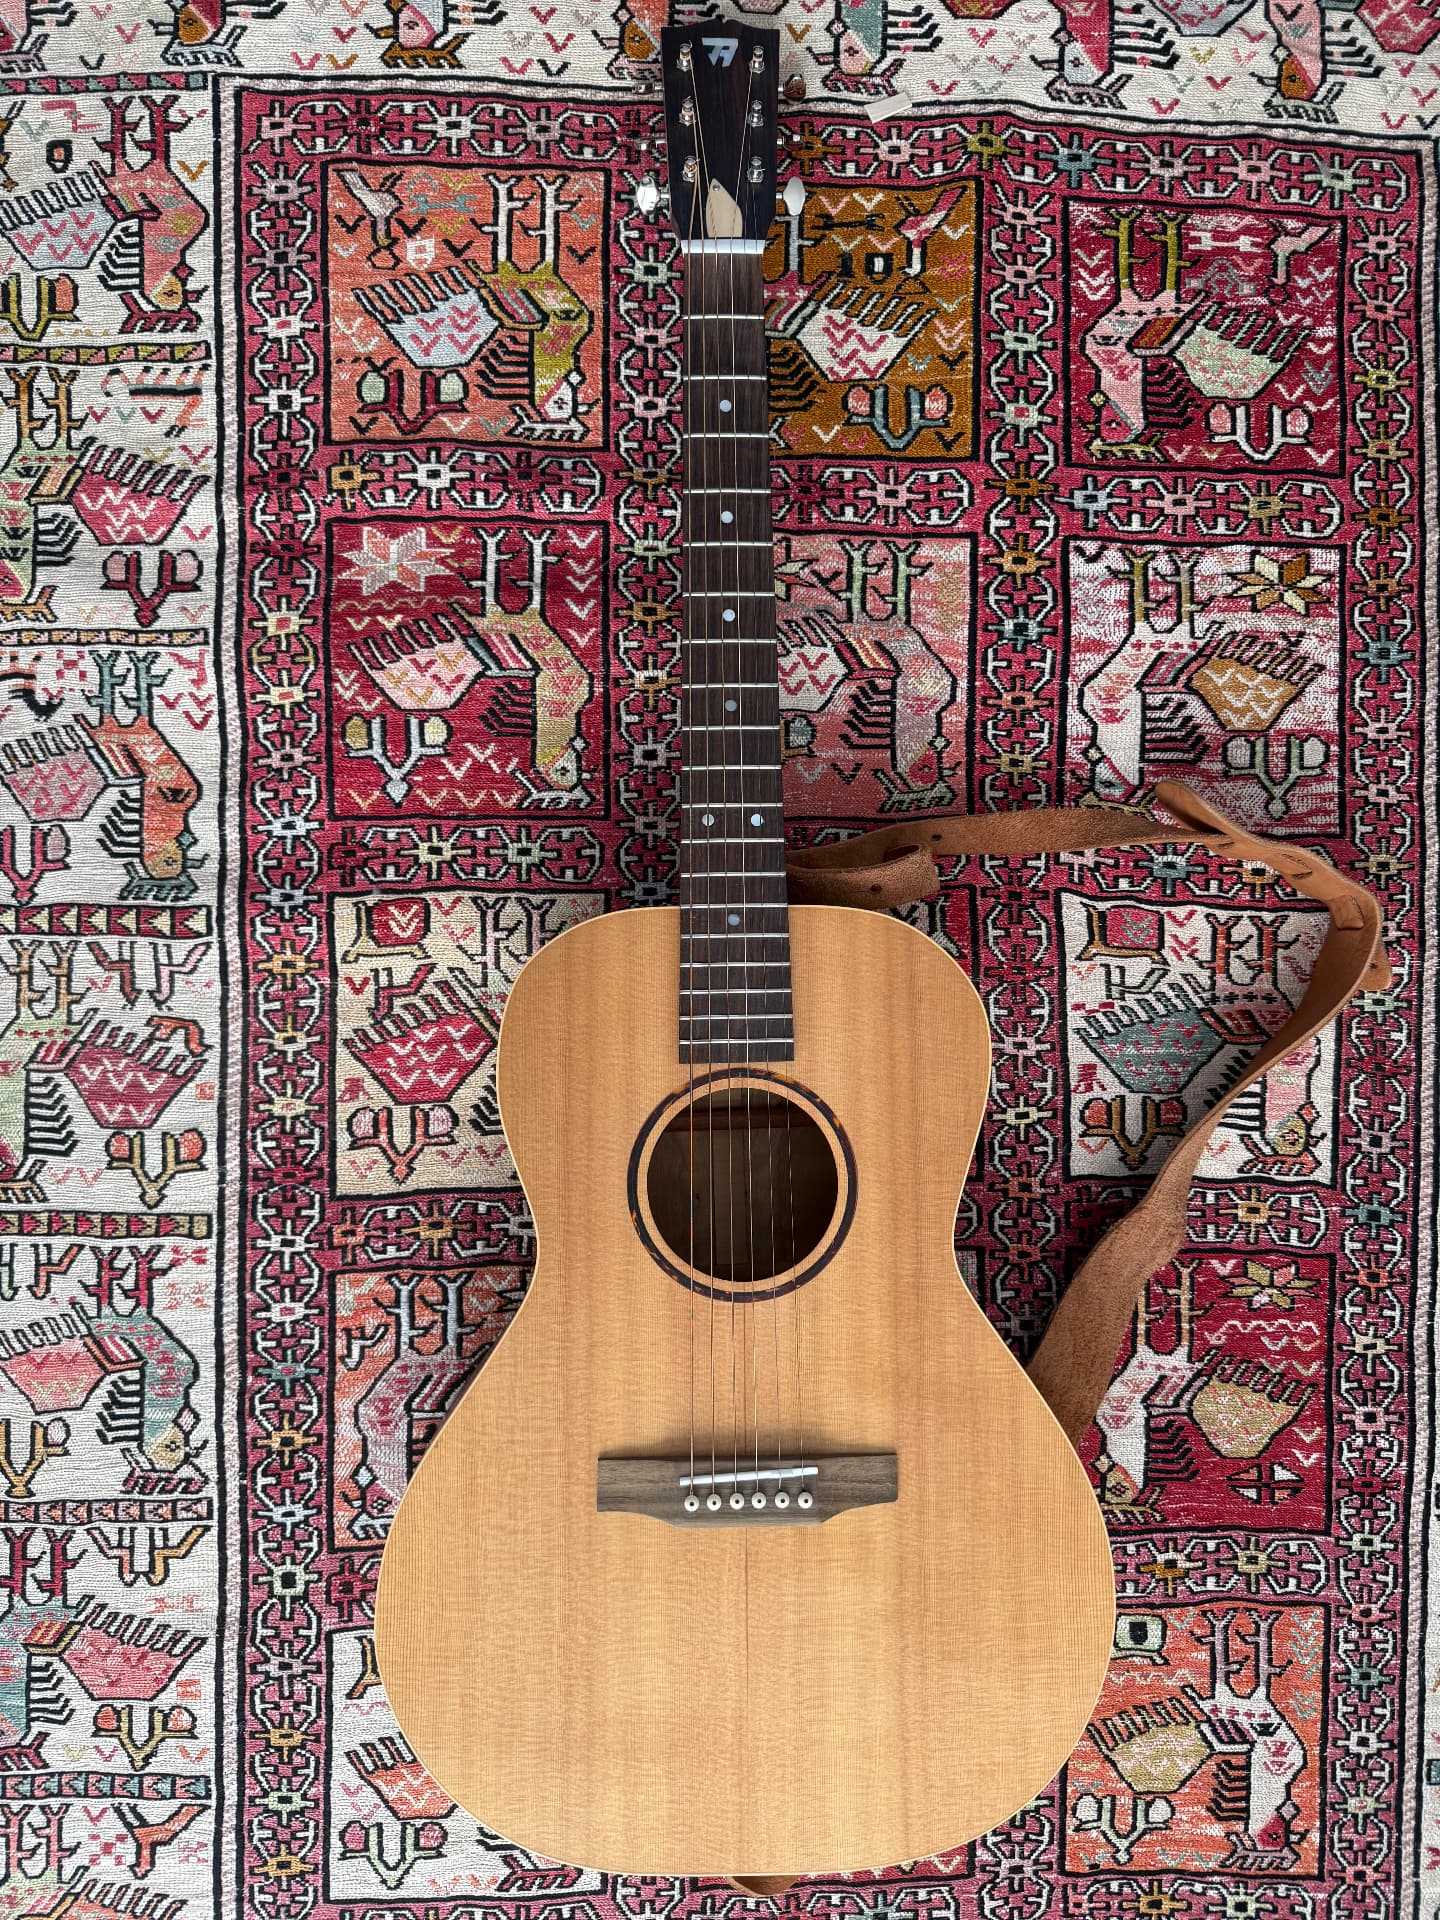
At last, after 100+ hours and months of work, the guitar was done.